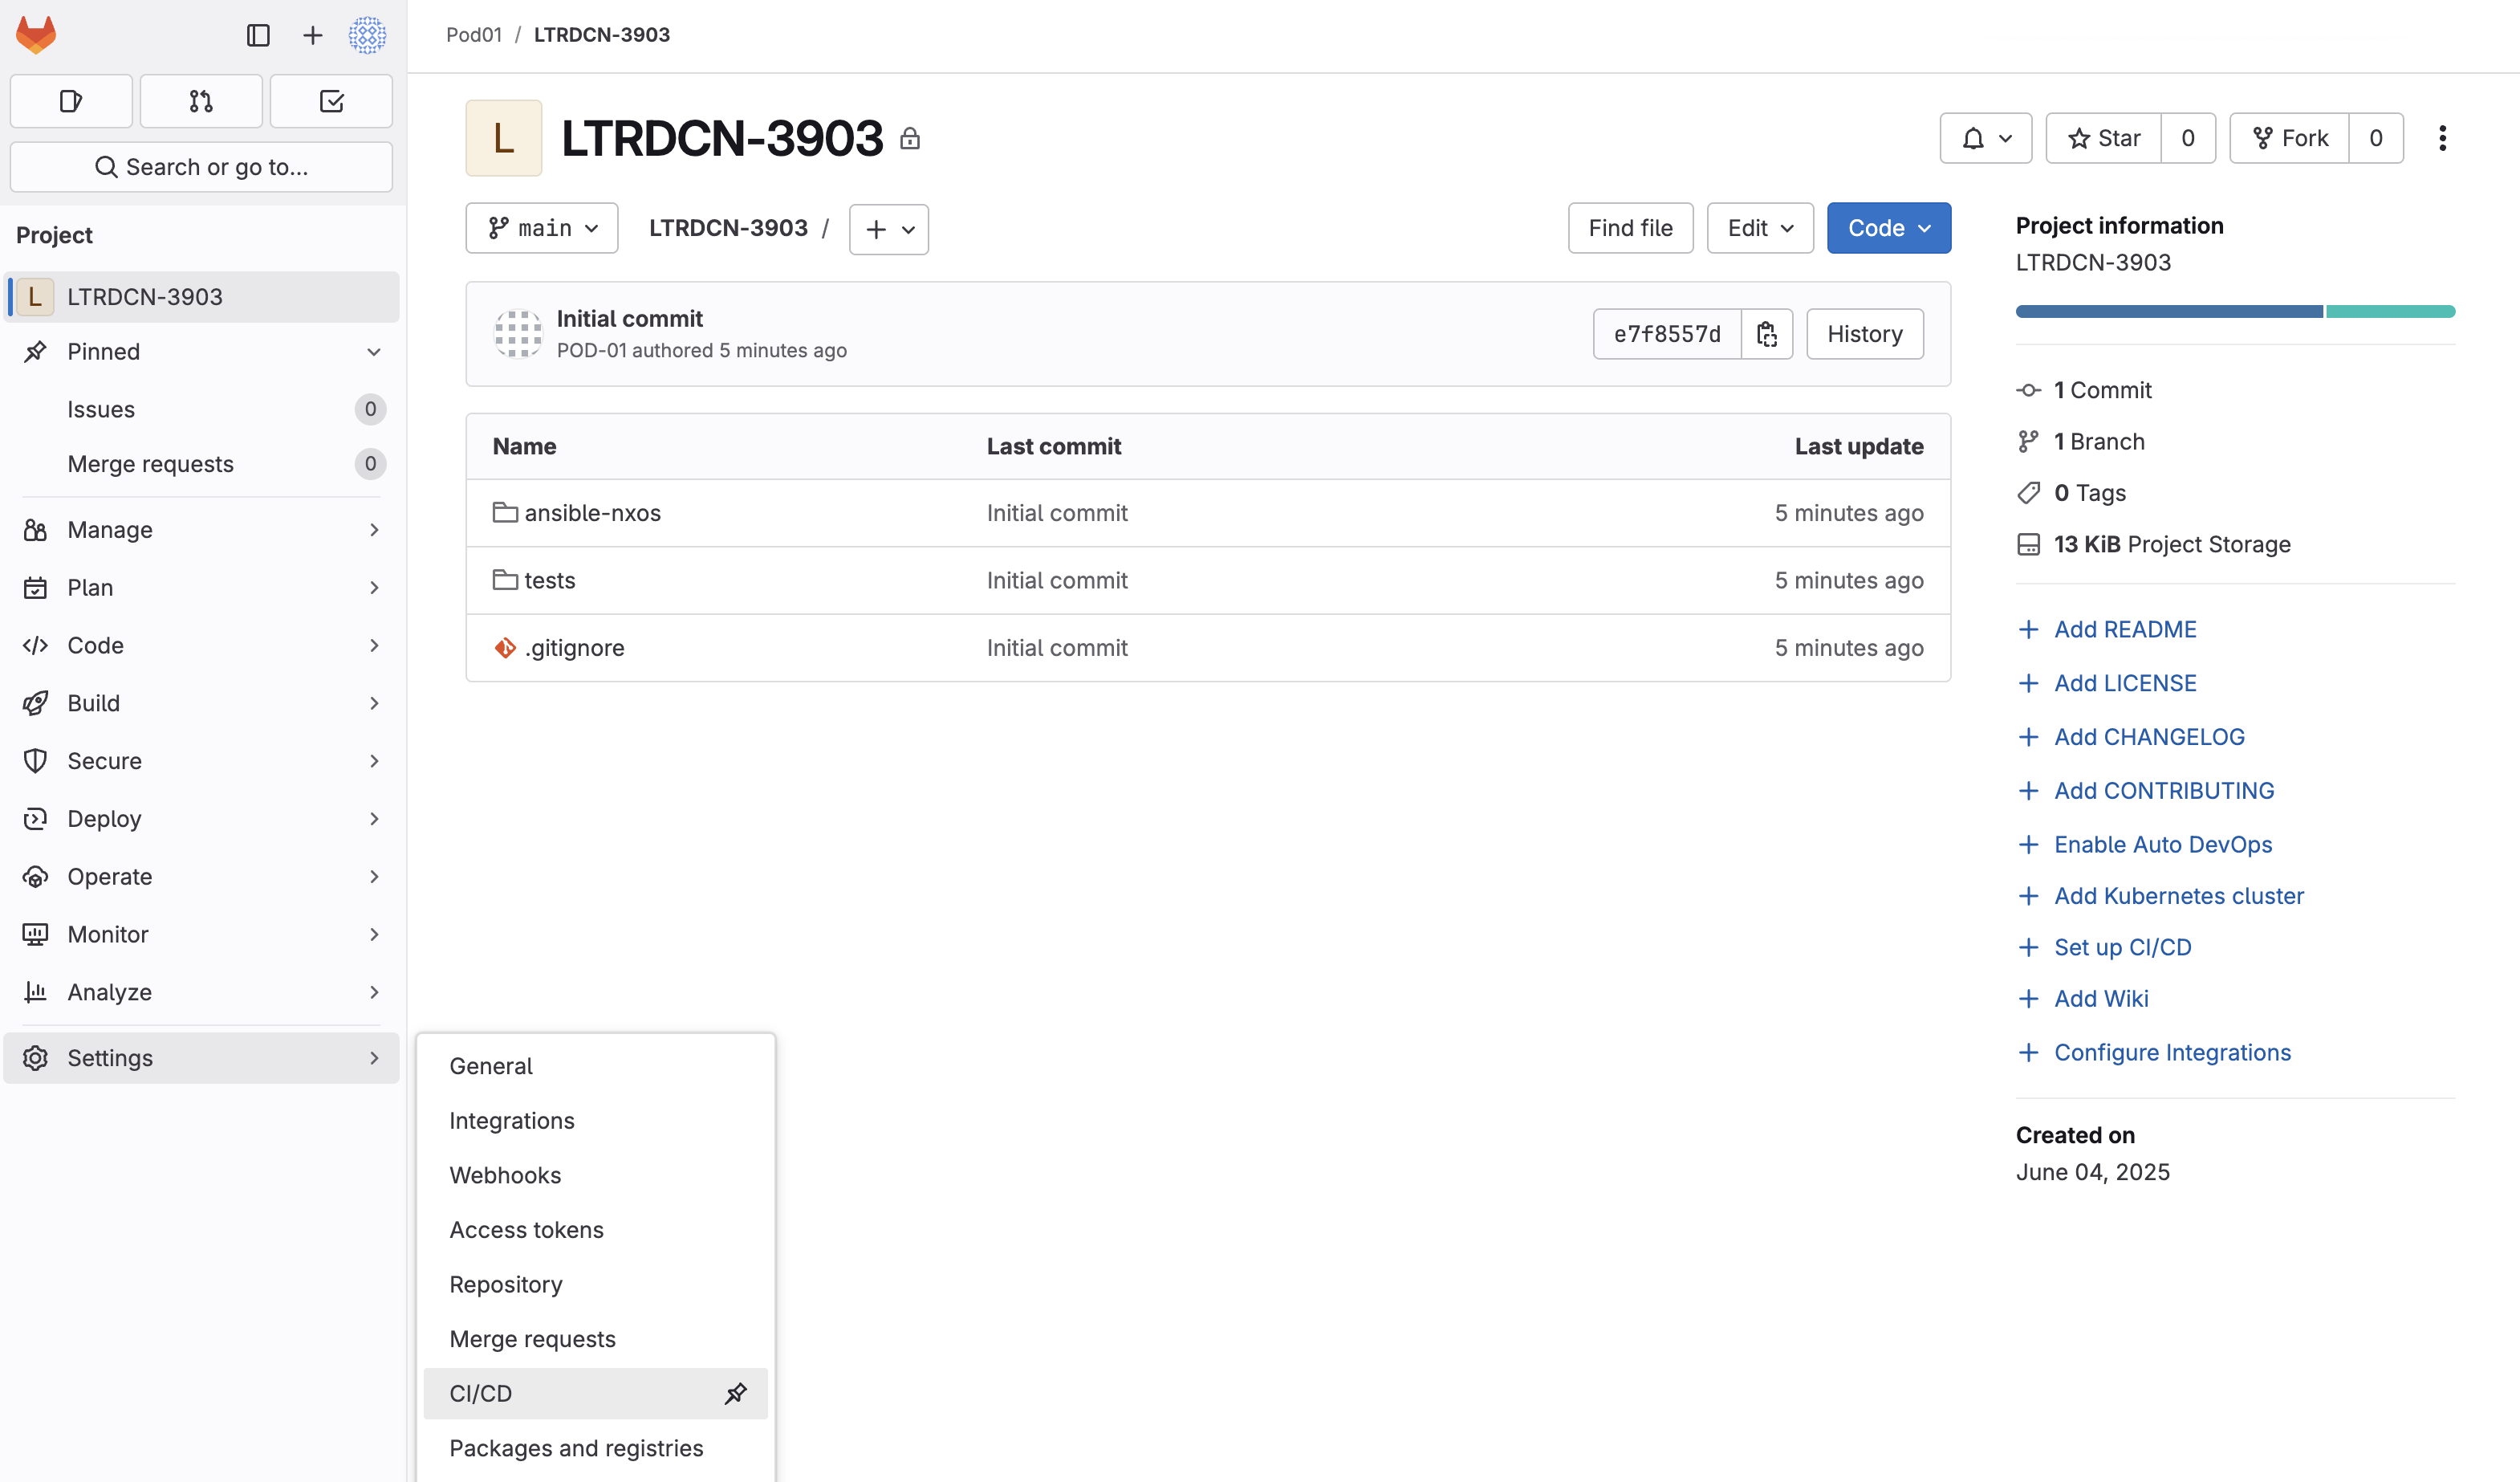
To this point in the lab, you have created the code to build your staging fabric, test your staging fabric, and pushed all your infrastructure as code to GitLab for source control. To continue moving toward implementing a CI/CD pipeline, you will now create the file required by GitLab to configure the pipeline.
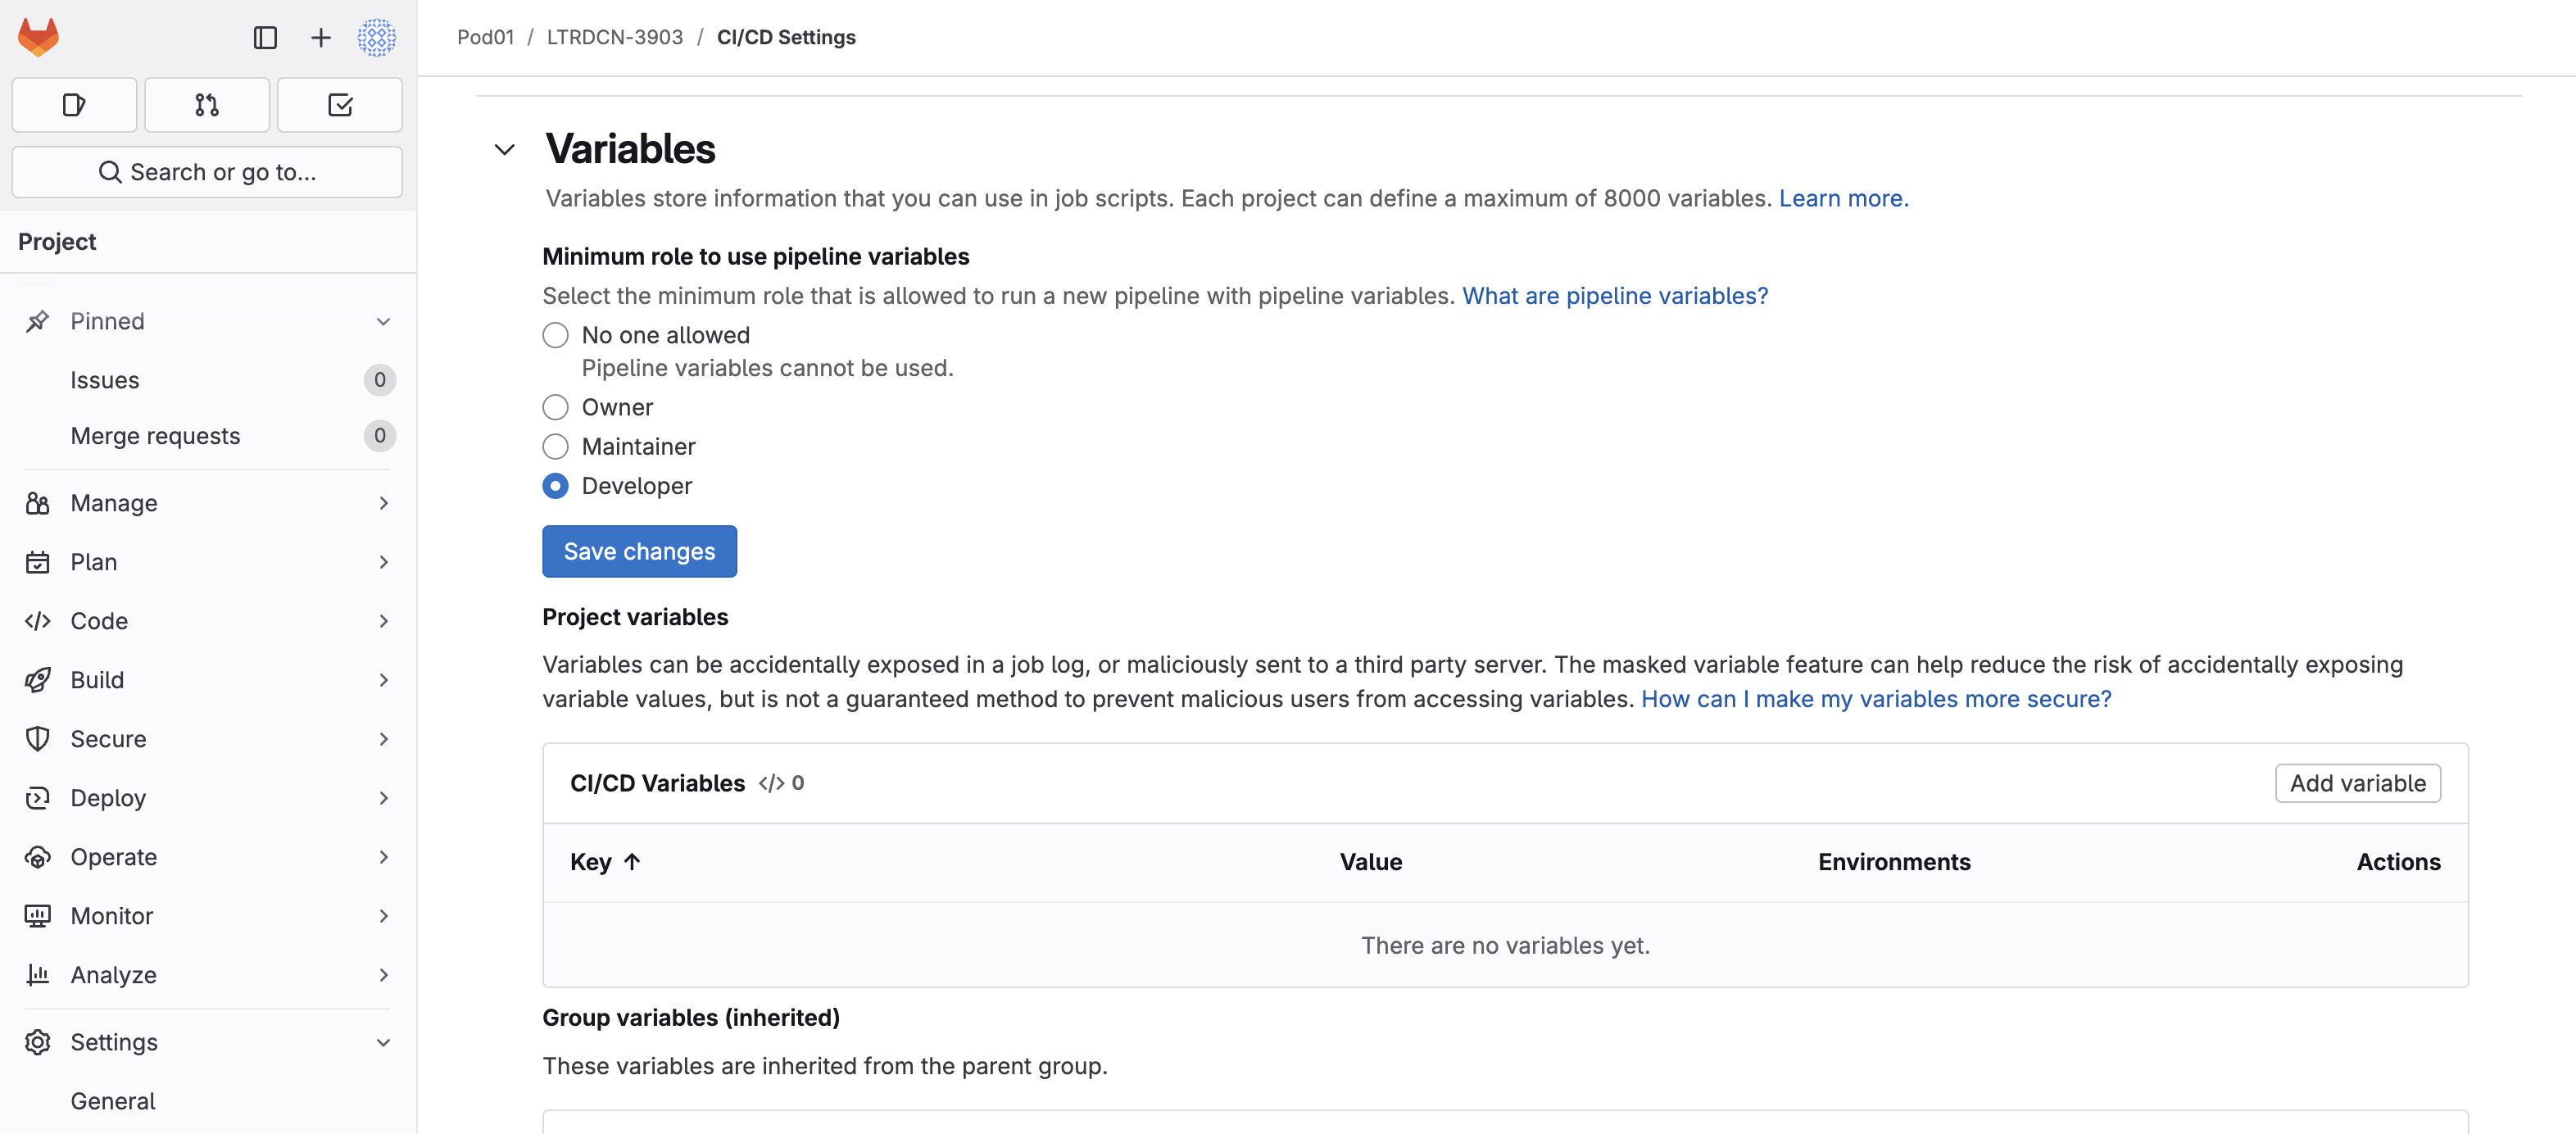
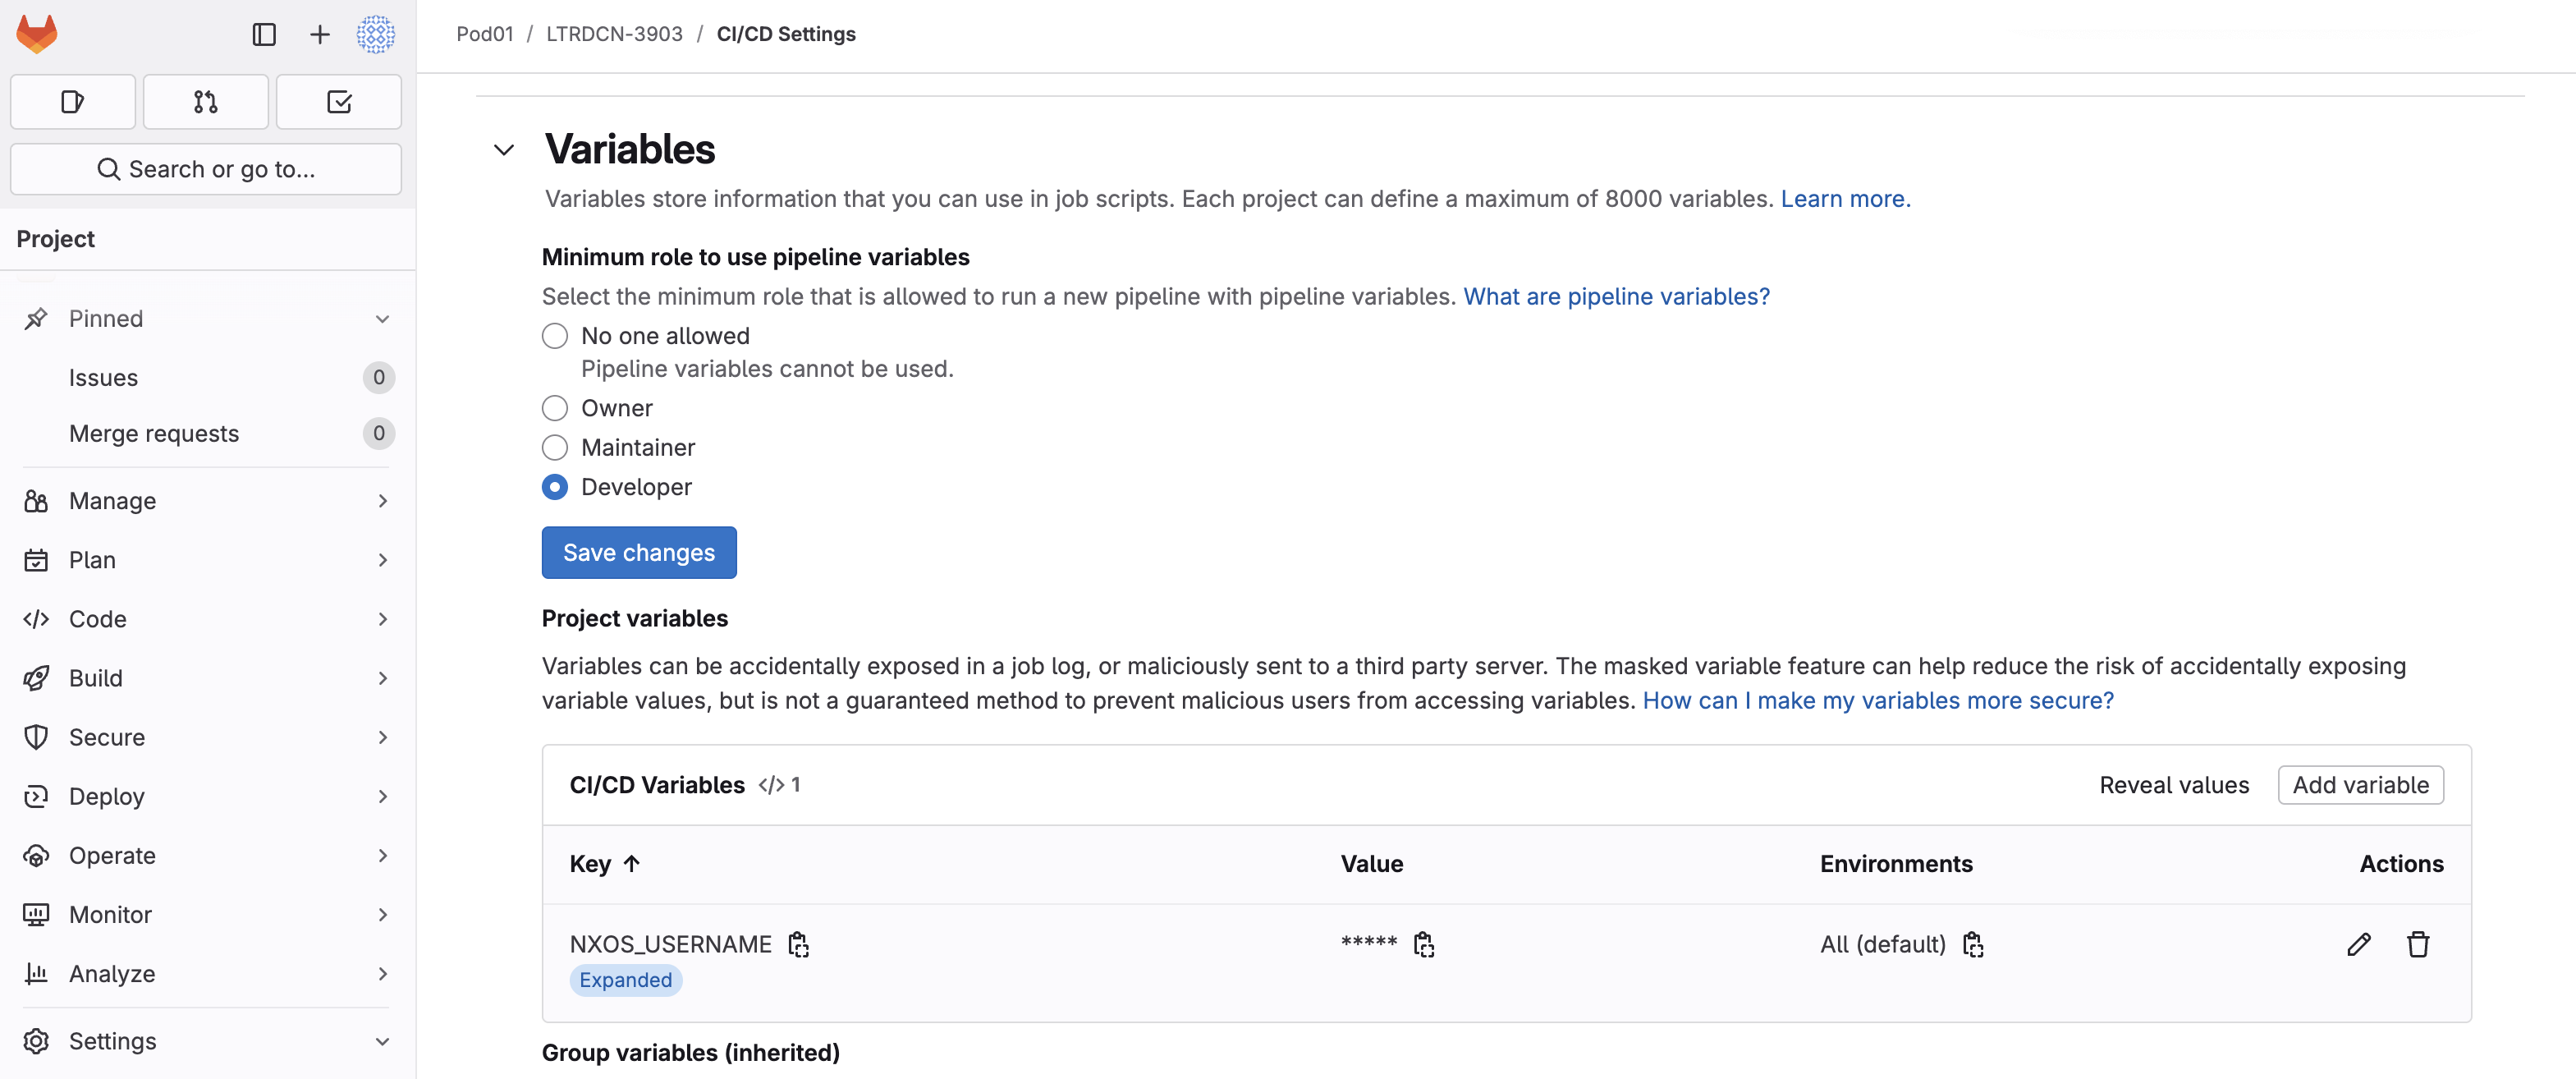
GitLab, like many CI/CD tools, has the ability to use variables in your pipeline.
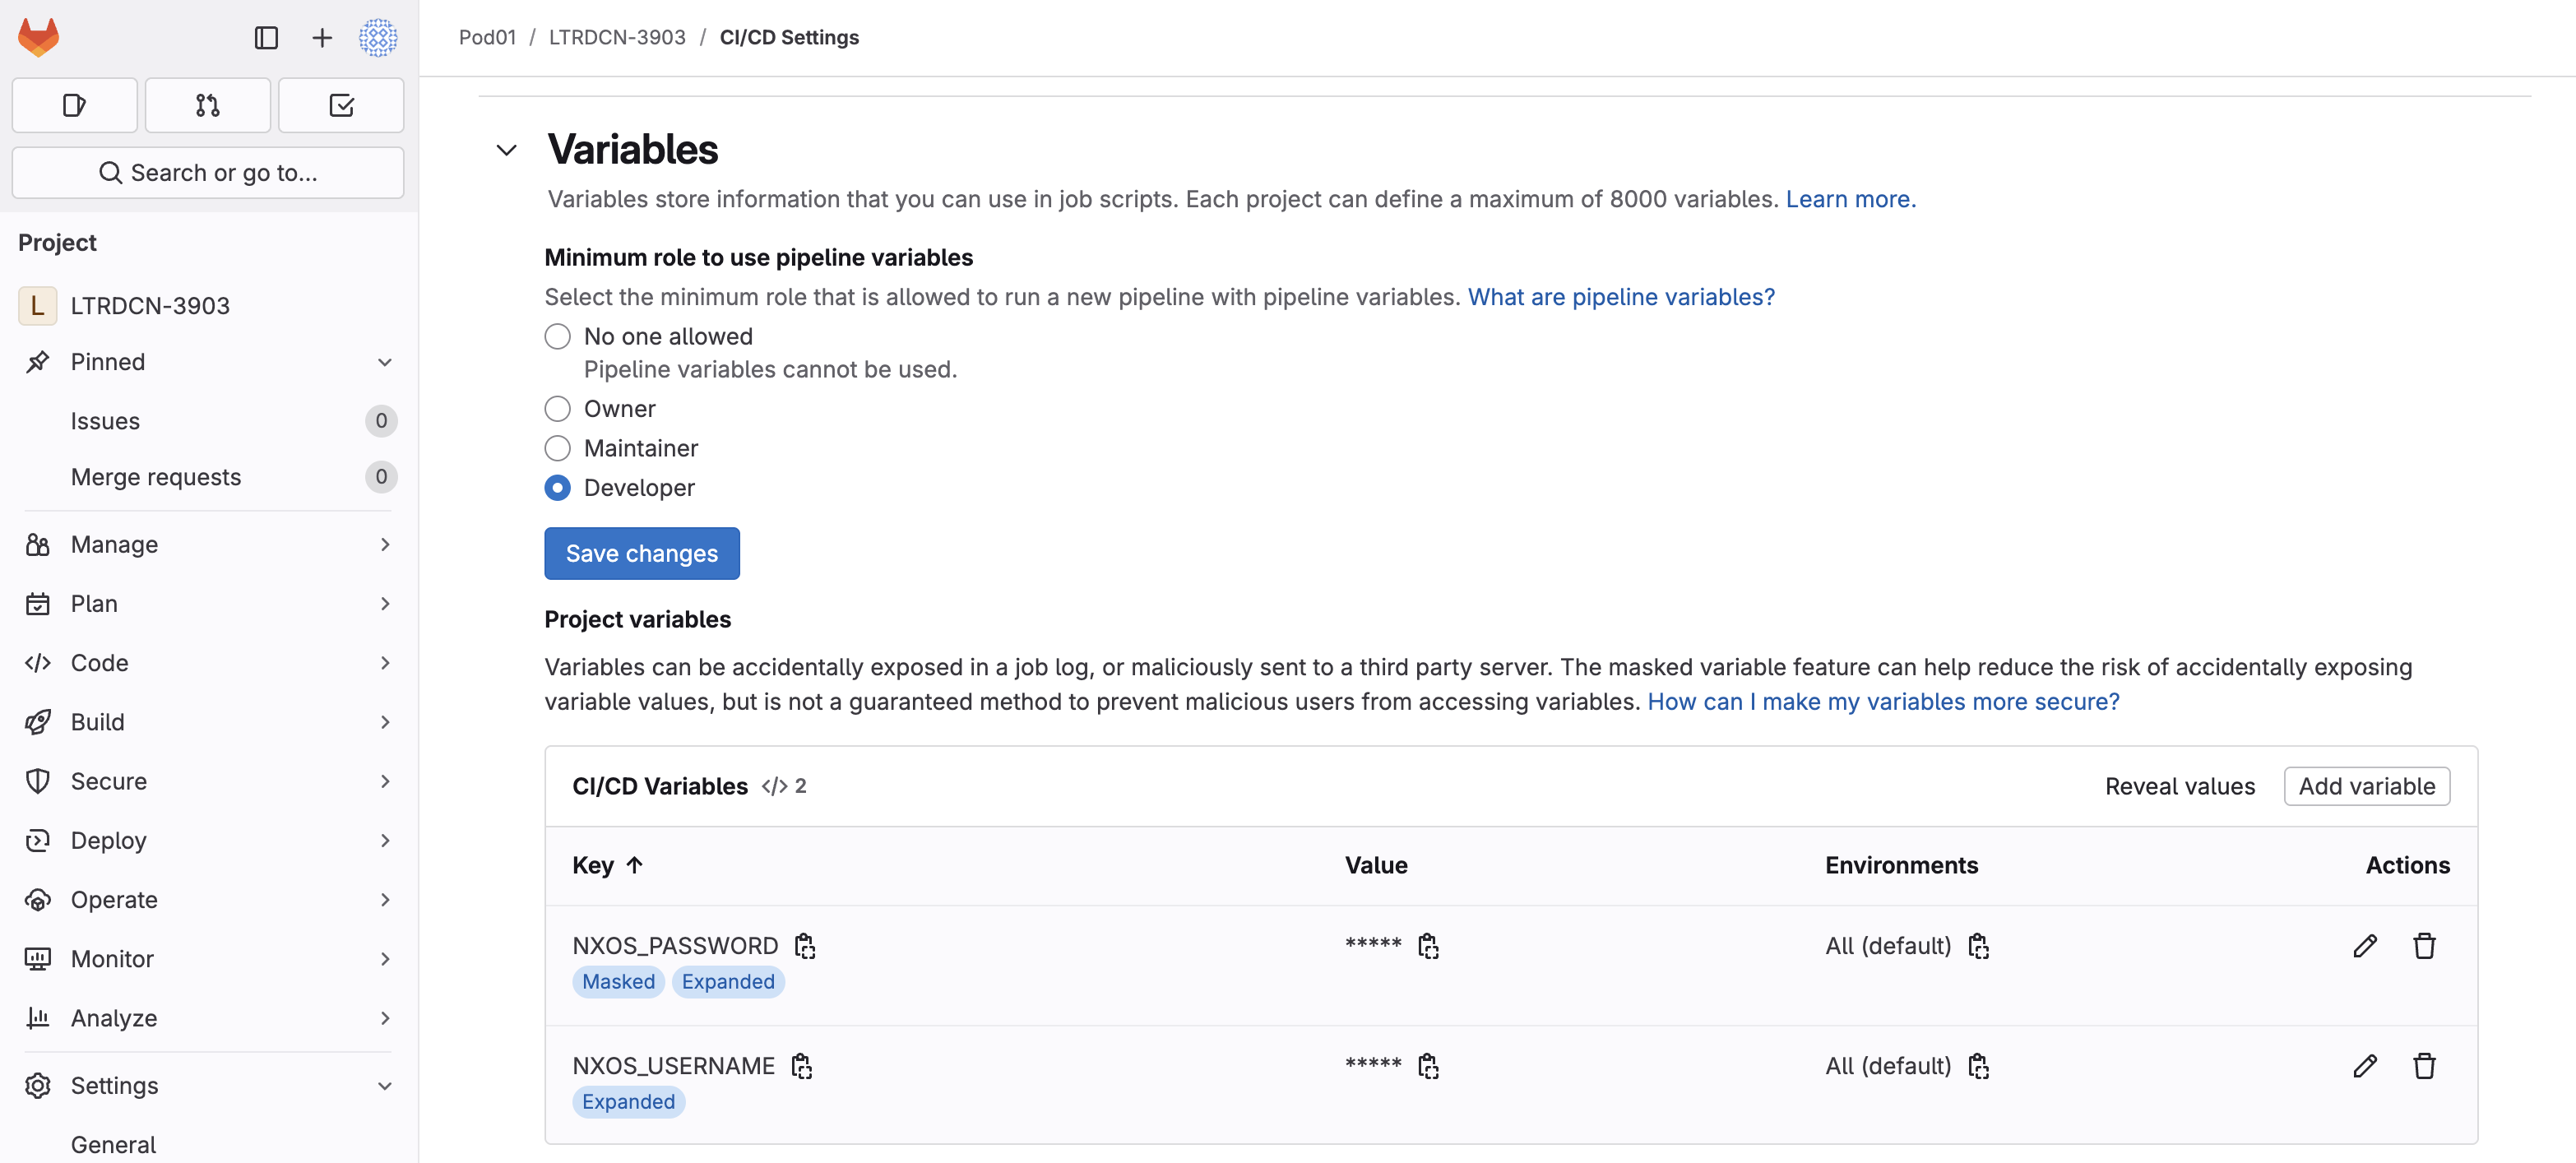
You will create the same environment variables you have been using throughout the lab to connect to your staging and prod fabrics, but defined through GitLab's CI/CD variables.
You will not commit your secrets.sh script to your GitLab repo to avoid exposing your credentials.
GitLab, like many CI/CD tools, has the ability to use variables in your pipeline.
You will create the same environment variables you have been using throughout the lab to connect to your staging and prod fabrics, but defined through GitLab's CI/CD variables.
You will not commit your secrets.sh script to your GitLab repo to avoid exposing your credentials.
Variable (default)All (default)VisibleUnchecked*Checked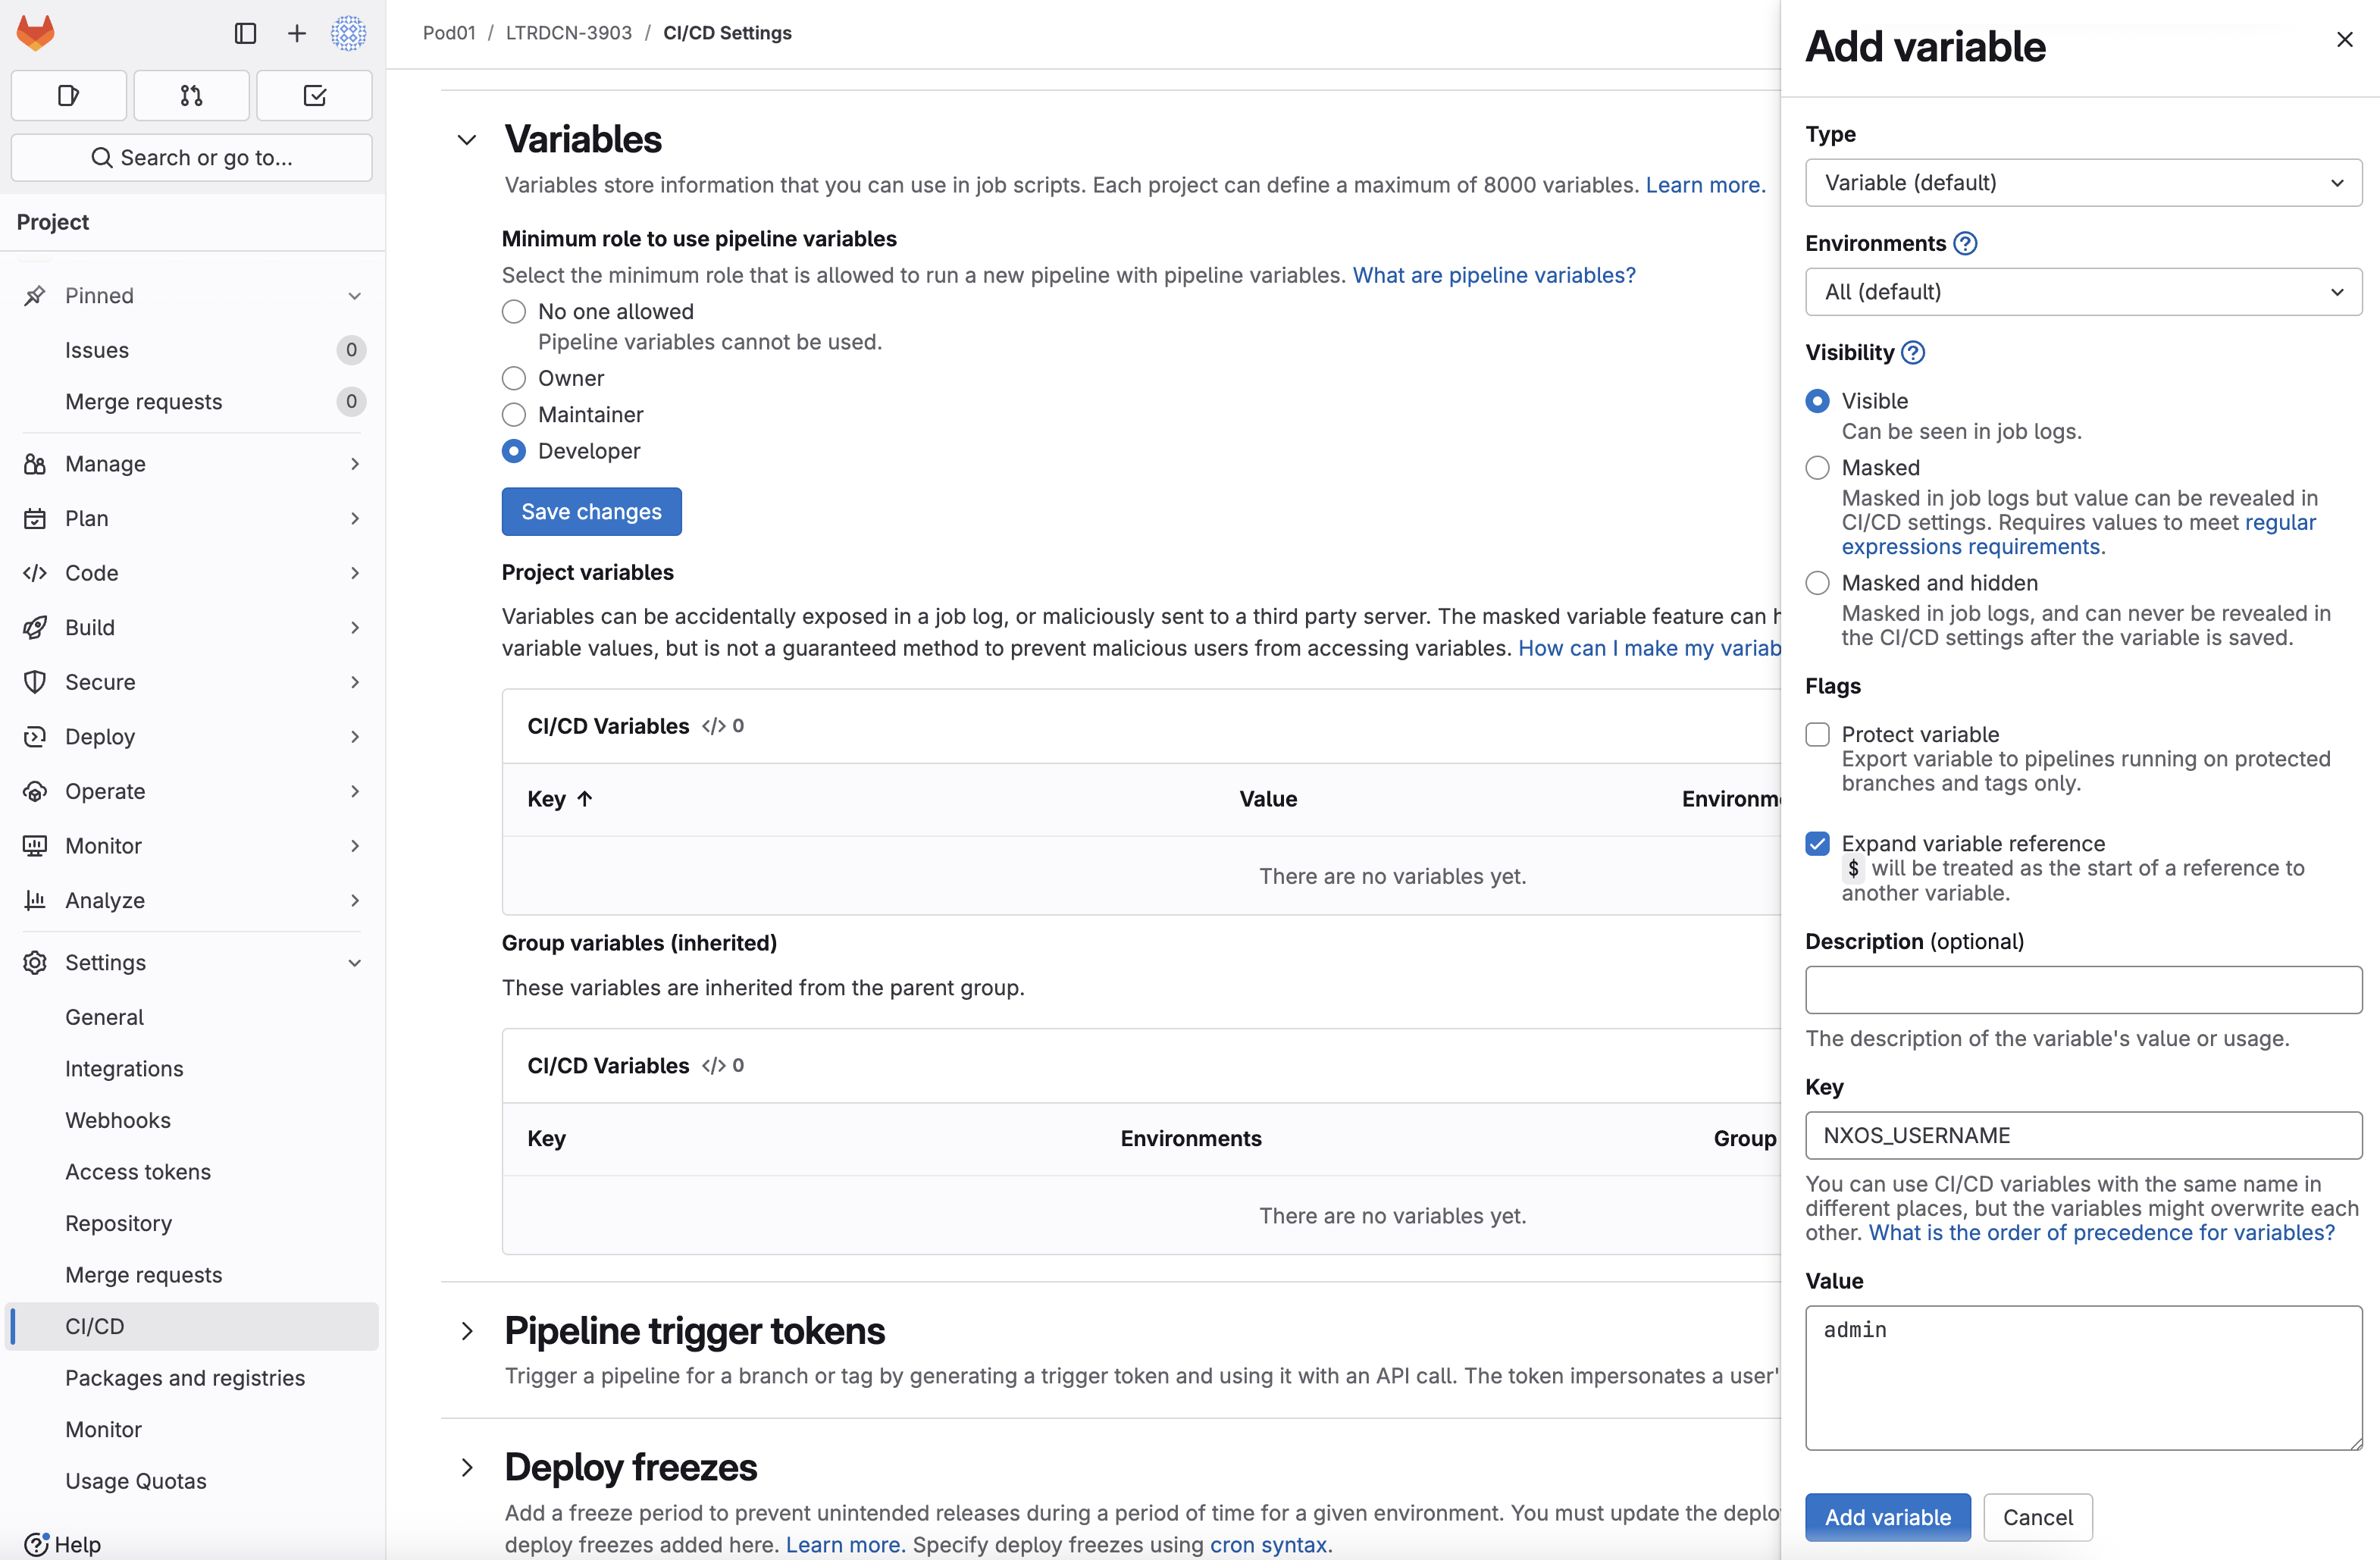

Variable (default)All (default)MaskedUnchecked*Checked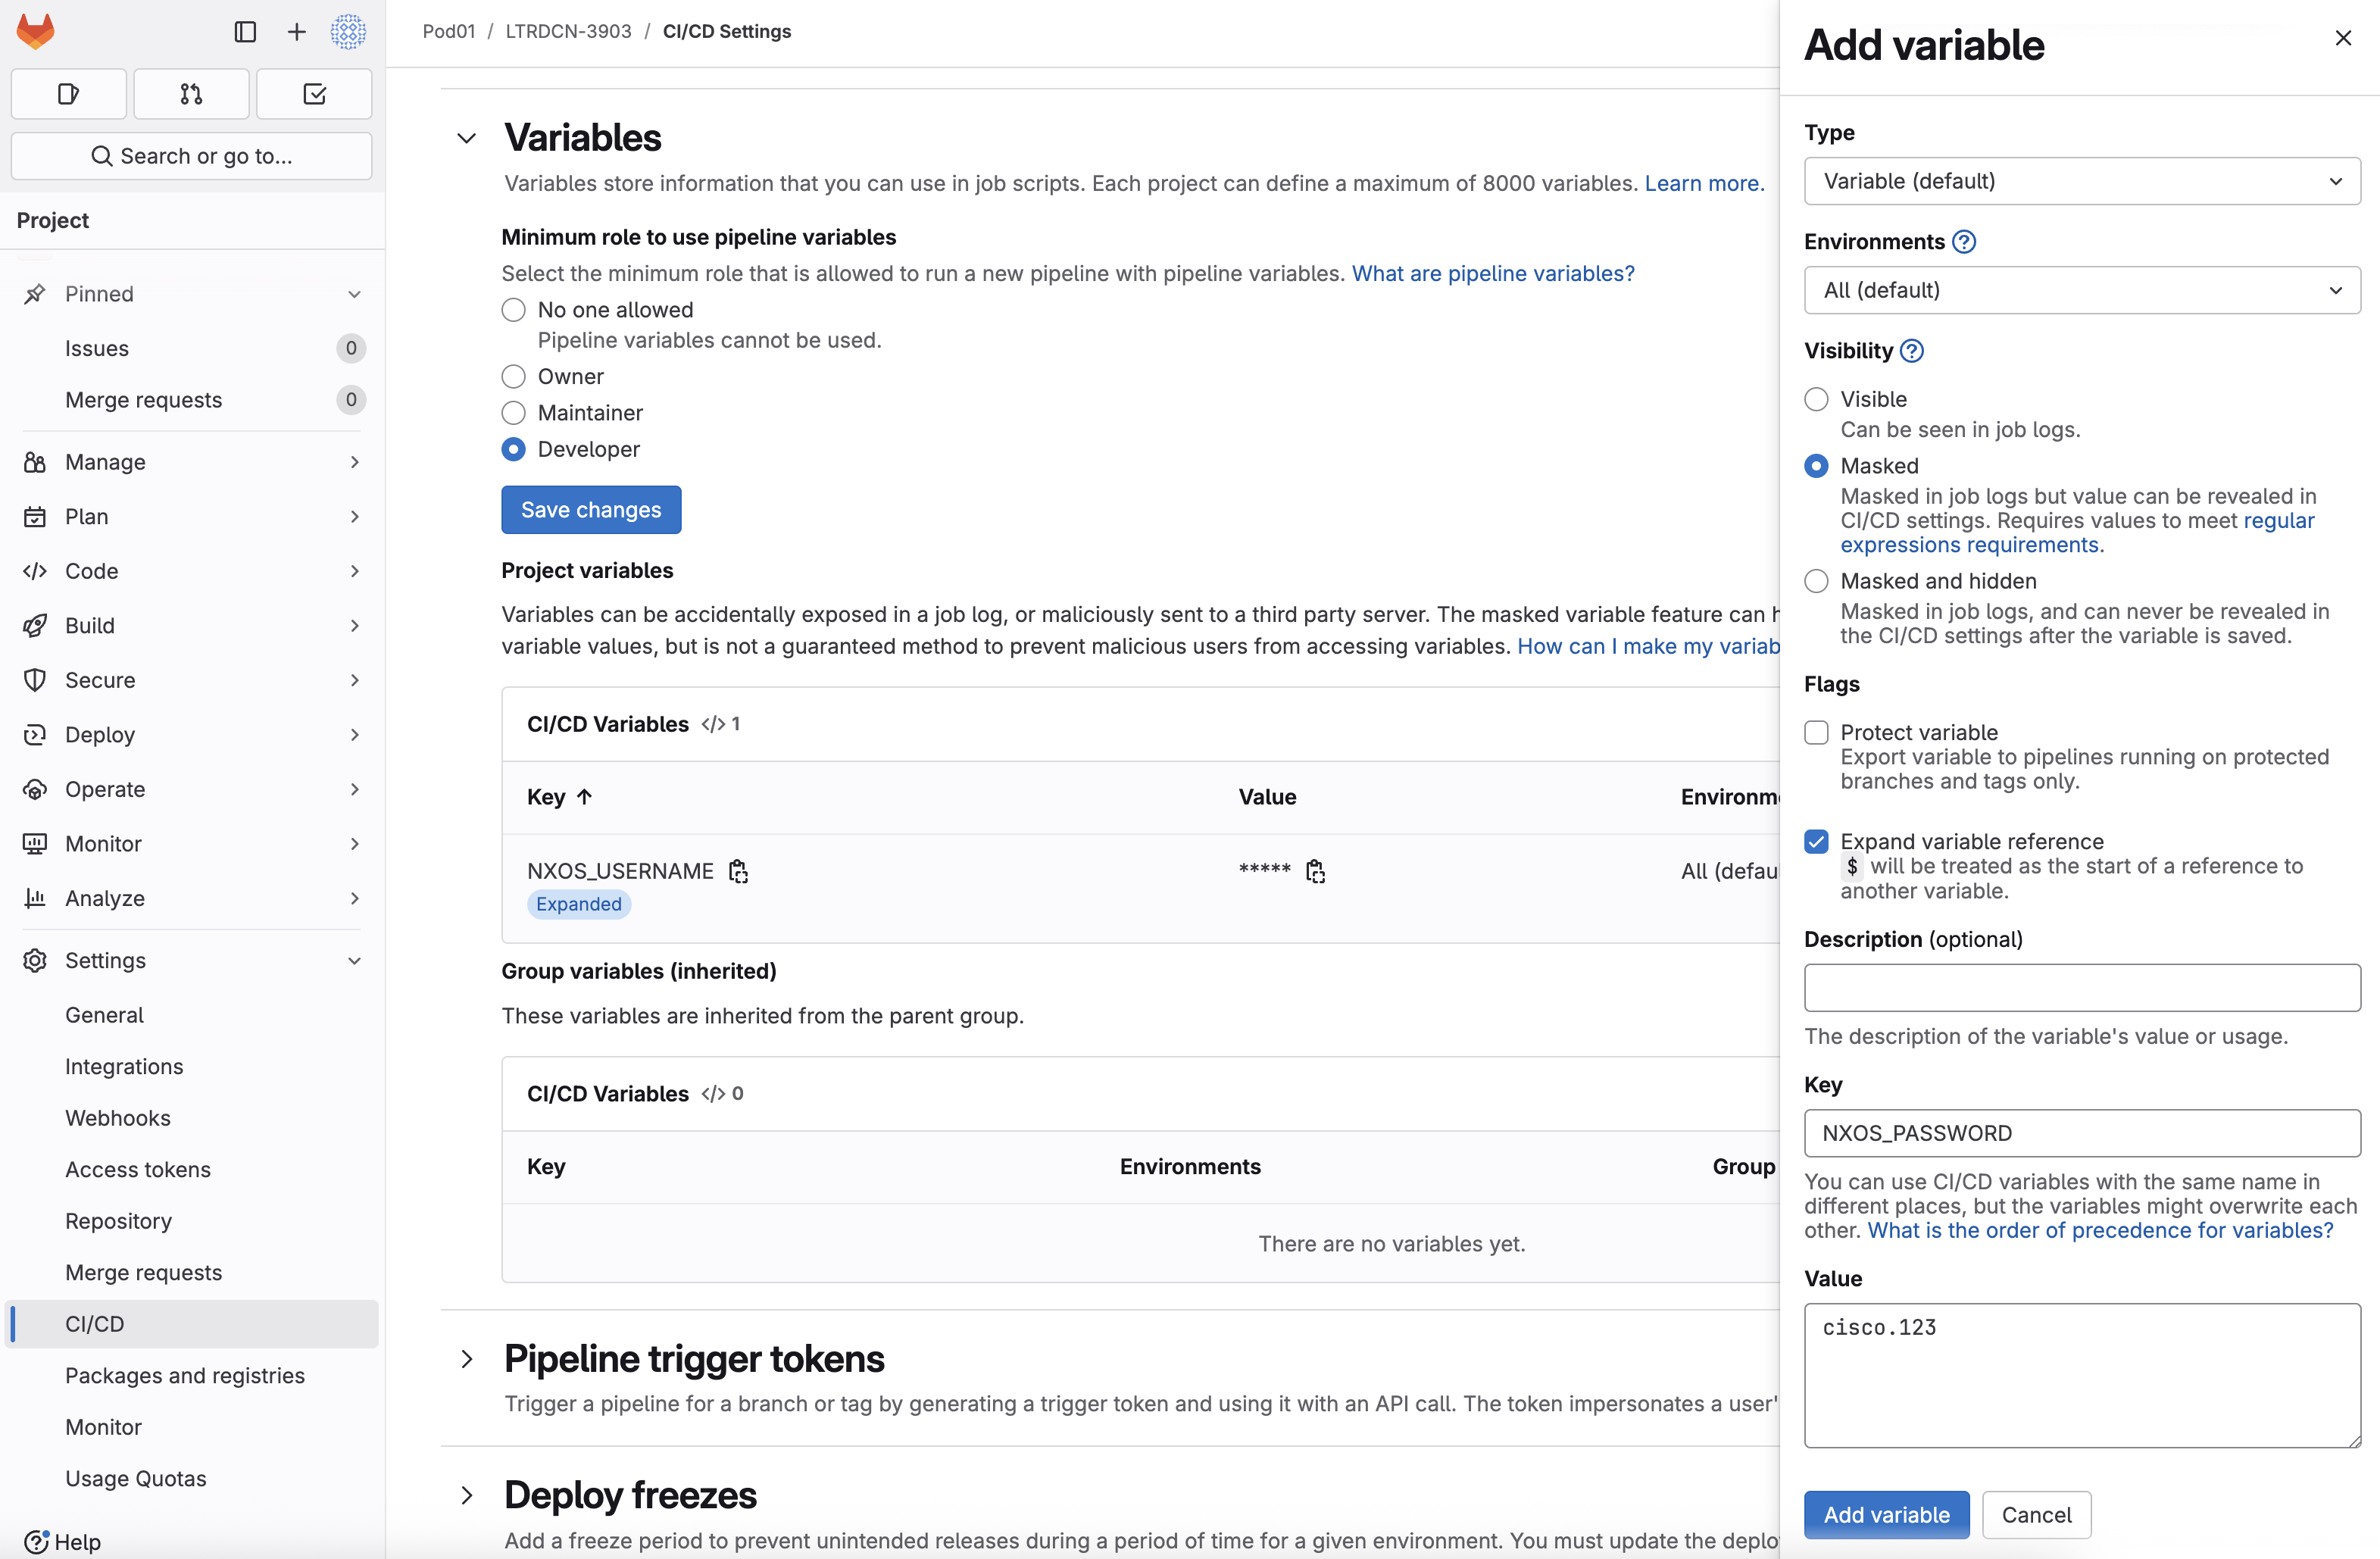

To begin, return to your VSCode Terminal. You will create a new branch in Git to work from. Branching in Git is a strategy to work on your codebase without making changes in the main branch. Doing so de-risks errors and issues you could introduce into the main branch inadvertently. For the purposes of this lab, the main branch is the branch that the pipeline will use to configure and test your prod fabric. Given this, the main branch should never be used for development and execution against your staging fabric. The main branch is a safe branch. If the lab allowed more time, there are additional concepts such as branch protection rules that you can explore to further protect your main branch from any use except for prod use.
To create a new branch, you can use git checkout -b where the option -b is for the new branch name.
git checkout -b staging
Switched to a new branch 'staging'
In your VSCode Terminal, use the code keyword to open a YAML file called .gitlab-ci.yml.
GitLab looks for this particular hidden file in a repo to leverage its CI/CD pipeline feature.
touch /home/pod01/workspace/nxapilab/.gitlab-ci.yml
code-server -r /home/pod01/workspace/nxapilab/.gitlab-ci.yml
This hidden file defines the pipeline and the stages to run. Your pipeline for this lab will have three (3) stages defined: lint, deploy, and test.
yamllint to check your repo for correct YAML formatting and ansible-playbook --syntax-check to validate the syntax and structure of your previously created playbooks.
As you populate and review the pipeline below, make note of the only and except keys.
These dictate which stages are run against which branch or not run against a branch.
As done in this lab, typically it is the main branch that is used with these keys. For example, when you want the pipeline to run against your staging setup, then you'll notice that except is used so that a particular step is
not run on main. On the contrary there are steps only applicable for prod, thus the only key is used to specify main.
The last two pieces to this pipeline is the usage of the only key to also control when the pipeline is run. For example, you could have the pipeline run against staging every single time a commit is pushed to the repo. Depending on your devops process,
that may be required, but for this lab, only will be used to control the pipeline running when a merge request is created. A merge request will be expanded on in the next section, but in short, this is the process of merging your code from another branch,
such as your staging branch in this case, into main. The other piece is the script key that defines a list of the commands to execute to run your automation. These commands should look familiar to you as you have been doing these manually up to this point in the lab.
Copy and paste the GitLab CI file into your open .gitlab-ci.yml file in VSCode:
---
image:
  name: mtarking/ciscolive:26.1

variables:
  ANSIBLE_HOST_KEY_CHECKING: 'false'
  ANSIBLE_FORCE_COLOR: 'true'
  ANSIBLE_PERSISTENT_COMMAND_TIMEOUT: 1000
  ANSIBLE_PERSISTENT_CONNECT_TIMEOUT: 1000

stages:
  - lint
  - deploy
  - test
yamllint:
  except:
    - main
  only:
    - merge_requests
  stage: lint
  script:
    - echo "Checking YAML files"
    - yamllint -d relaxed .

ansible_lint:
  except:
    - main
  only:
    - merge_requests
  stage: lint
  script:
    - echo "Checking playbook"
    - ansible-playbook --syntax-check -i ansible-nxos/staging.yml ansible-nxos/vxlan.yml
deploy_to_staging:
  except:
    - main
  only:
    - merge_requests
  needs:
    - yamllint
    - ansible_lint
  stage: deploy
  script:
    - echo "Deploy to staging fabric"
    - ansible-playbook -i ansible-nxos/staging.yml ansible-nxos/vxlan.yml

pyats_aetest_test_staging:
  except:
    - main
  only:
    - merge_requests
  needs:
    - deploy_to_staging
  stage: test
  script:
    - echo "Test staging fabric"
    - pyats run job tests/pyats_easypy.py --testbed-file tests/staging-testbed.yaml --host_vars ansible-nxos/host_vars --archive-dir=./tests/results --xunit=./tests/results --no-archive-subdir --no-mail
  artifacts:
    when: always
    paths:
      - tests/results/*.zip
      - tests/results/report.html
    reports:
      junit: tests/results/xunit.xml

pyats_robot_test_staging:
  except:
    - main
  only:
    - merge_requests
  needs:
    - deploy_to_staging
  stage: test
  script:
    - echo "Test staging fabric"
    - pyats run robot tests/pyats.robot --testbed-file tests/staging-testbed.yaml --archive-dir=./tests/results --xunit=./tests/results --no-archive-subdir --no-mail
  artifacts:
    when: always
    paths:
      - tests/results/*.zip
      - tests/results/report.html
    reports:
      junit: tests/results/xunit.xml
deploy_to_prod:
  only:
    - main
  stage: deploy
  script:
    - echo "Deploy to prod fabric"
    - ansible-playbook -i ansible-nxos/prod.yml ansible-nxos/vxlan.yml

pyats_aetest_test_prod:
  only:
    - main
  stage: test
  script:
    - echo "Test prod fabric"
    - pyats run job tests/pyats_easypy.py --testbed-file tests/prod-testbed.yaml --host_vars ansible-nxos/host_vars --archive-dir=./tests/results --xunit=./tests/results --no-archive-subdir --no-mail
  artifacts:
    when: always
    paths:
      - tests/results/*.zip
      - tests/results/report.html
    reports:
      junit: tests/results/xunit.xml

pyats_robot_test_prod:
  only:
    - main
  stage: test
  script:
    - echo "Test prod fabric"
    - pyats run robot tests/pyats.robot --testbed-file tests/prod-testbed.yaml --archive-dir=./tests/results --xunit=./tests/results --no-archive-subdir --no-mail
  artifacts:
    when: always
    paths:
      - tests/results/*.zip
      - tests/results/report.html
    reports:
      junit: tests/results/xunit.xml
The below usage of the cat command is a quick shortcut to add another L2VNI to your networks data list.
Since you have done the execution manually in the lab to learn or expand on using these Devops tools for networking automation,
this update is to provide a more realistic example where you want to make and test a change to your staging fabric.
By introducing the pipeline above, once the merge request is opened the pipeline will execute which will deploy and test
the change in your staging fabric. If the pipeline suceeds and the change is merged to your main branch, the pipeline will run
again to deploy and test the change in your prod fabric.
cat <<EOF >> /home/pod01/workspace/nxapilab/ansible-nxos/group_vars/leafs.yml
  - name: AnsibleNet3
    vrf: *refvrf_ansiblevrf
    vlan_id: 103
    vni_id: 10103
    ip_address: 192.168.103.1
    mask: 24
    mcast_grp: 239.1.1.3
EOF
With the creation of the GitLab CI file and the update to the leaf roles variables file, issue a git status to view your local pending changes. Notice with this command, you can see files that are already tracked by git
show modified, i.e. ansible-nxos/roles/leaf/vars/main.yml whereas new files are not tracked and need to be added like you did in the previous section.
git status
  On branch staging
  Changes not staged for commit:
    (use "git add ..." to update what will be committed)
    (use "git restore ..." to discard changes in working directory)
          modified:   ansible-nxos/group_vars/leafs.yml

  Untracked files:
    (use "git add ..." to include in what will be committed)
          .gitlab-ci.yml

  no changes added to commit (use "git add" and/or "git commit -a")
Add the .gitlab-ci.yml file to your Git repo.
git add .
git status
  On branch staging
  Changes to be committed:
    (use "git restore --staged ..." to unstage)
          new file:   .gitlab-ci.yml
          modified:   ansible-nxos/group_vars/leafs.yml
Commit the changes with a descriptive update message.
git commit -am "add gitlab ci & add new network to fabric"
  [staging dabe383] add gitlab ci & add new network to fabric
    2 files changed, 130 insertions(+)
    create mode 100644 .gitlab-ci.yml
Push the Git commit to the new branch you created at the start of this section. This creates the staging branch in your Git repo on the GitLab instance.
The difference now between the staging branch and the main branch is the leaf roles variable modification and the addition of the GitLab CI file.
git push --set-upstream origin staging
  Enumerating objects: 10, done.
  Counting objects: 100% (10/10), done.
  Delta compression using up to 8 threads
  Compressing objects: 100% (6/6), done.
  Writing objects: 100% (6/6), 1.18 KiB | 603.00 KiB/s, done.
  Total 6 (delta 2), reused 0 (delta 0), pack-reused 0
  remote:
  remote: To create a merge request for staging, visit:
  remote:   http://10.15.0.159/Pod01_2025_01/LTRDCN-3903/-/merge_requests/new?merge_request%5Bsource_branch%5D=staging
  remote:
  To 10.15.0.159:Pod01_2025_01/LTRDCN-3903.git
  * [new branch]      staging -> staging
  Branch 'staging' set up to track remote branch 'staging' from 'origin'.
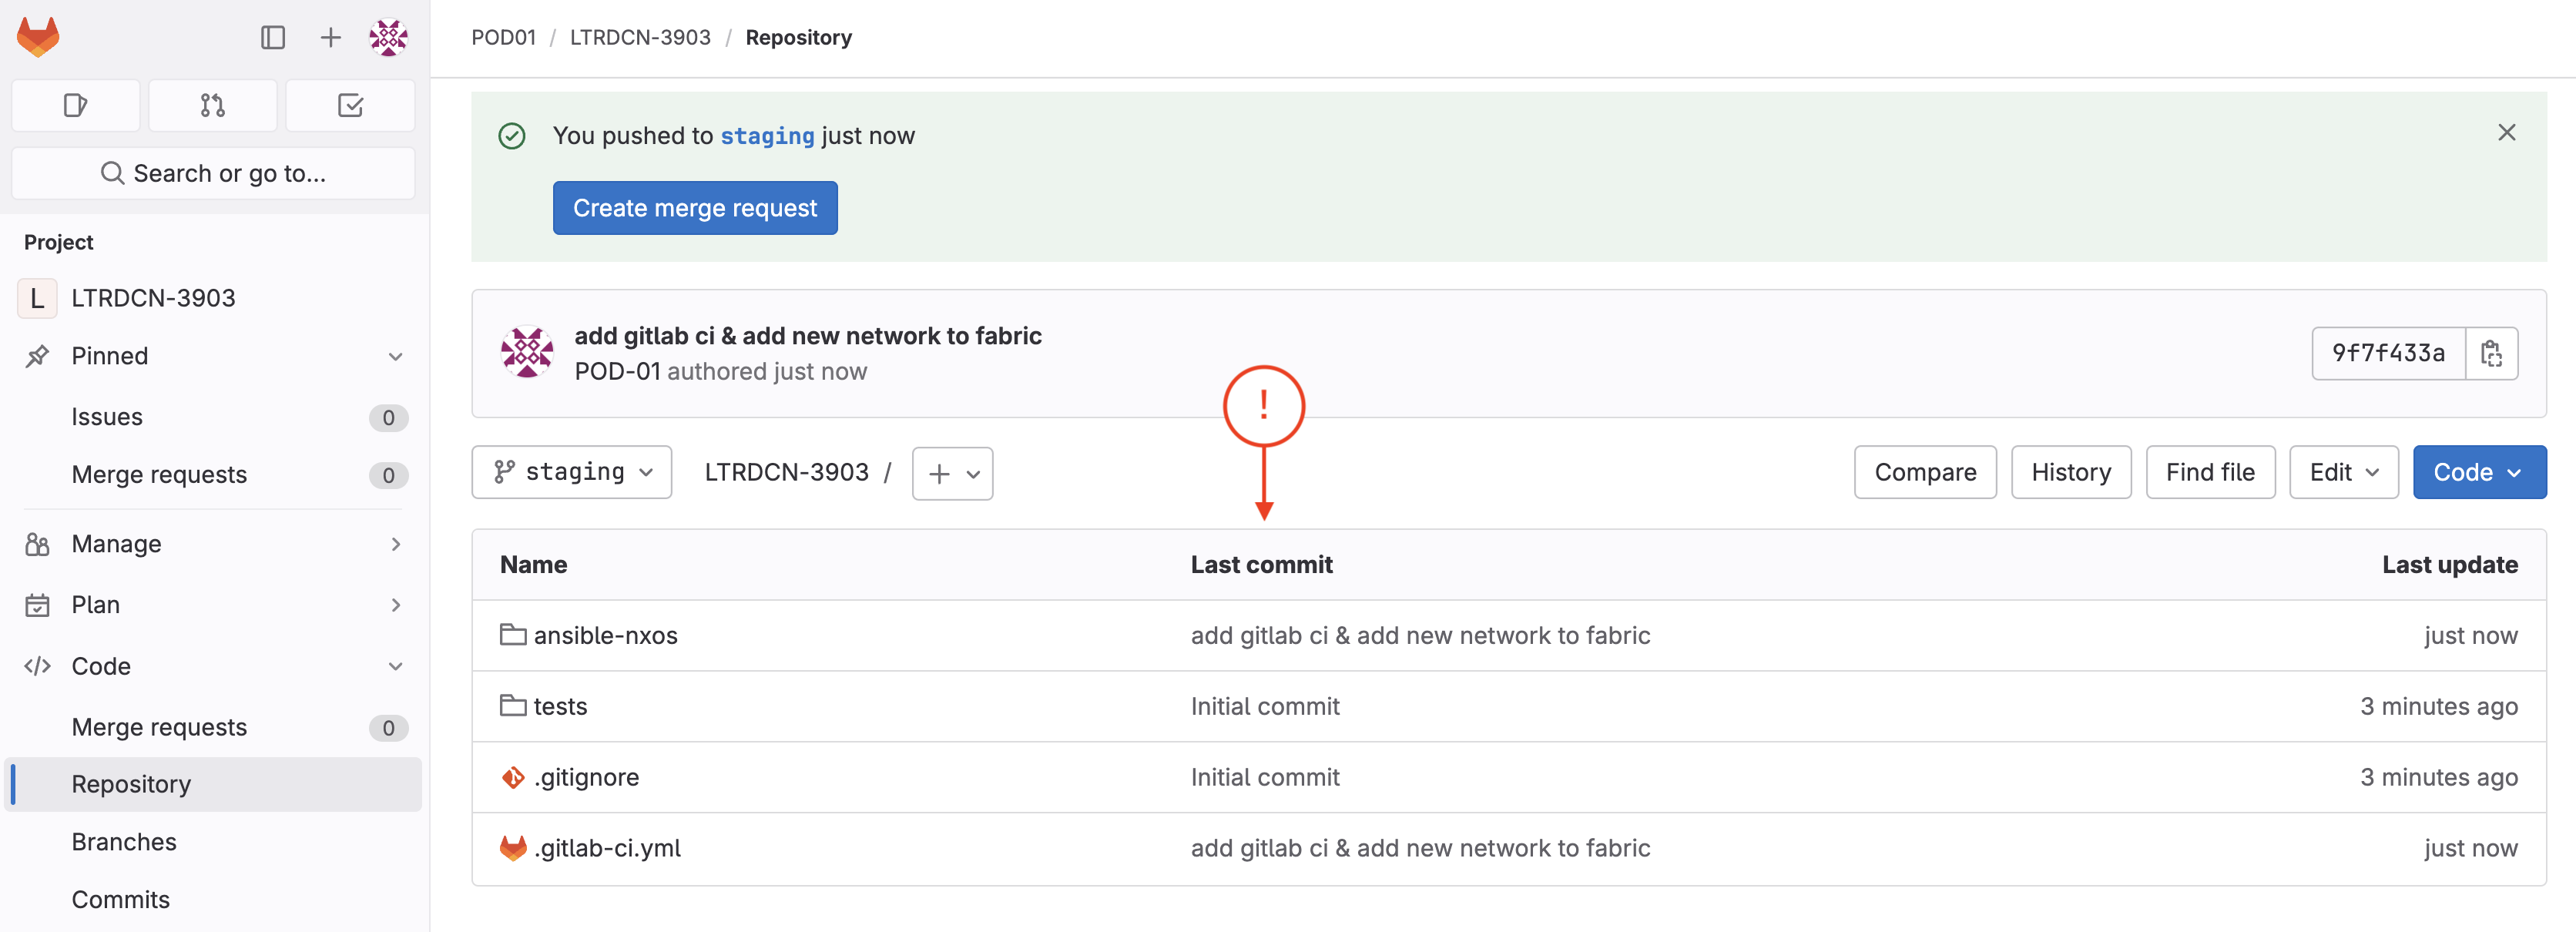
Return to GitLab. Click main to get a dropdown list of avaialble branches. Select the staging branch. If your view does not match the view in the screenshot below, then please refresh the webpage.
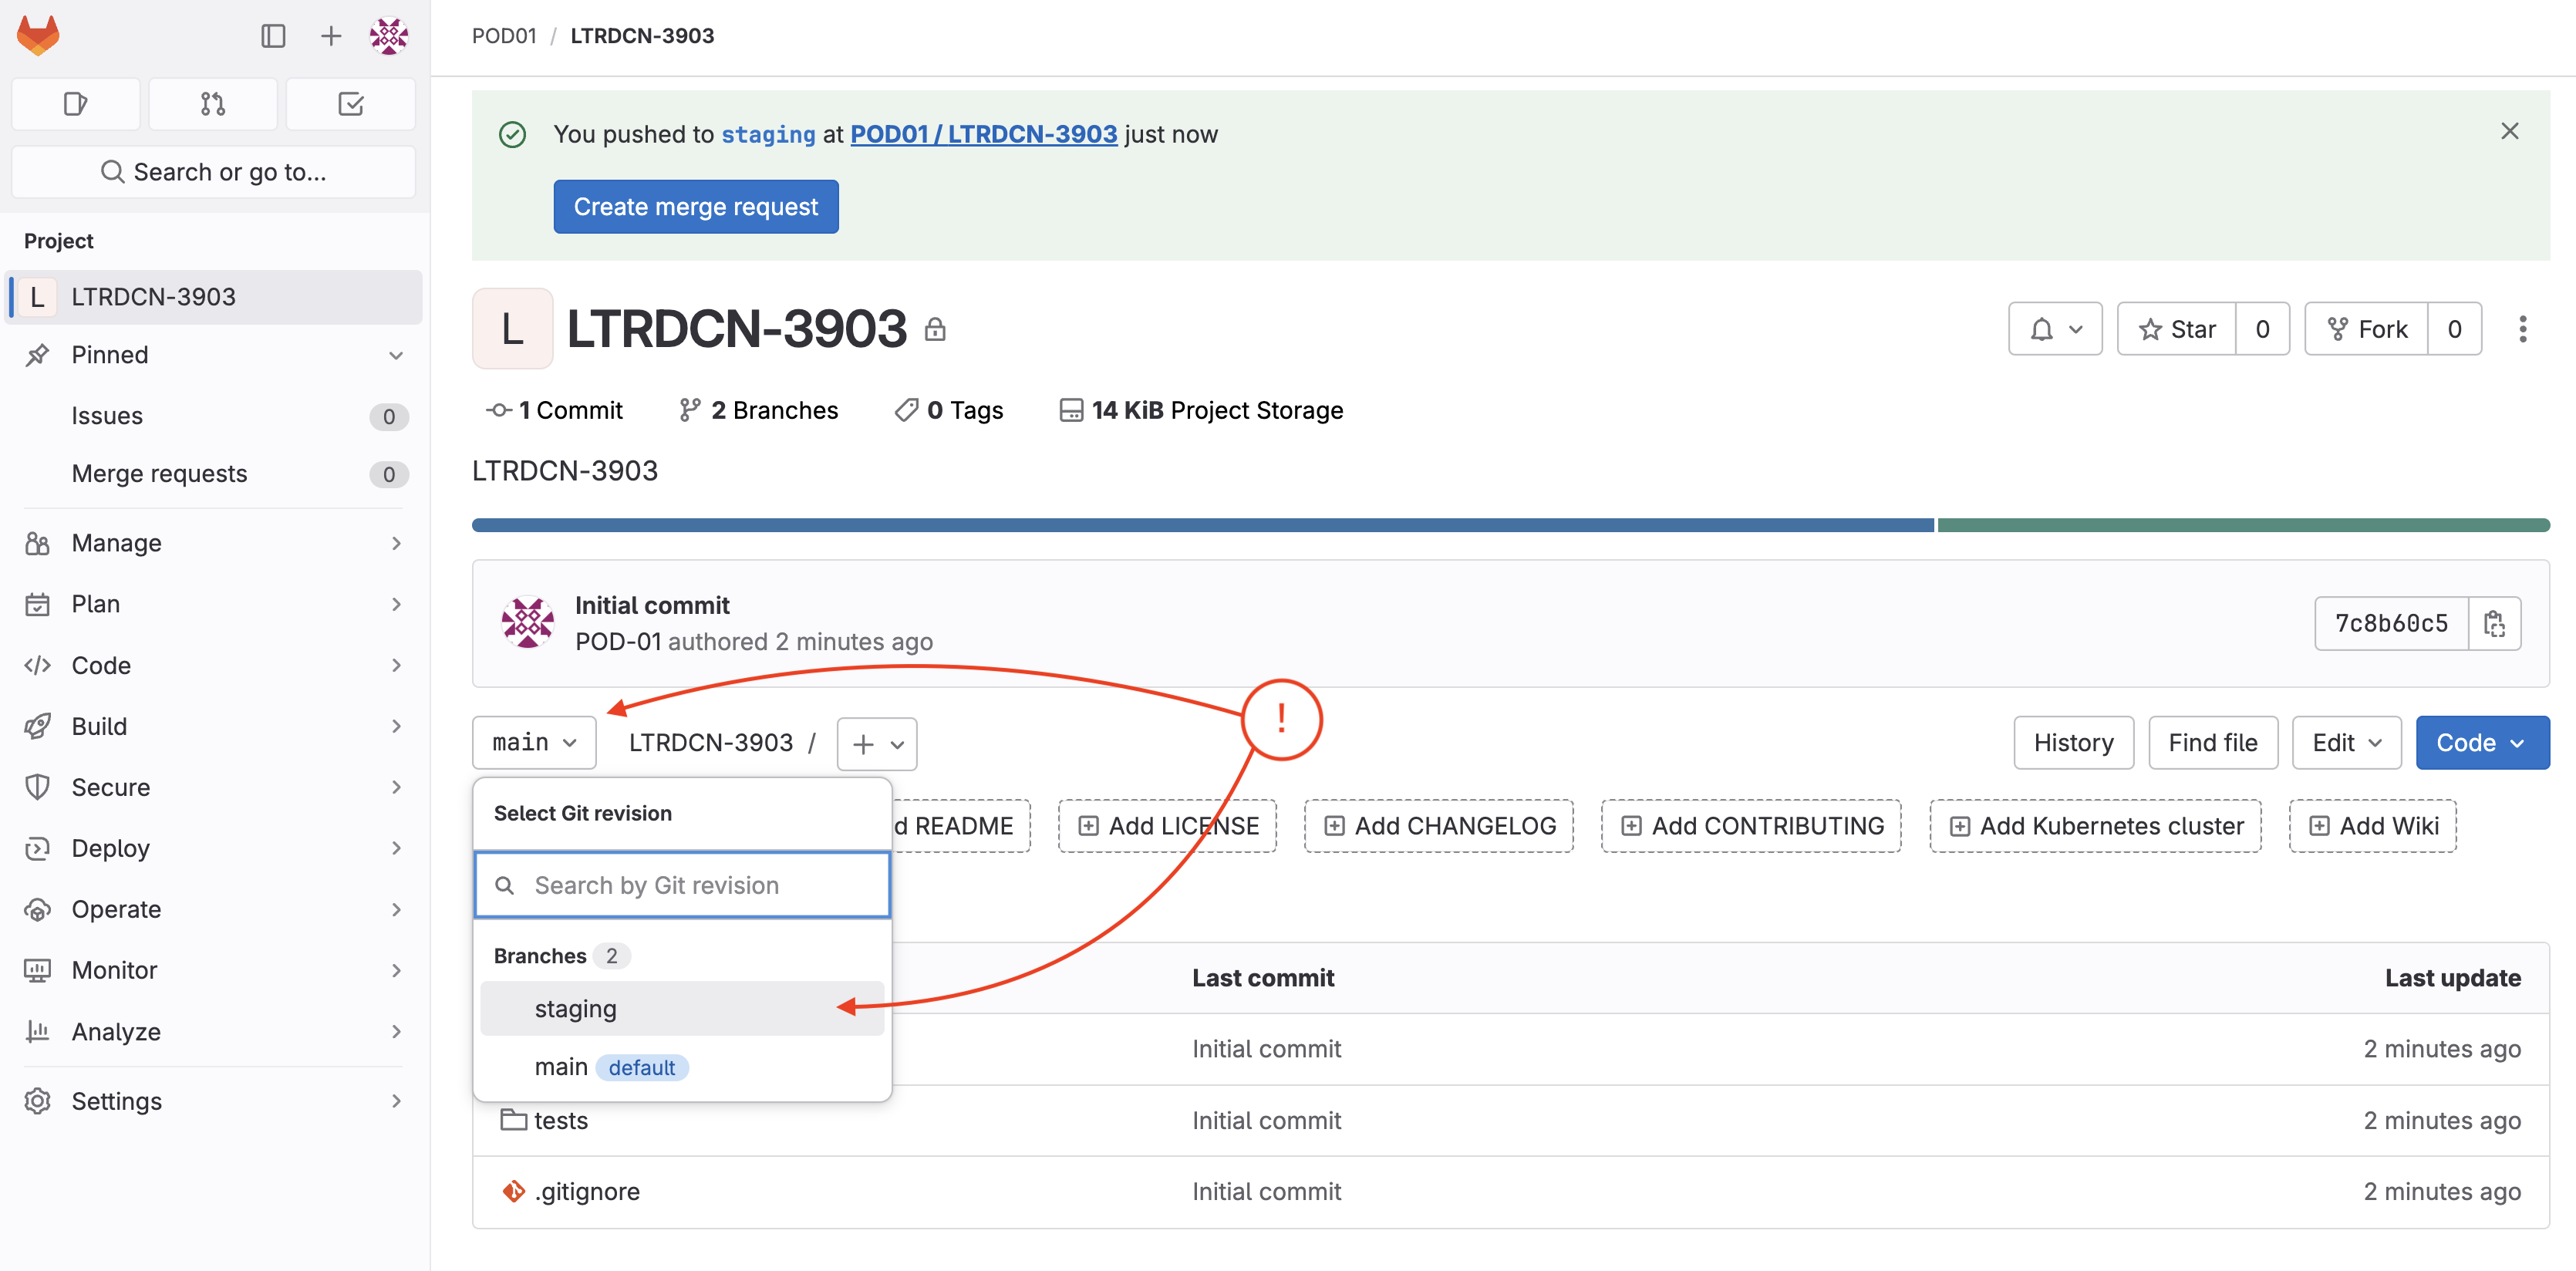
Finally, review the Last commit column and notice it should match your commit message. Additionally, notice the .gitlab-ci.yml file now present.
Continue to the next section to put your network automation and CI/CD pipeline into action against your staging and prod fabrics!