Visual Studio Code — commonly called VSCode or "code" — is a free code editor used across the industry. It provides syntax checking, highlighting, and a rich set of extensions tailored to various programming languages.
IDEs allow you to choose a specific Python runtime interpreter, such as Python version 3.10.6 or 3.11.14. This lab extends the interactive IDE capabilities by utilizing VSCode's code server functionality. In this lab, you will access VSCode in a browser that is delivered by a project called code-server running on an Ubuntu VM hosted in RTP, North Carolina. This allows you to develop locally but run remotely. For this lab, you will be working primarily with Python and YAML file types.
Navigate to your VSCode application in your browser. You can launch your application session if it's not already open by clicking the link below:
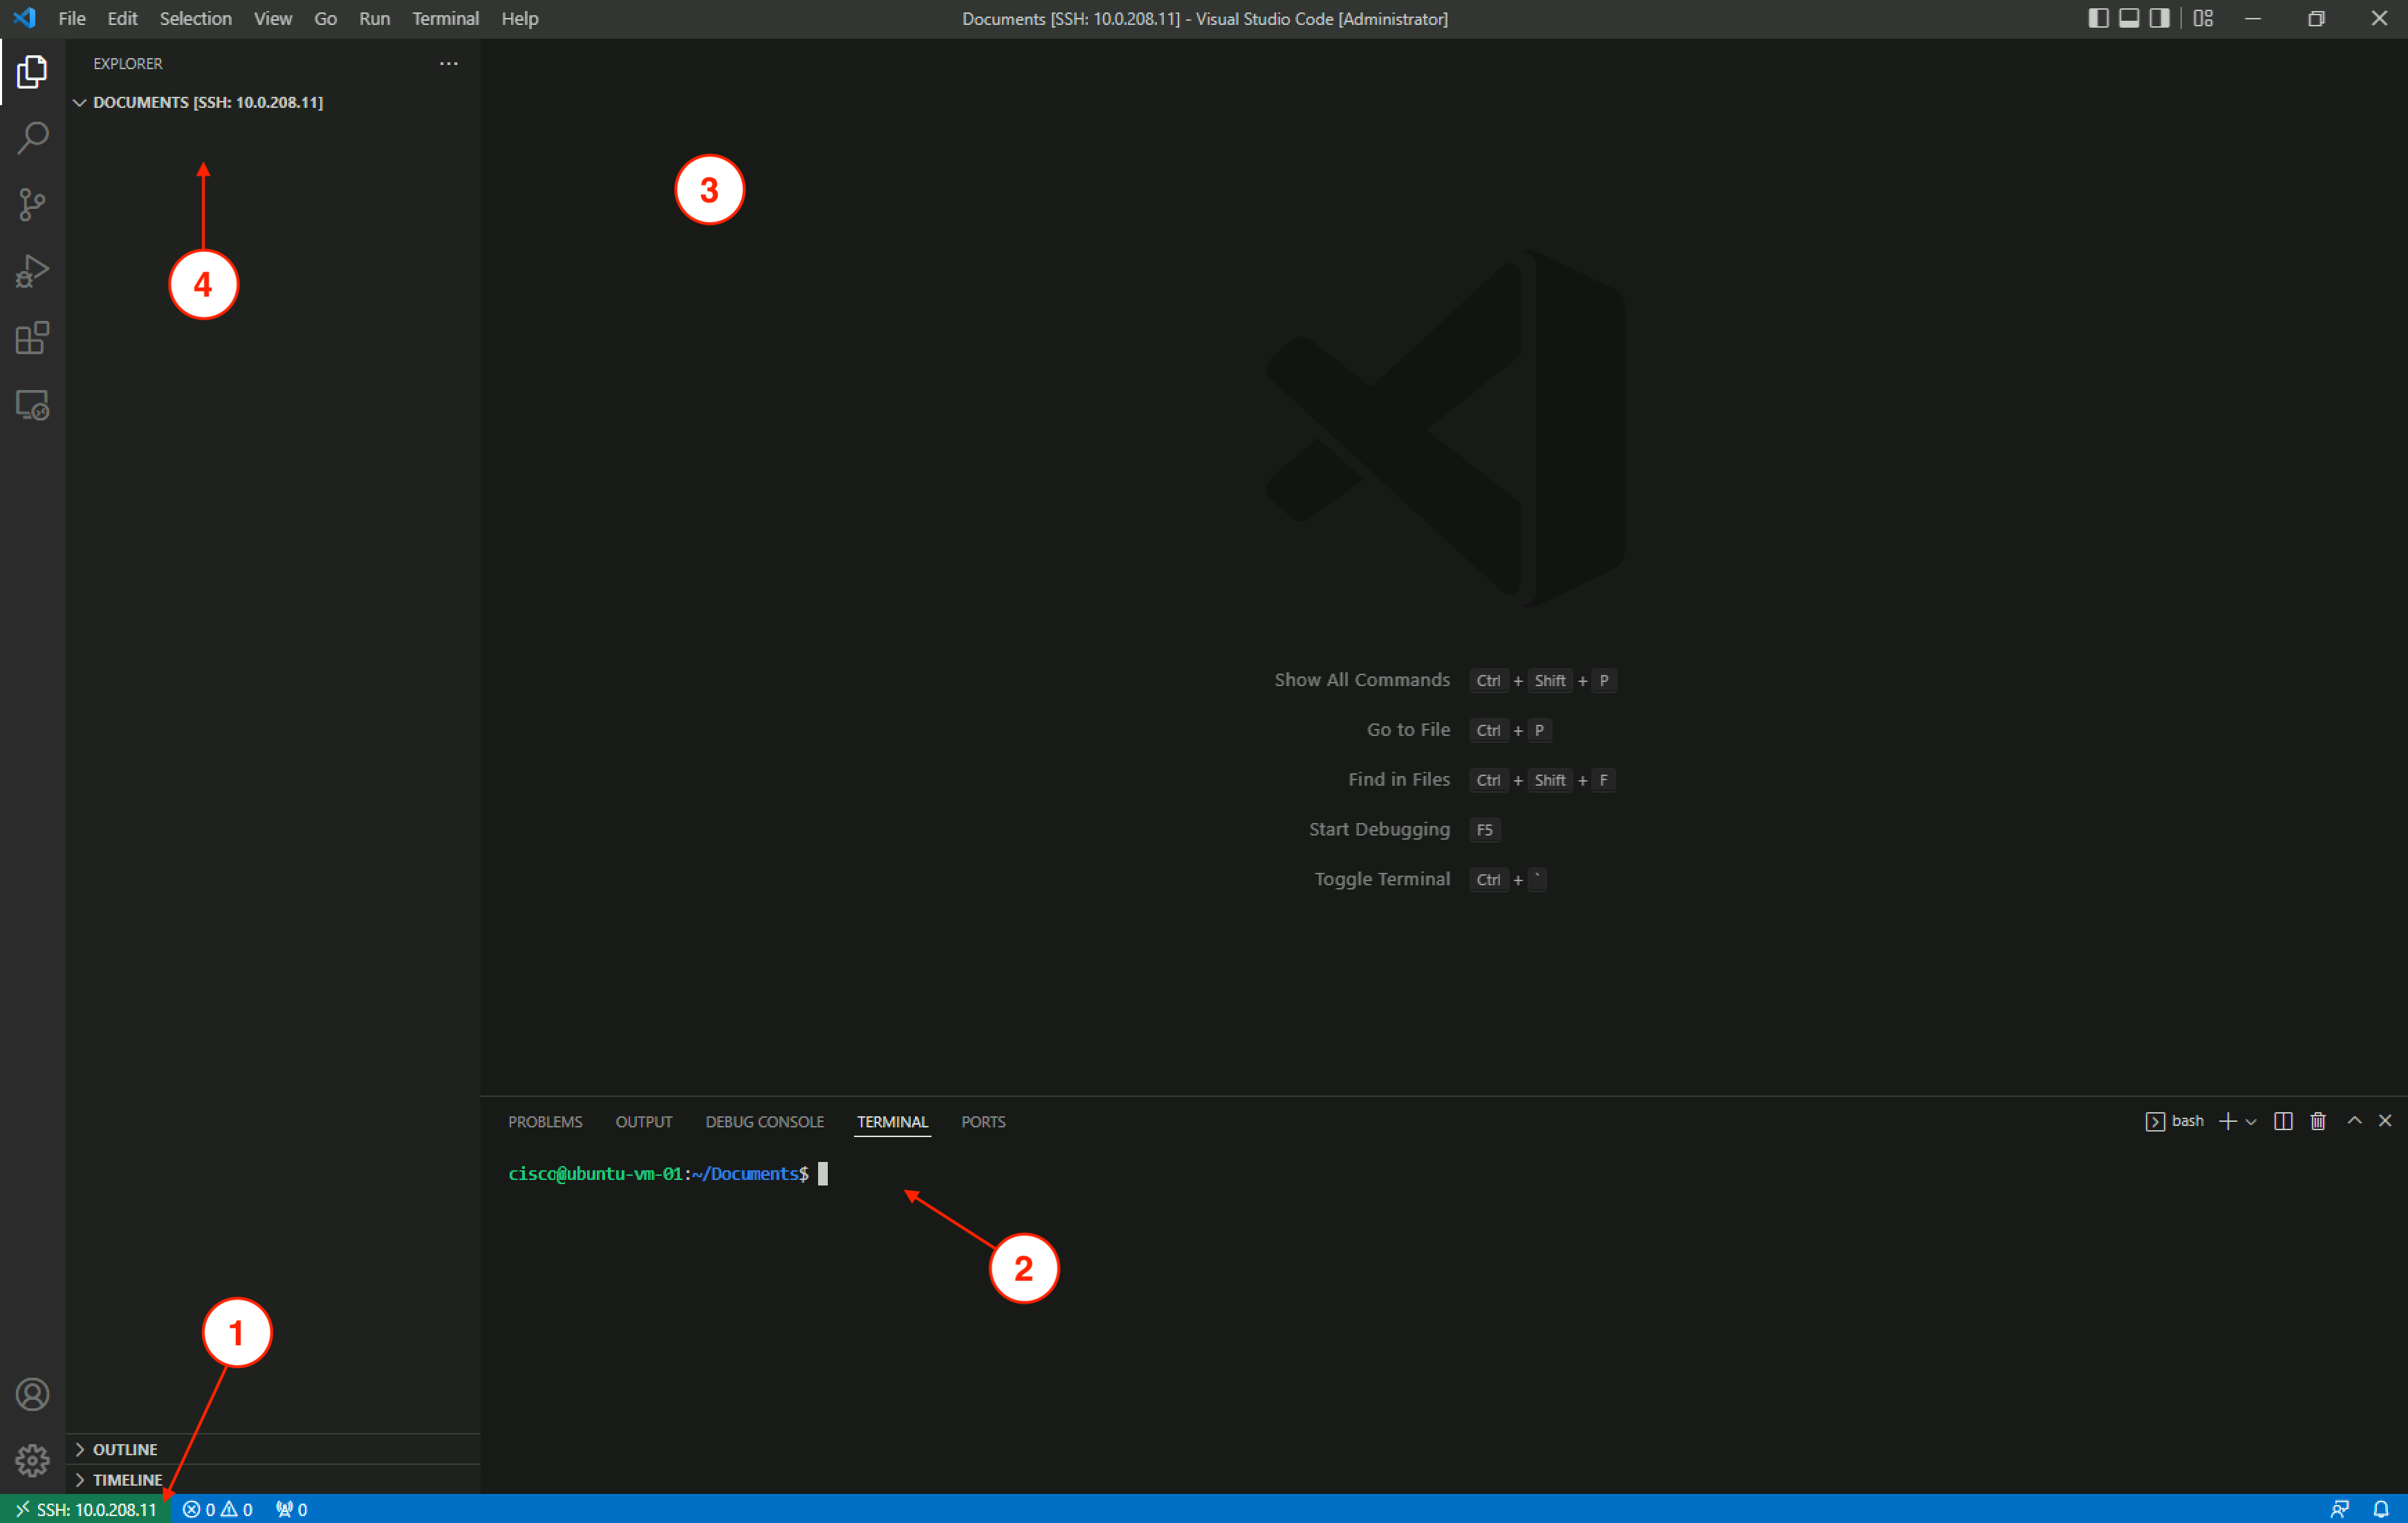
Your VSCode screen should look very similar to the screenshot shown below.
A few things to note:
Continue to the next section to set up your Python development environment using pyenv on the Ubuntu VM.