Postman is a powerful GUI client designed to mainly test API development by building API requests within the client framework. The Postman application is available as a native app for Mac, Windows, or Linux. In this lab, you will be leveraging the Postman app for Linux, which has already been installed for you on your CentOS VM. If you wish to install Postman on your personal machine, simply download the Mac zipfile or Windows executable. Since the Linux Postman app is still beta, after you download the tar.gz file, it takes a few manual steps to install.
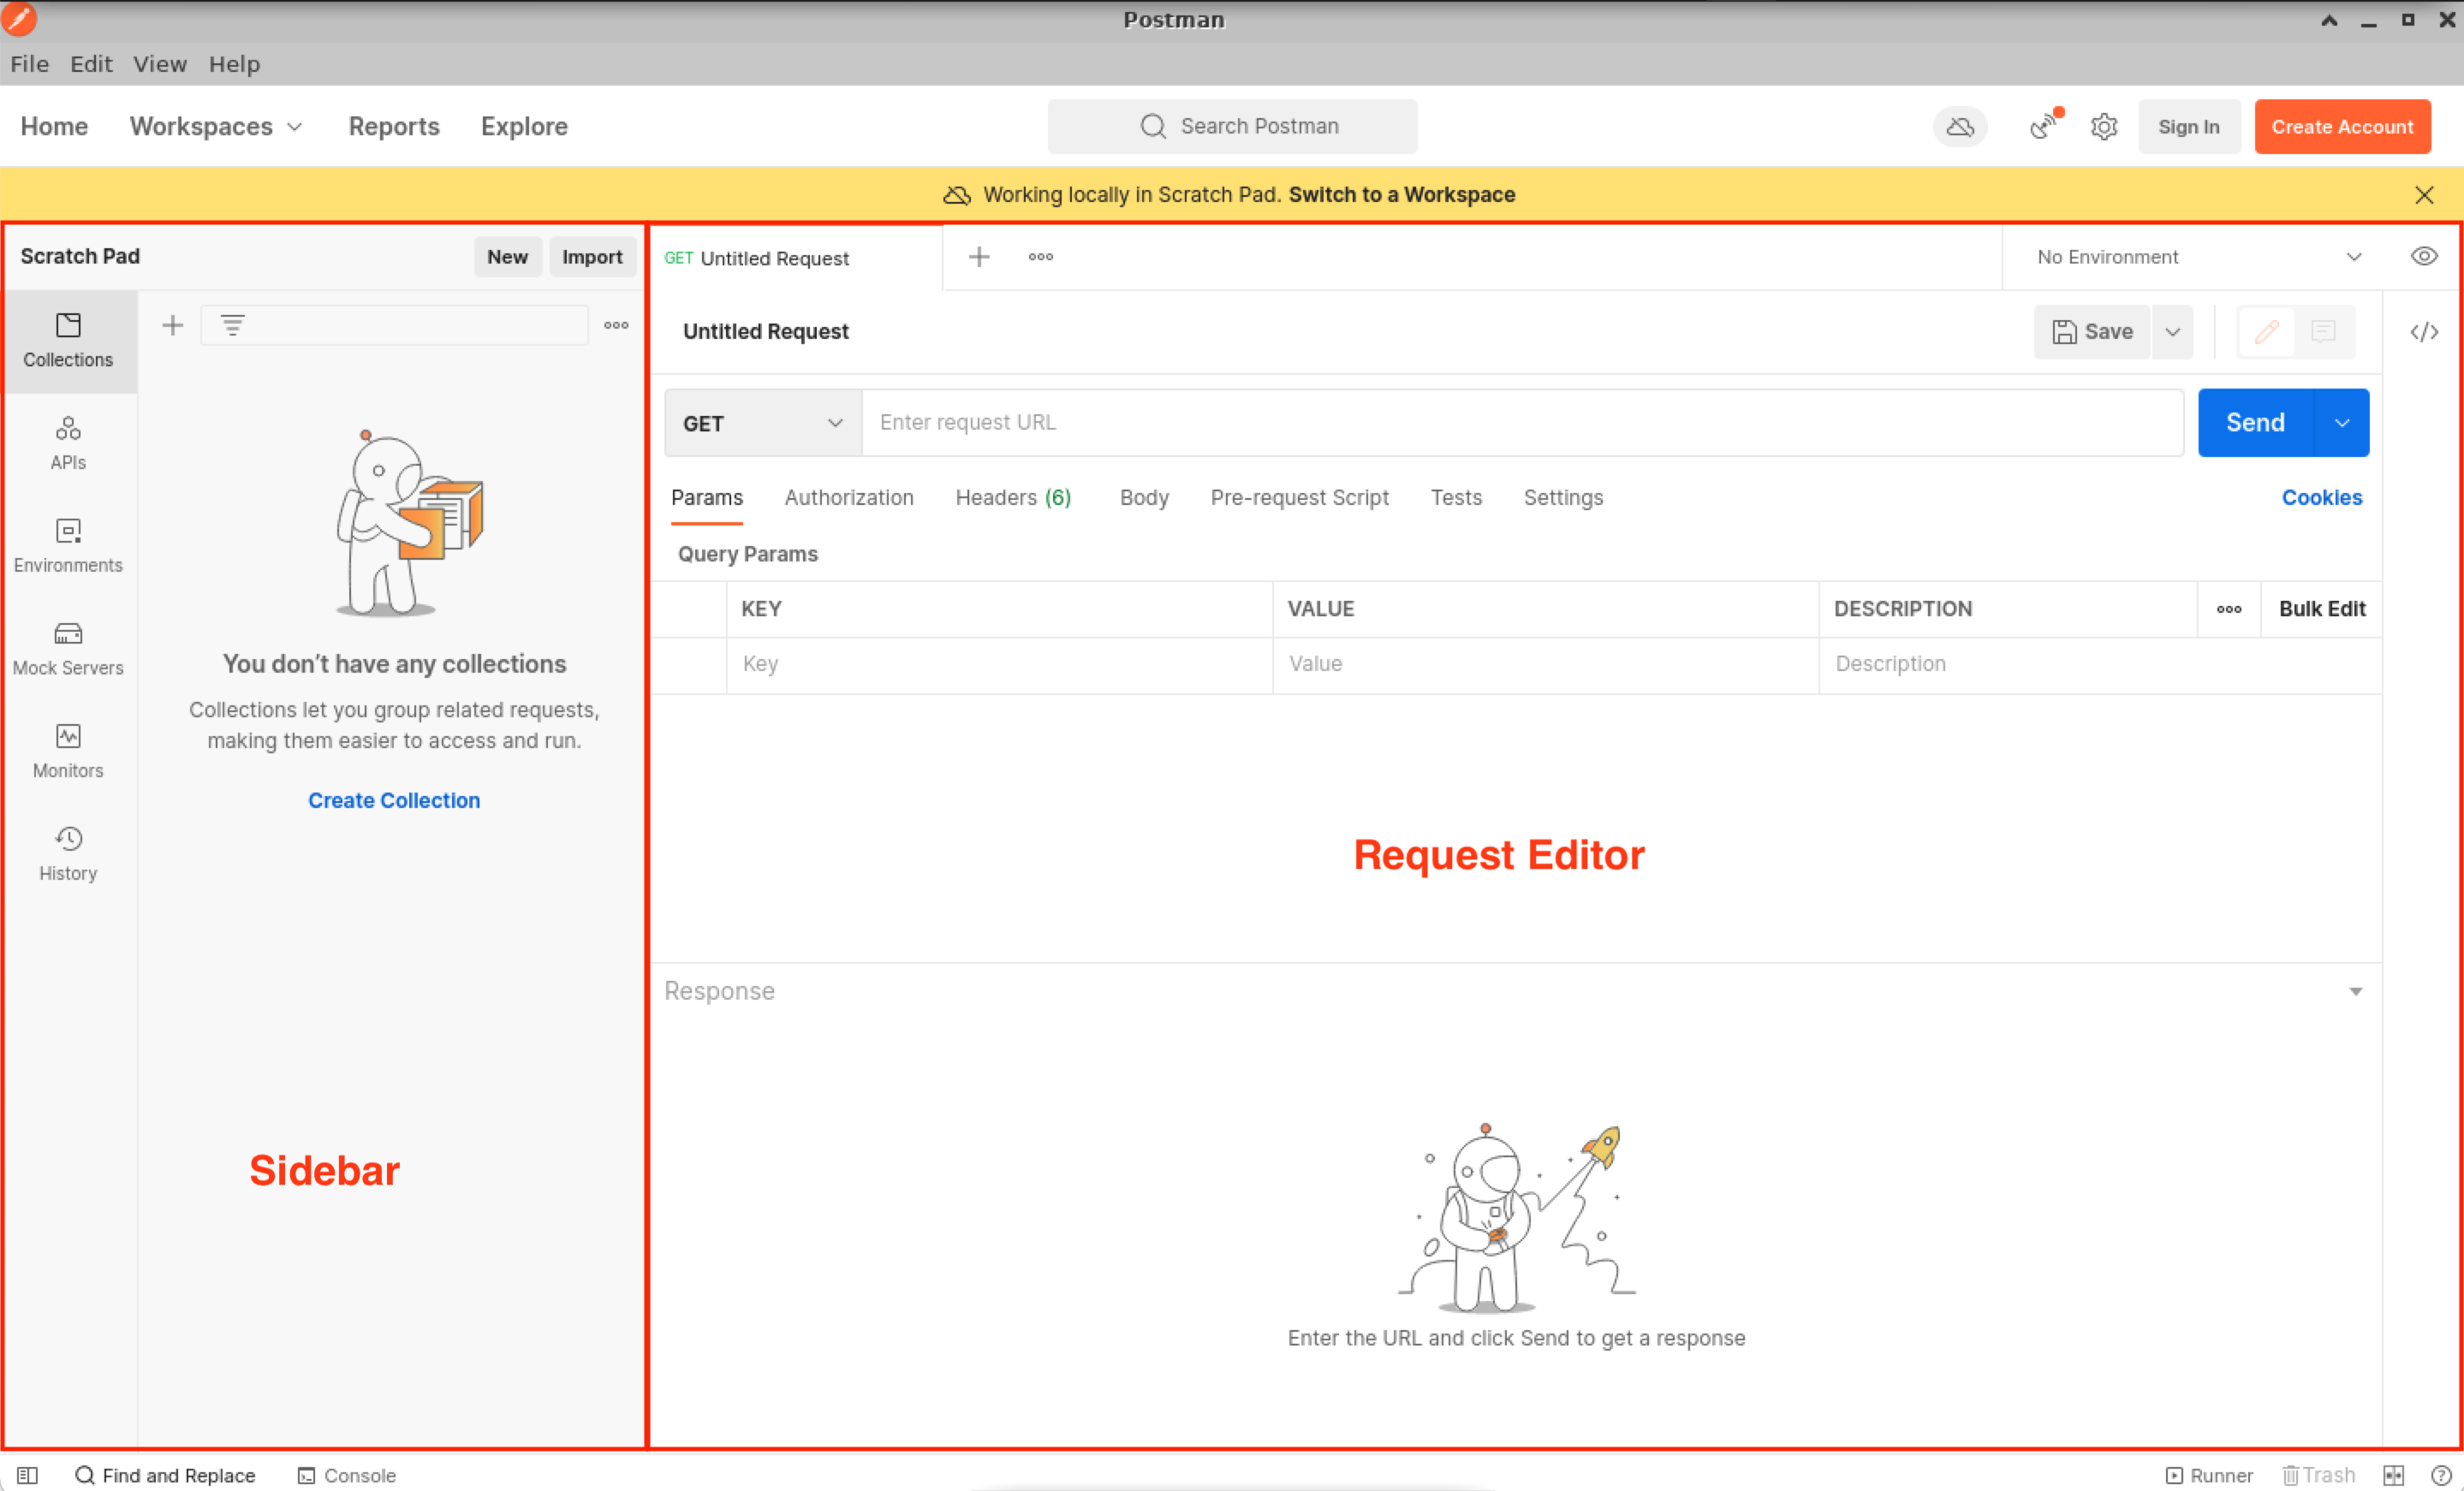
You will be presented with the Postman GUI client. The left side of the GUI is called the sidebar while the center and main screen is considered the request editor.
Note: When you first open Postman, there may be a pop up that you need to close to get the view you see below.
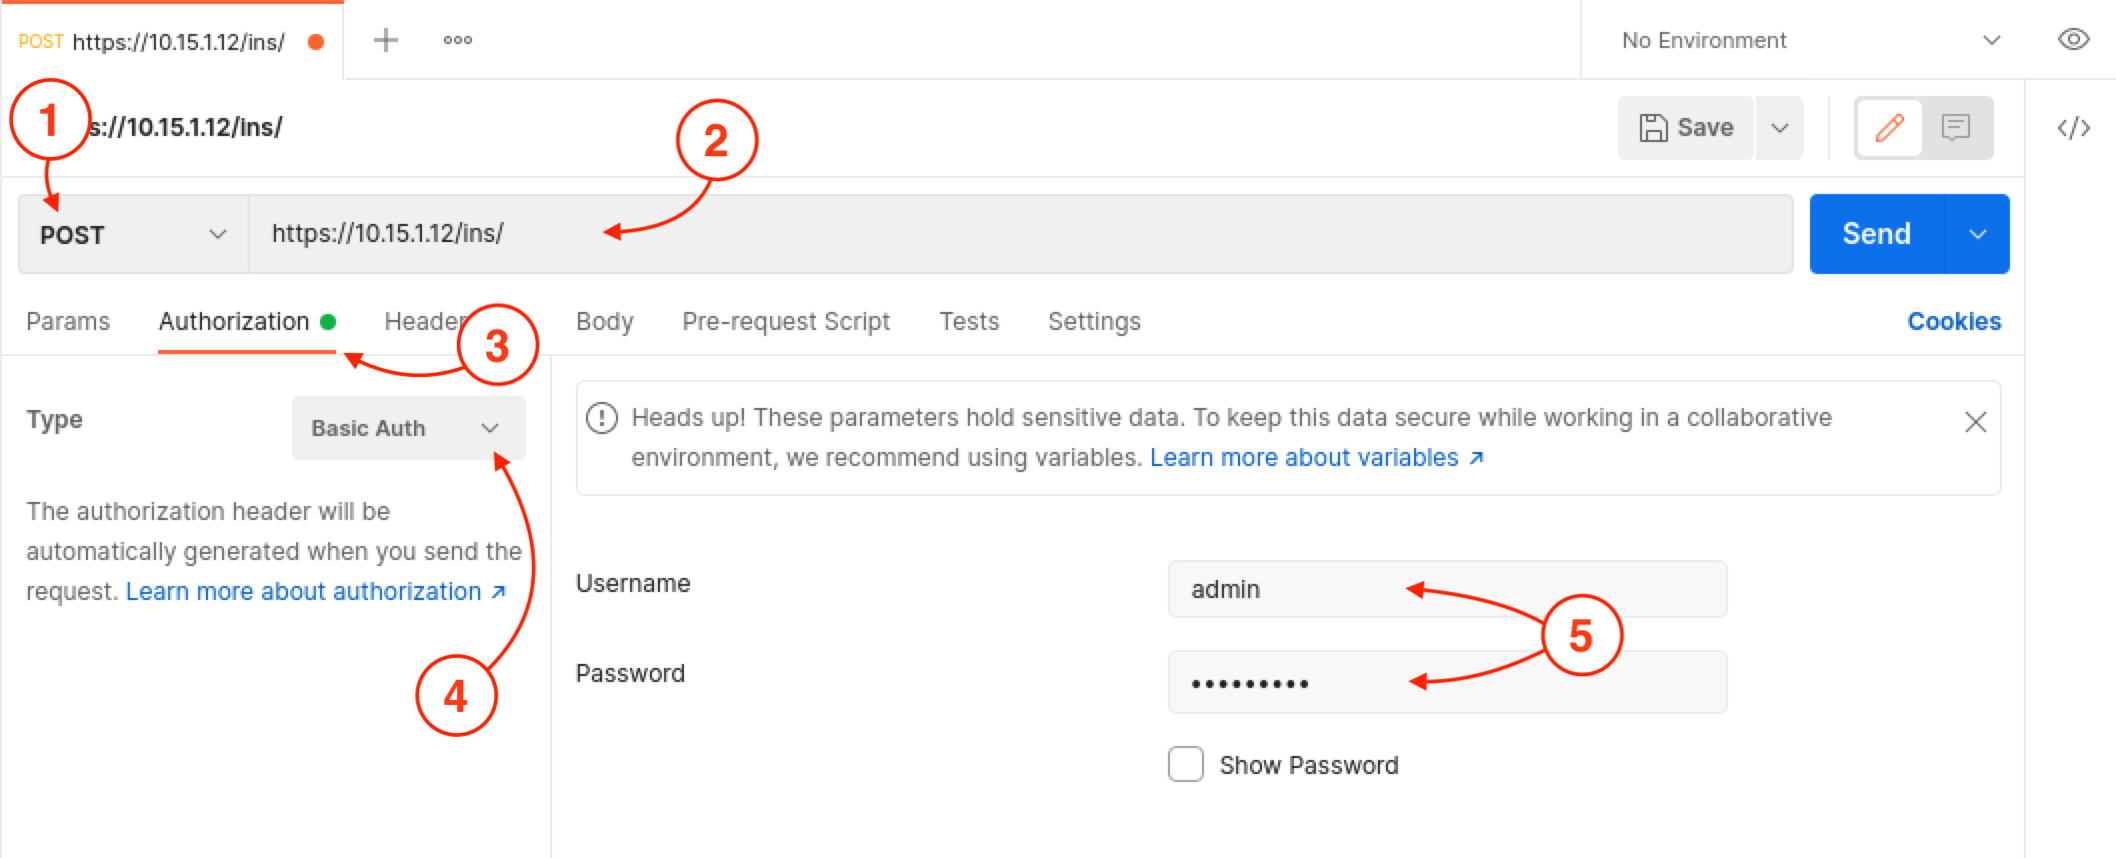
You are now going to create your first POST request off-box to your first Leaf switch using the same show command from the previous section; show version. You are going to leverage the JSON request method. In Postman, in the request type at the top center of the app, select POST. The NX-API request URL can be found below. Insert this URL into the request URL field.
https://10.15.6.21/ins/
In the Authorization settings, select Basic Auth. For the Username field use admin and for the Password use cisco.123.
Example from Pod01:
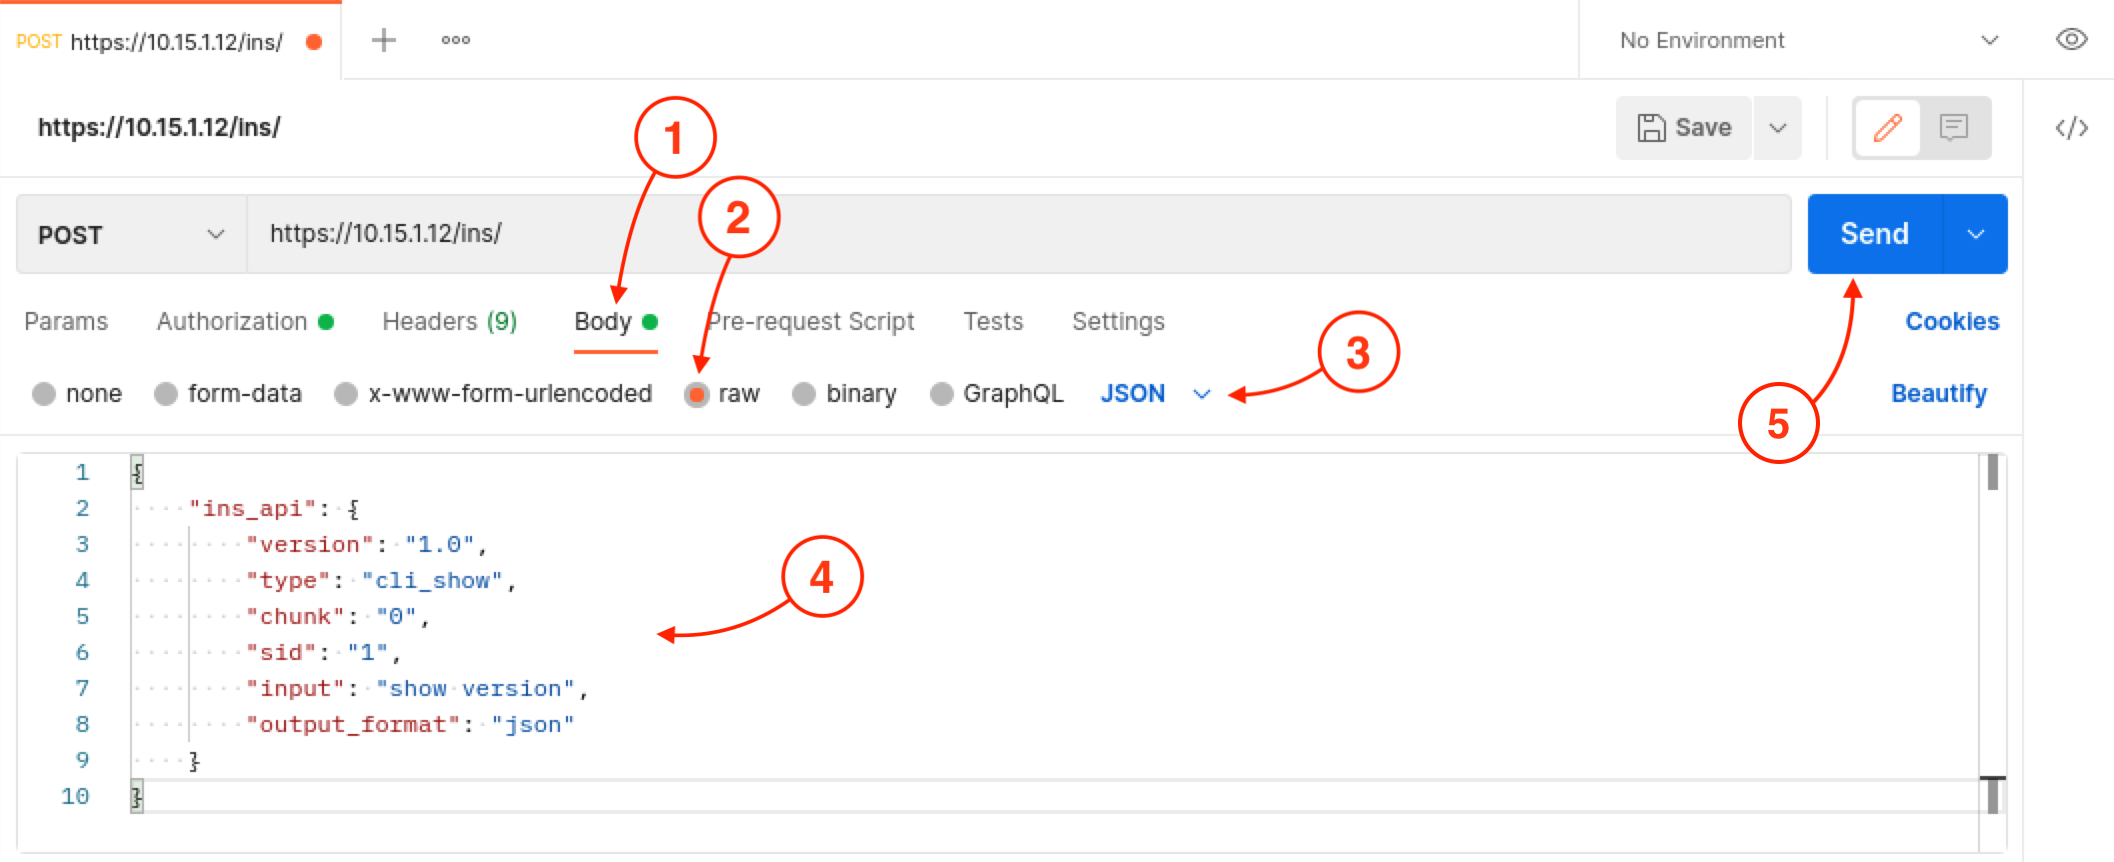
Click Body, then click the raw radio button. Still on the same line of the application, select the Text drop down. In the Text drop down there is a list of HTTP header content-types. In relation to what you have been previously doing in the NX-API Sandbox, this is equivalent to the message-format. For JSON, select JSON (application/json). Copy the Cisco Proprietary JSON data structure below and paste into the text area. Click the Send button to perform the POST request.
Note: In this section on Postman, you may need to try pasting using a few options due to issues with the Linux Postman. These include trying Ctrl+v on your keyboard, right-click then paste, or Edit then paste.
        {
            "ins_api": {
                "version": "1.0",
                "type": "cli_show",
                "chunk": "0",
                "sid": "1",
                "input": "show version",
                "output_format": "json"
            }
        }
Example from Pod01:
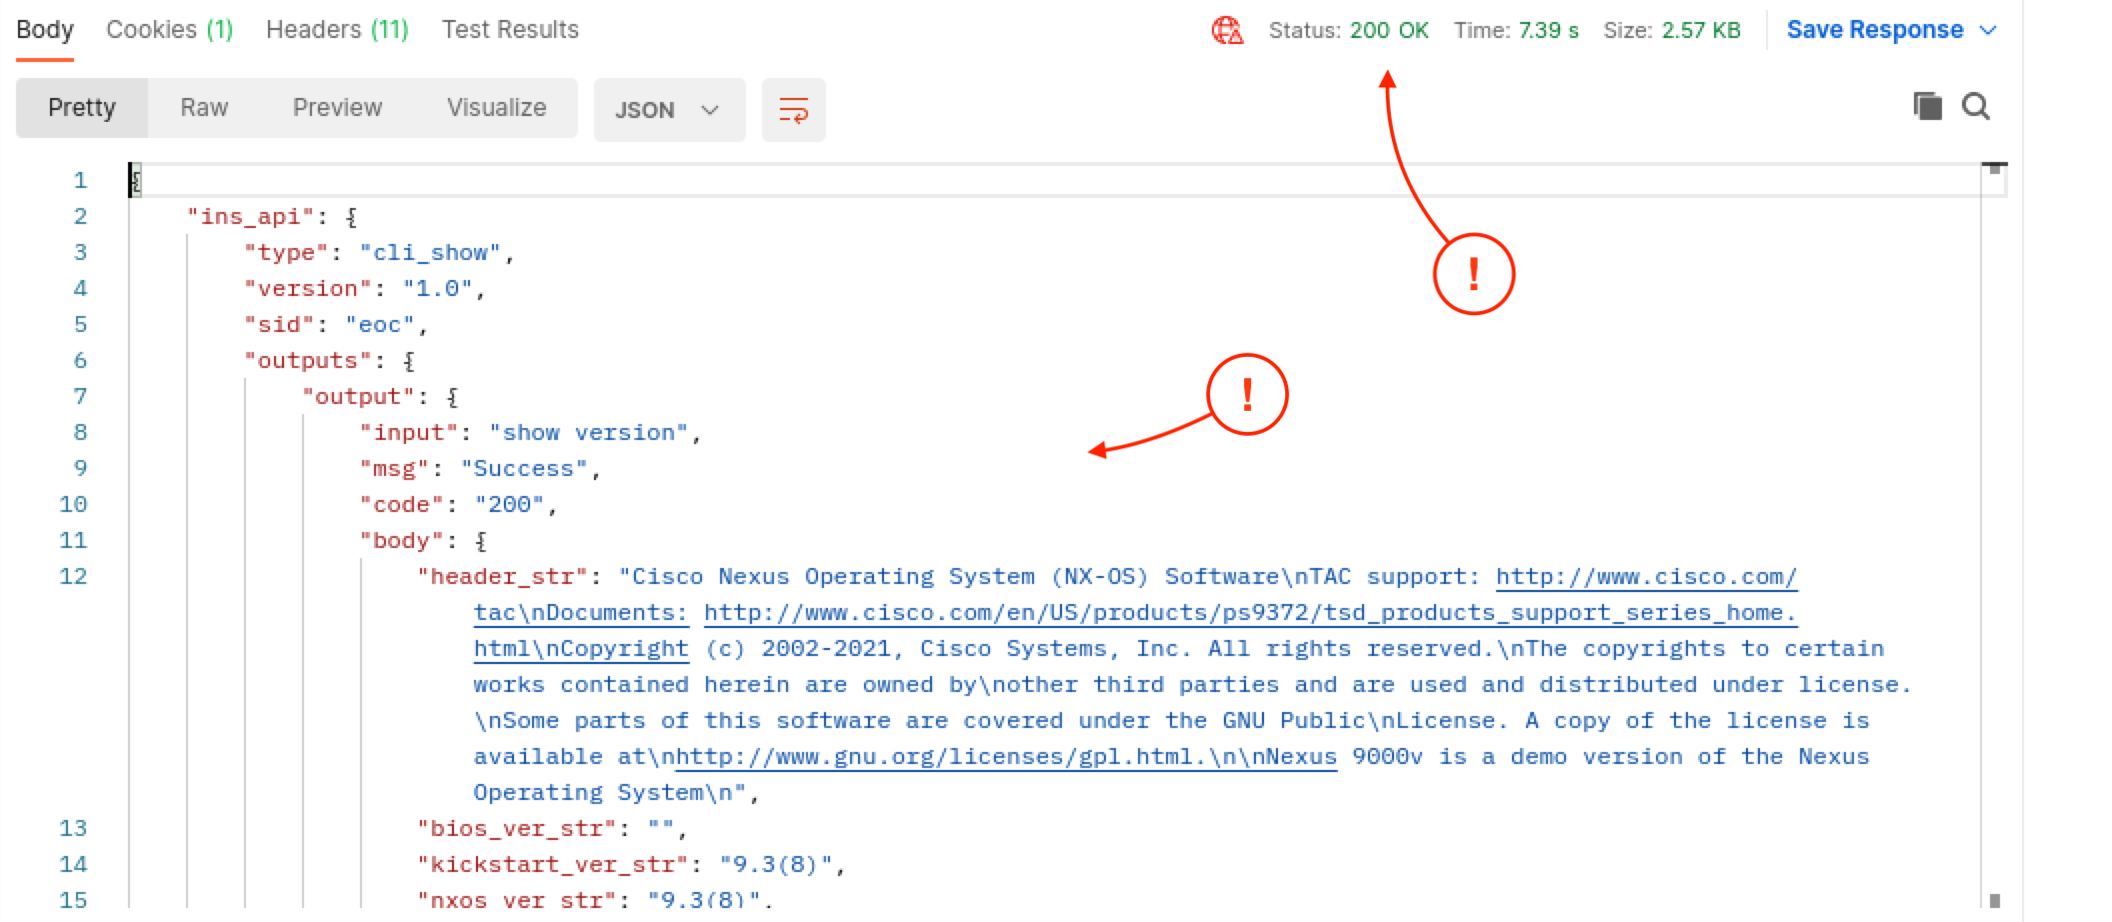
Upon a successful POST, you will get a response from the Leaf switch with a 200 OK and a return payload in JSON. This will contain the data requested in the Body (in this case the output of show version).
Example from Pod01:
The authentication cookie.
Example from Pod01:

Postman does not have the correct header content-type in the drop-down for JSON-RPC. However, you can manually edit the header content-type to perform JSON-RPC requests. If you are interested in this, please speak to an instructor.
Now, let us take a look at using Postman with NX-API REST. Then, you will take a look at how to leverage the Python Requests package for configuration across multiple switches.