With your infrastructure as code, and tests along with your pipeline file present in your Git repo staging branch, the next step you need to take is to create a merge request. Merge request is the terminology used by GitLab and is equivalent to GitHub's Pull Request terminology. This is the step in the process where the developer opens a "ticket" for the change to the code base, i.e. main branch, they wish to make. Upon opening this ticket request, Continuous Integration (CI) occurs where the build and test steps execute. In the paradigm of NetDevOps with CI, the build and deploy phase is the configuration of the staging fabric and the testing is the linting steps and pyATS network test steps.
The Continuous Delivery (CD) aspect of the pipeline typically executes at the click of a button pending all staging and test pipeline stages pass; for example upon the merge request being accepted or merged into the main branch. The CD in CI/CD can be replaced as Continuous Deployment in cases where no manual or human intervention occurs, i.e. after the staging and test pipeline stages pass, then update or change is automatically released to prod. For this lab, you will perform Continuous Delivery.
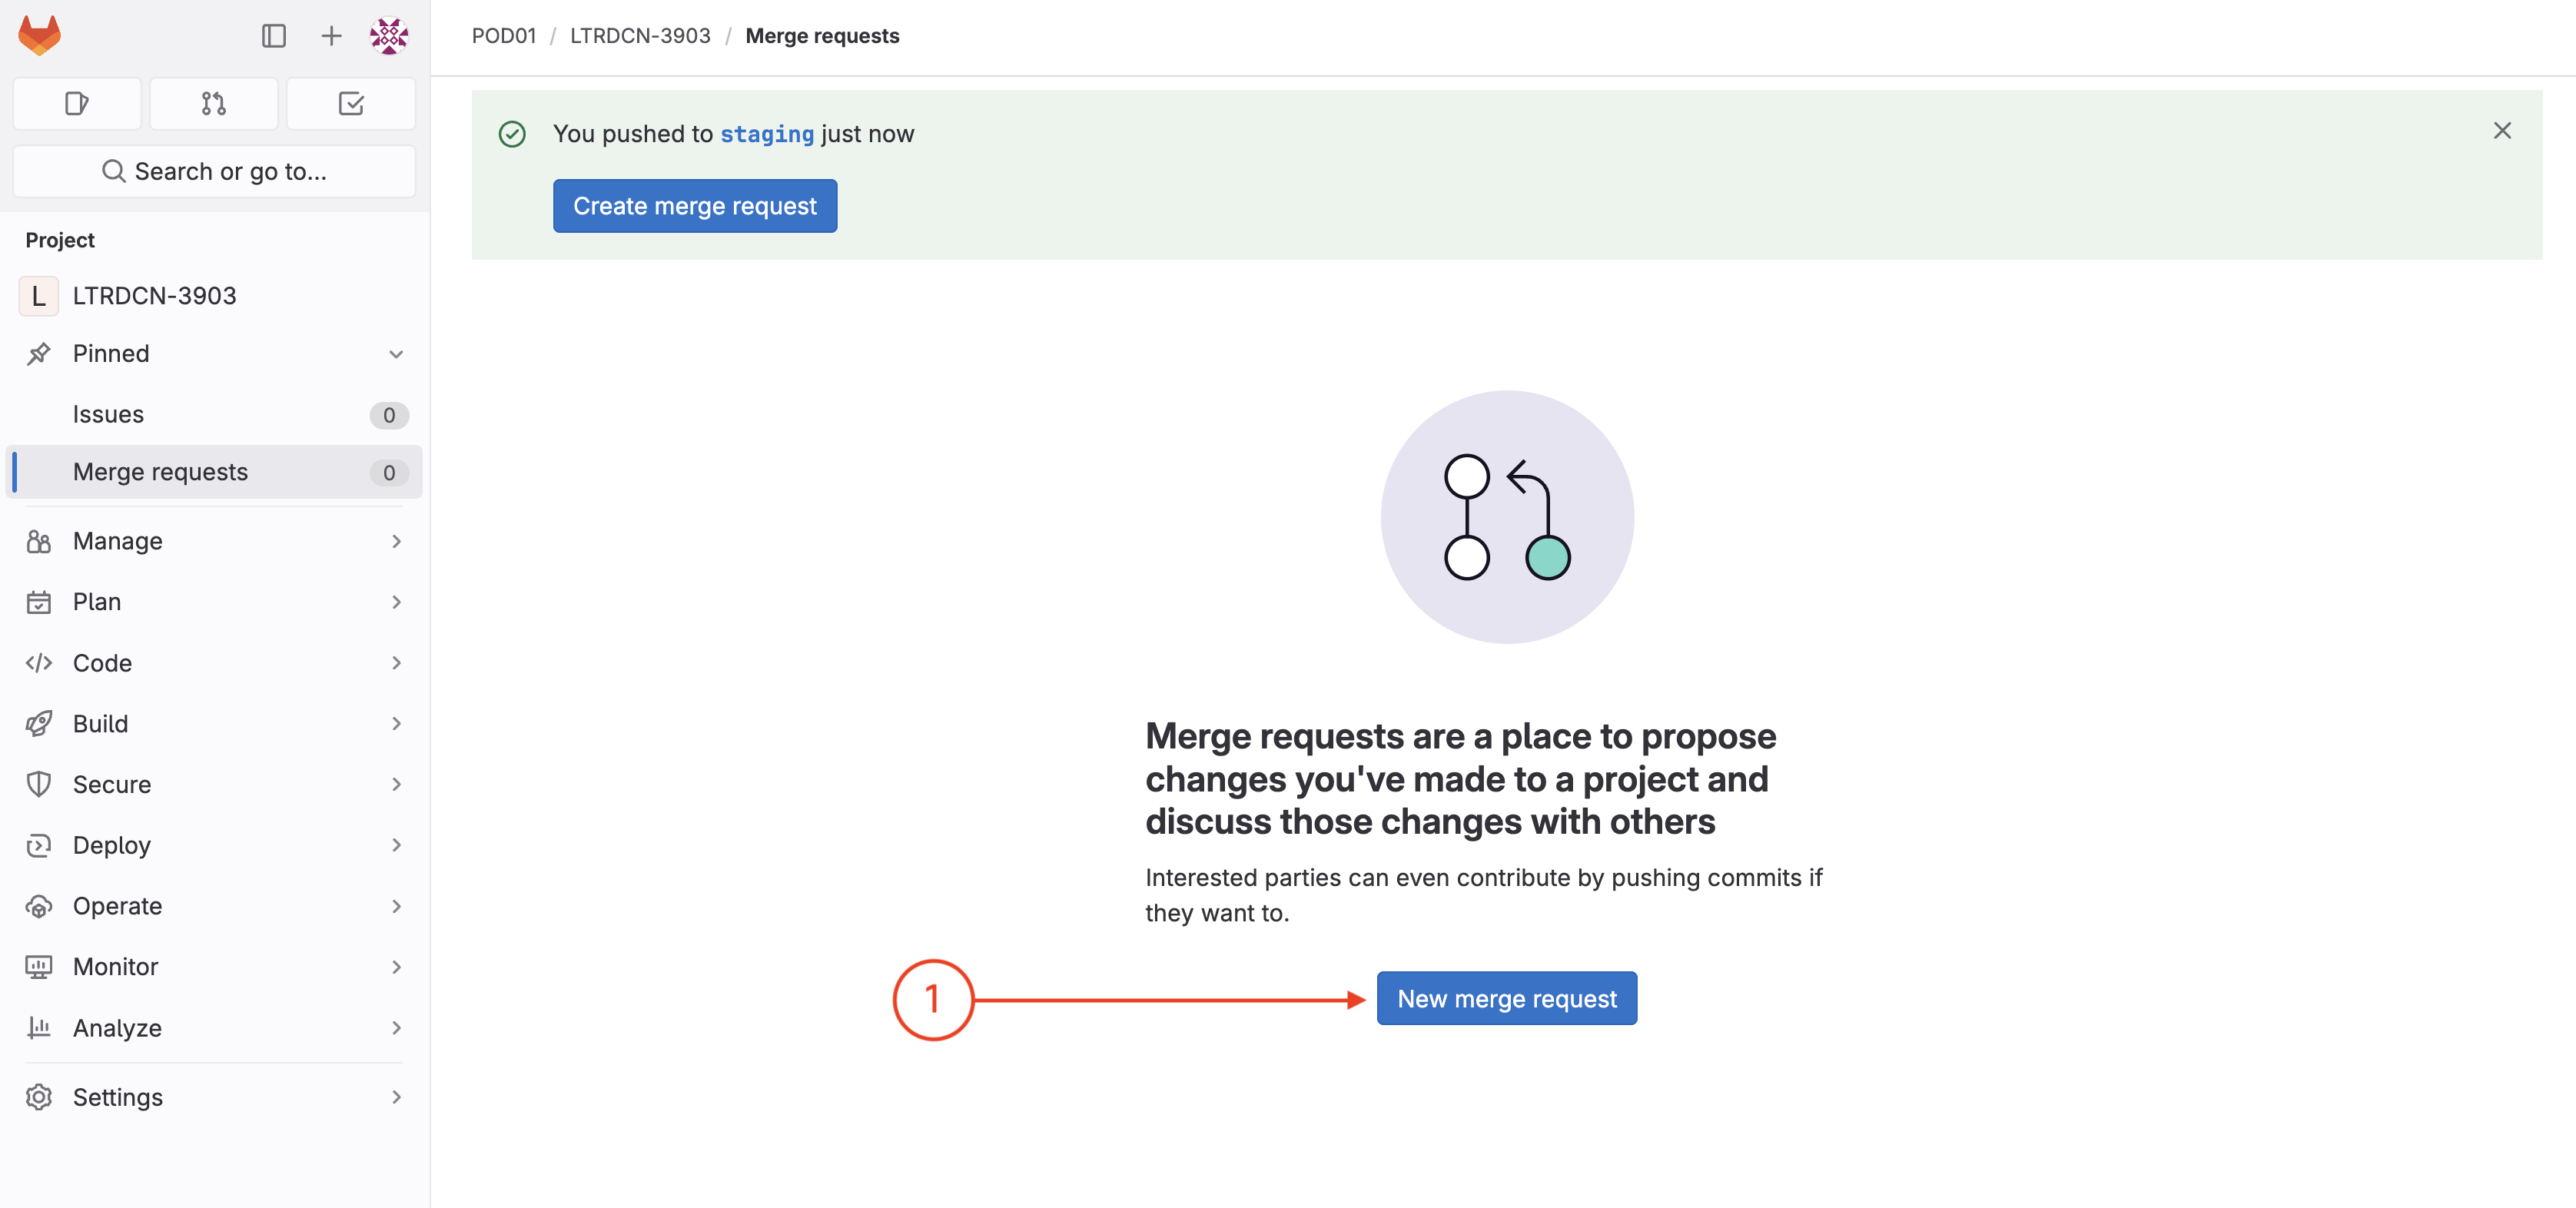
In the left navigation bar of GitLab:

In GitLab Merge Requests pane:
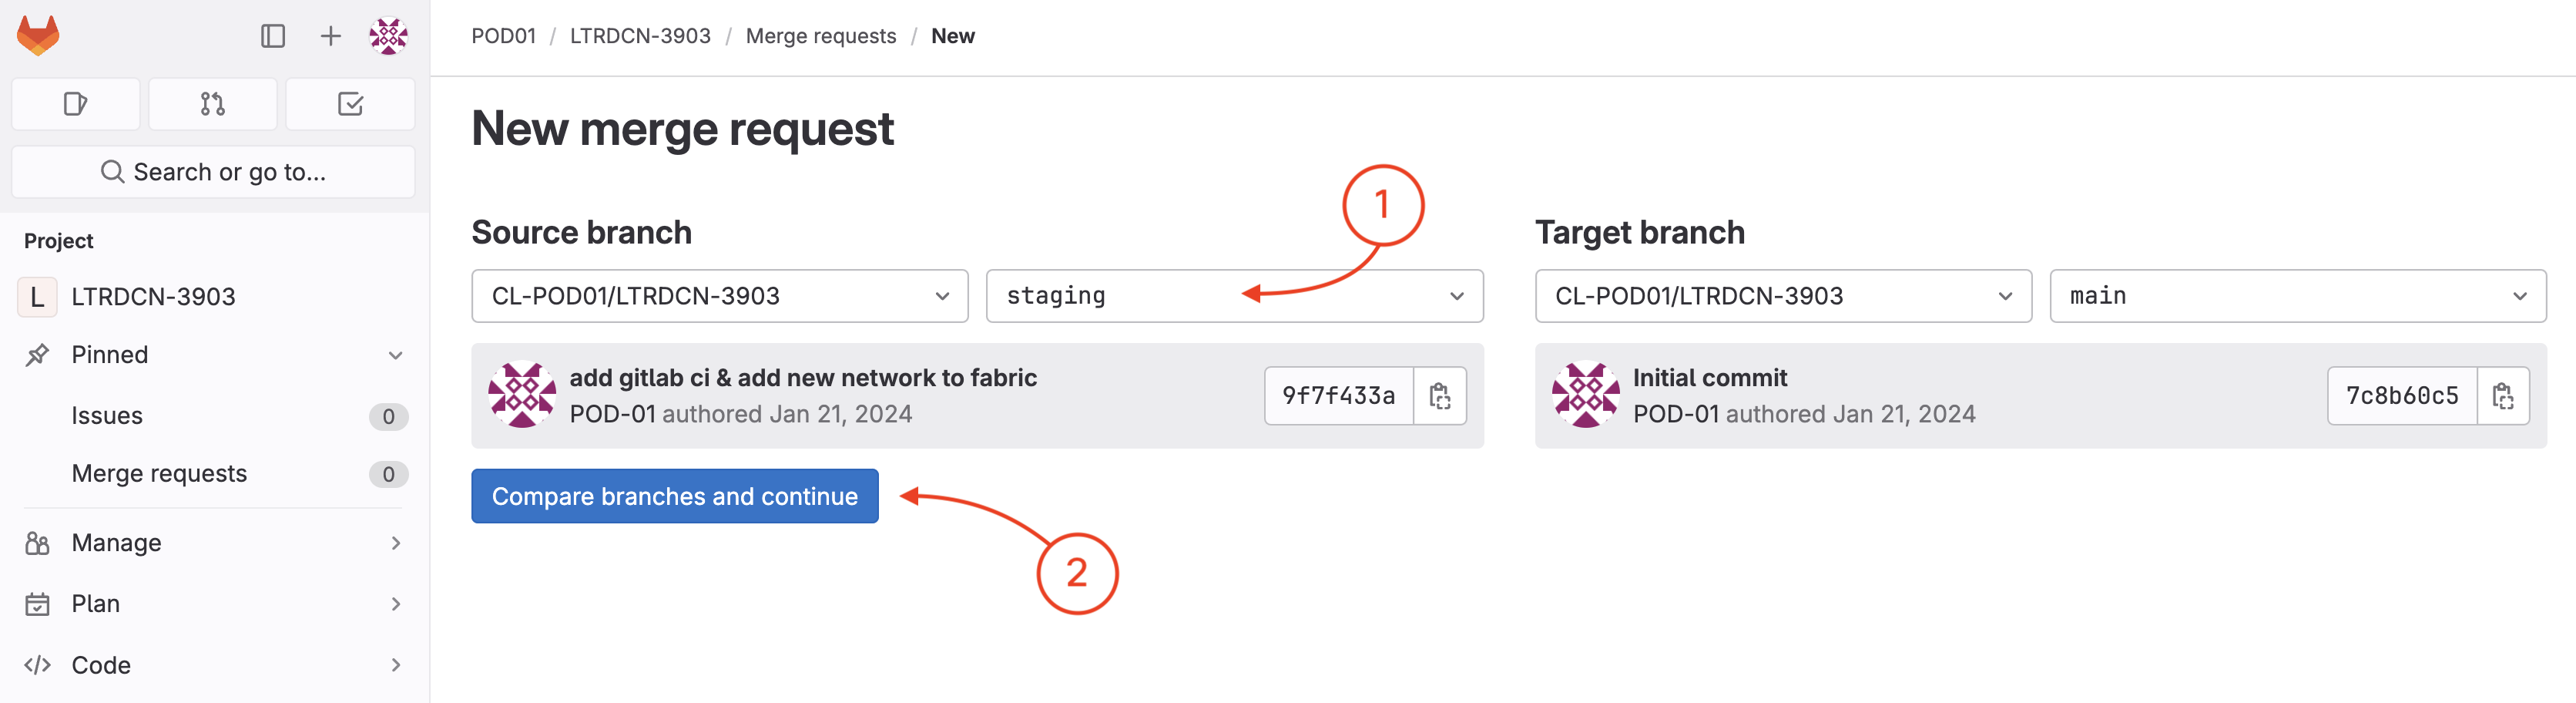
In Source branch:
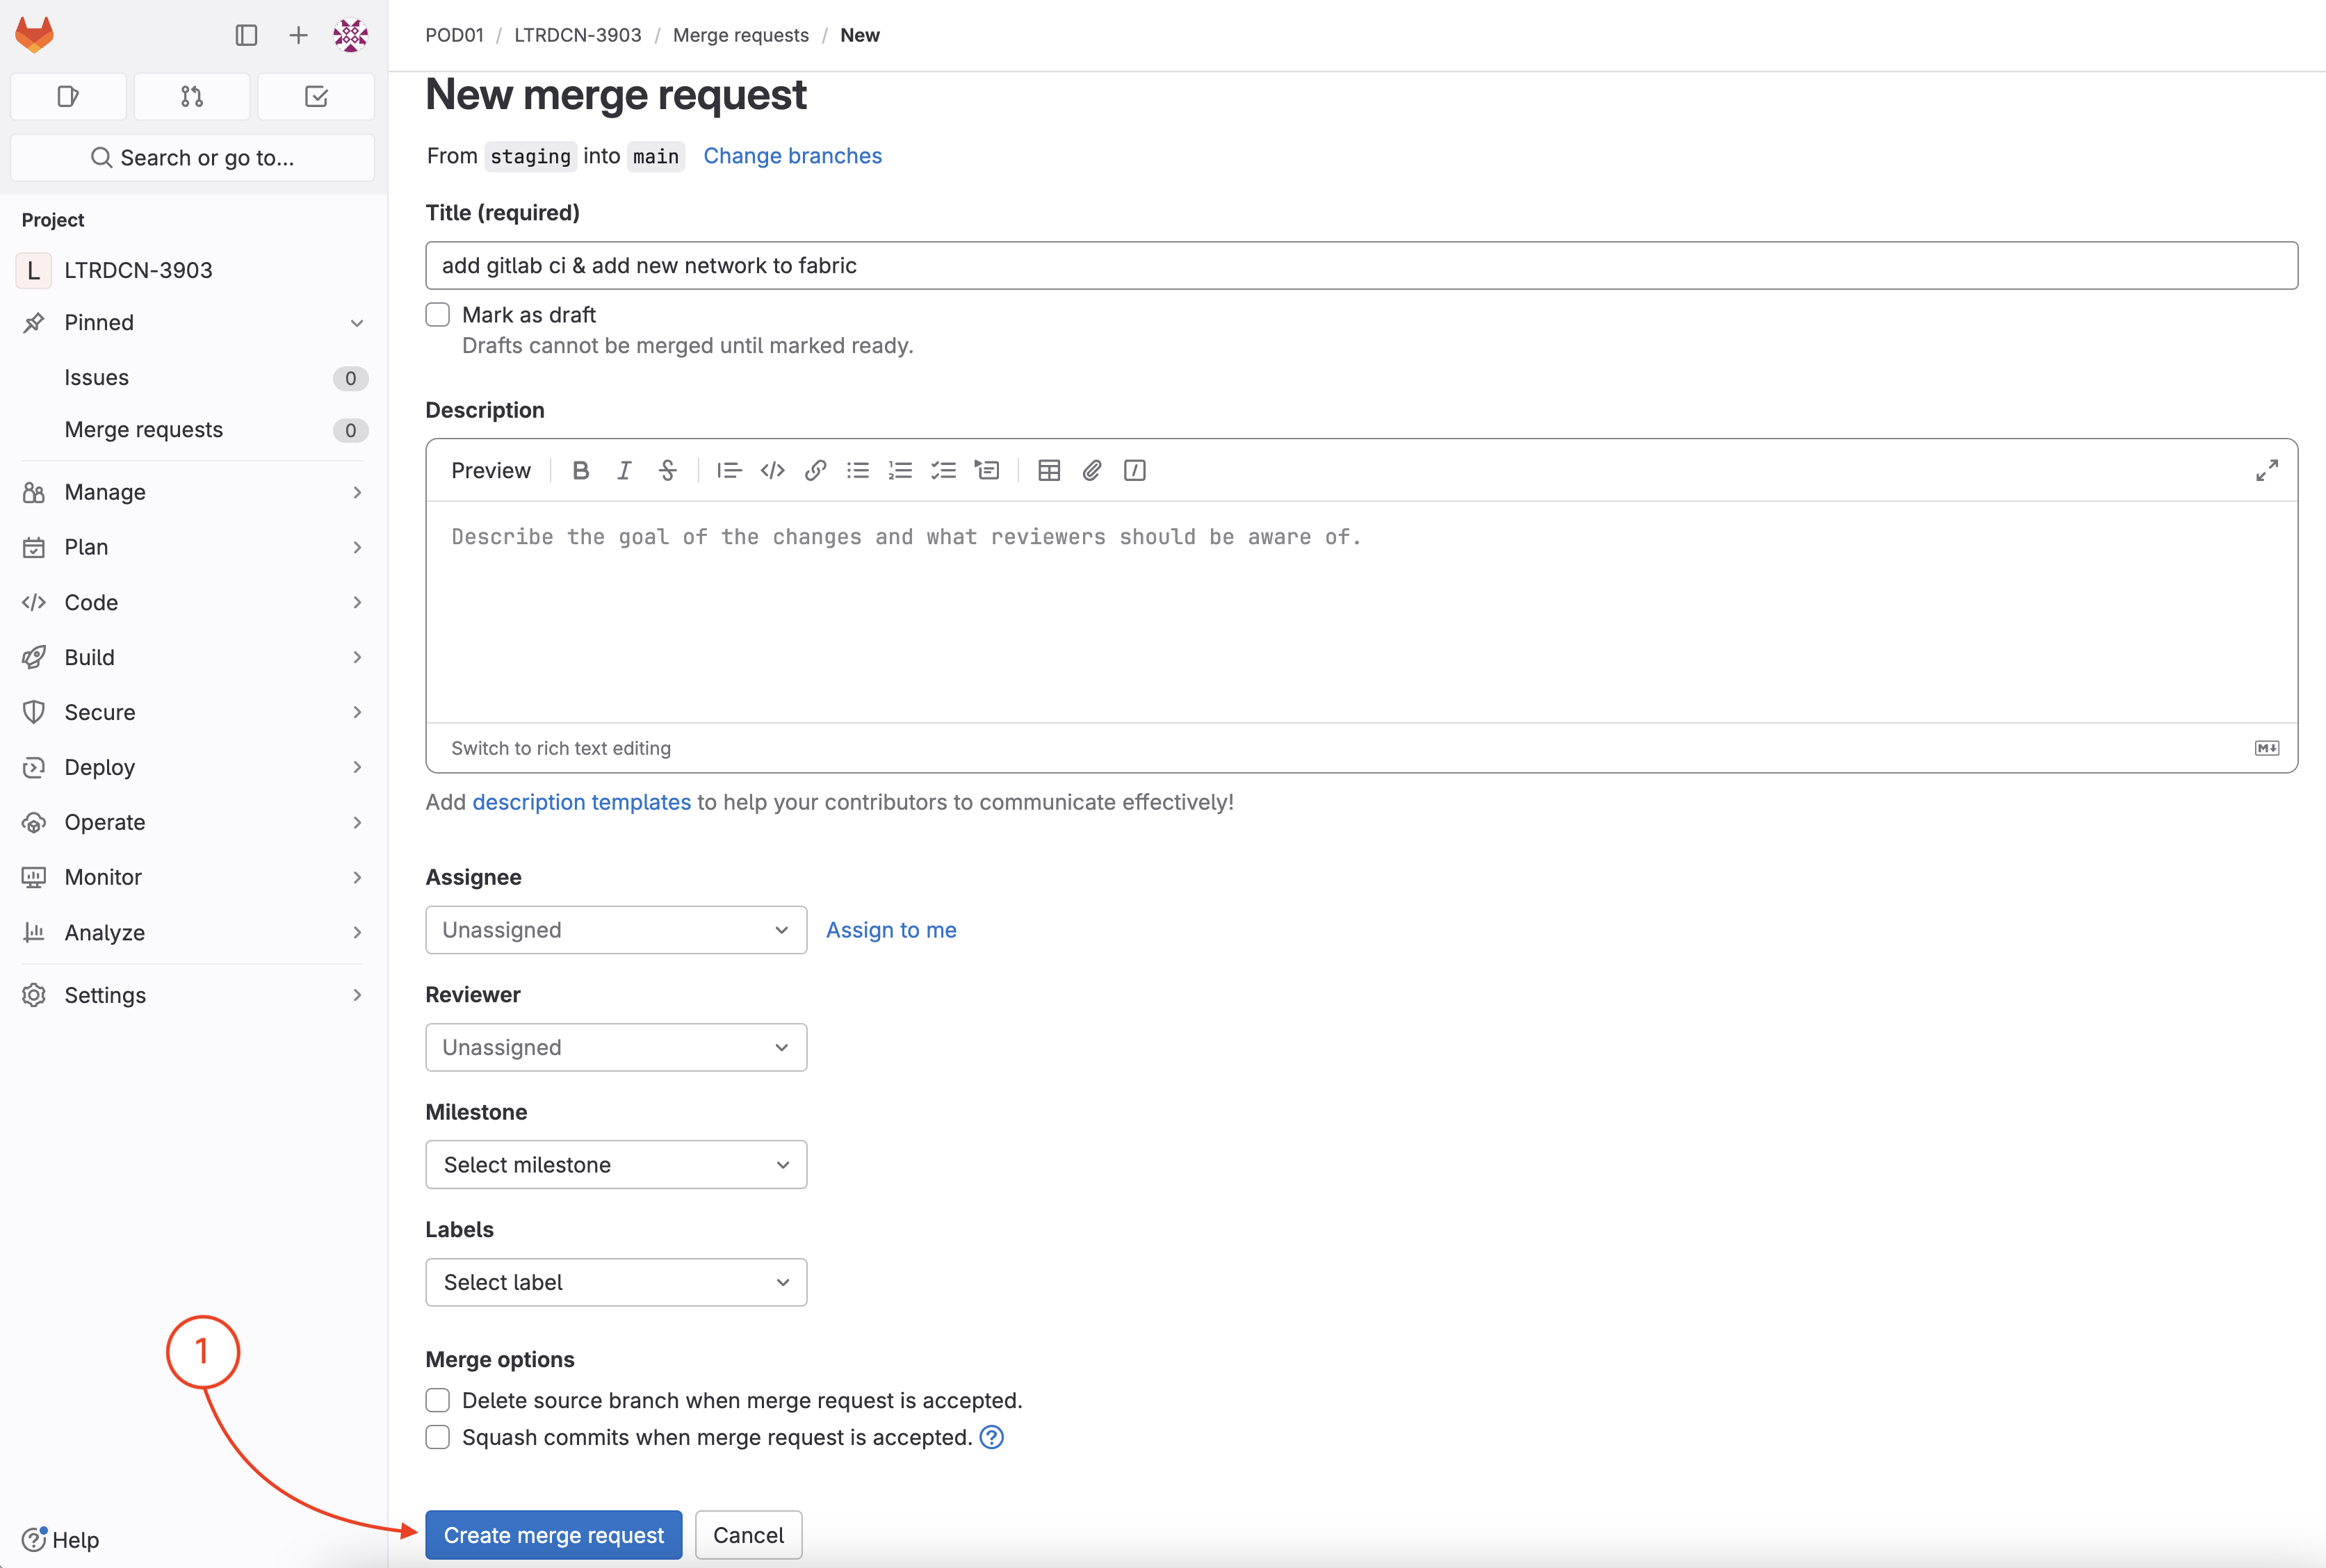
In the desired merge request make note that you can make things pretty extensive by updating the title, adding a robust description, adding specific assignees and reviewers to own and review the request, etc. For this lab, we'll leave things basic to understand the concept:
In the opened merge request page:
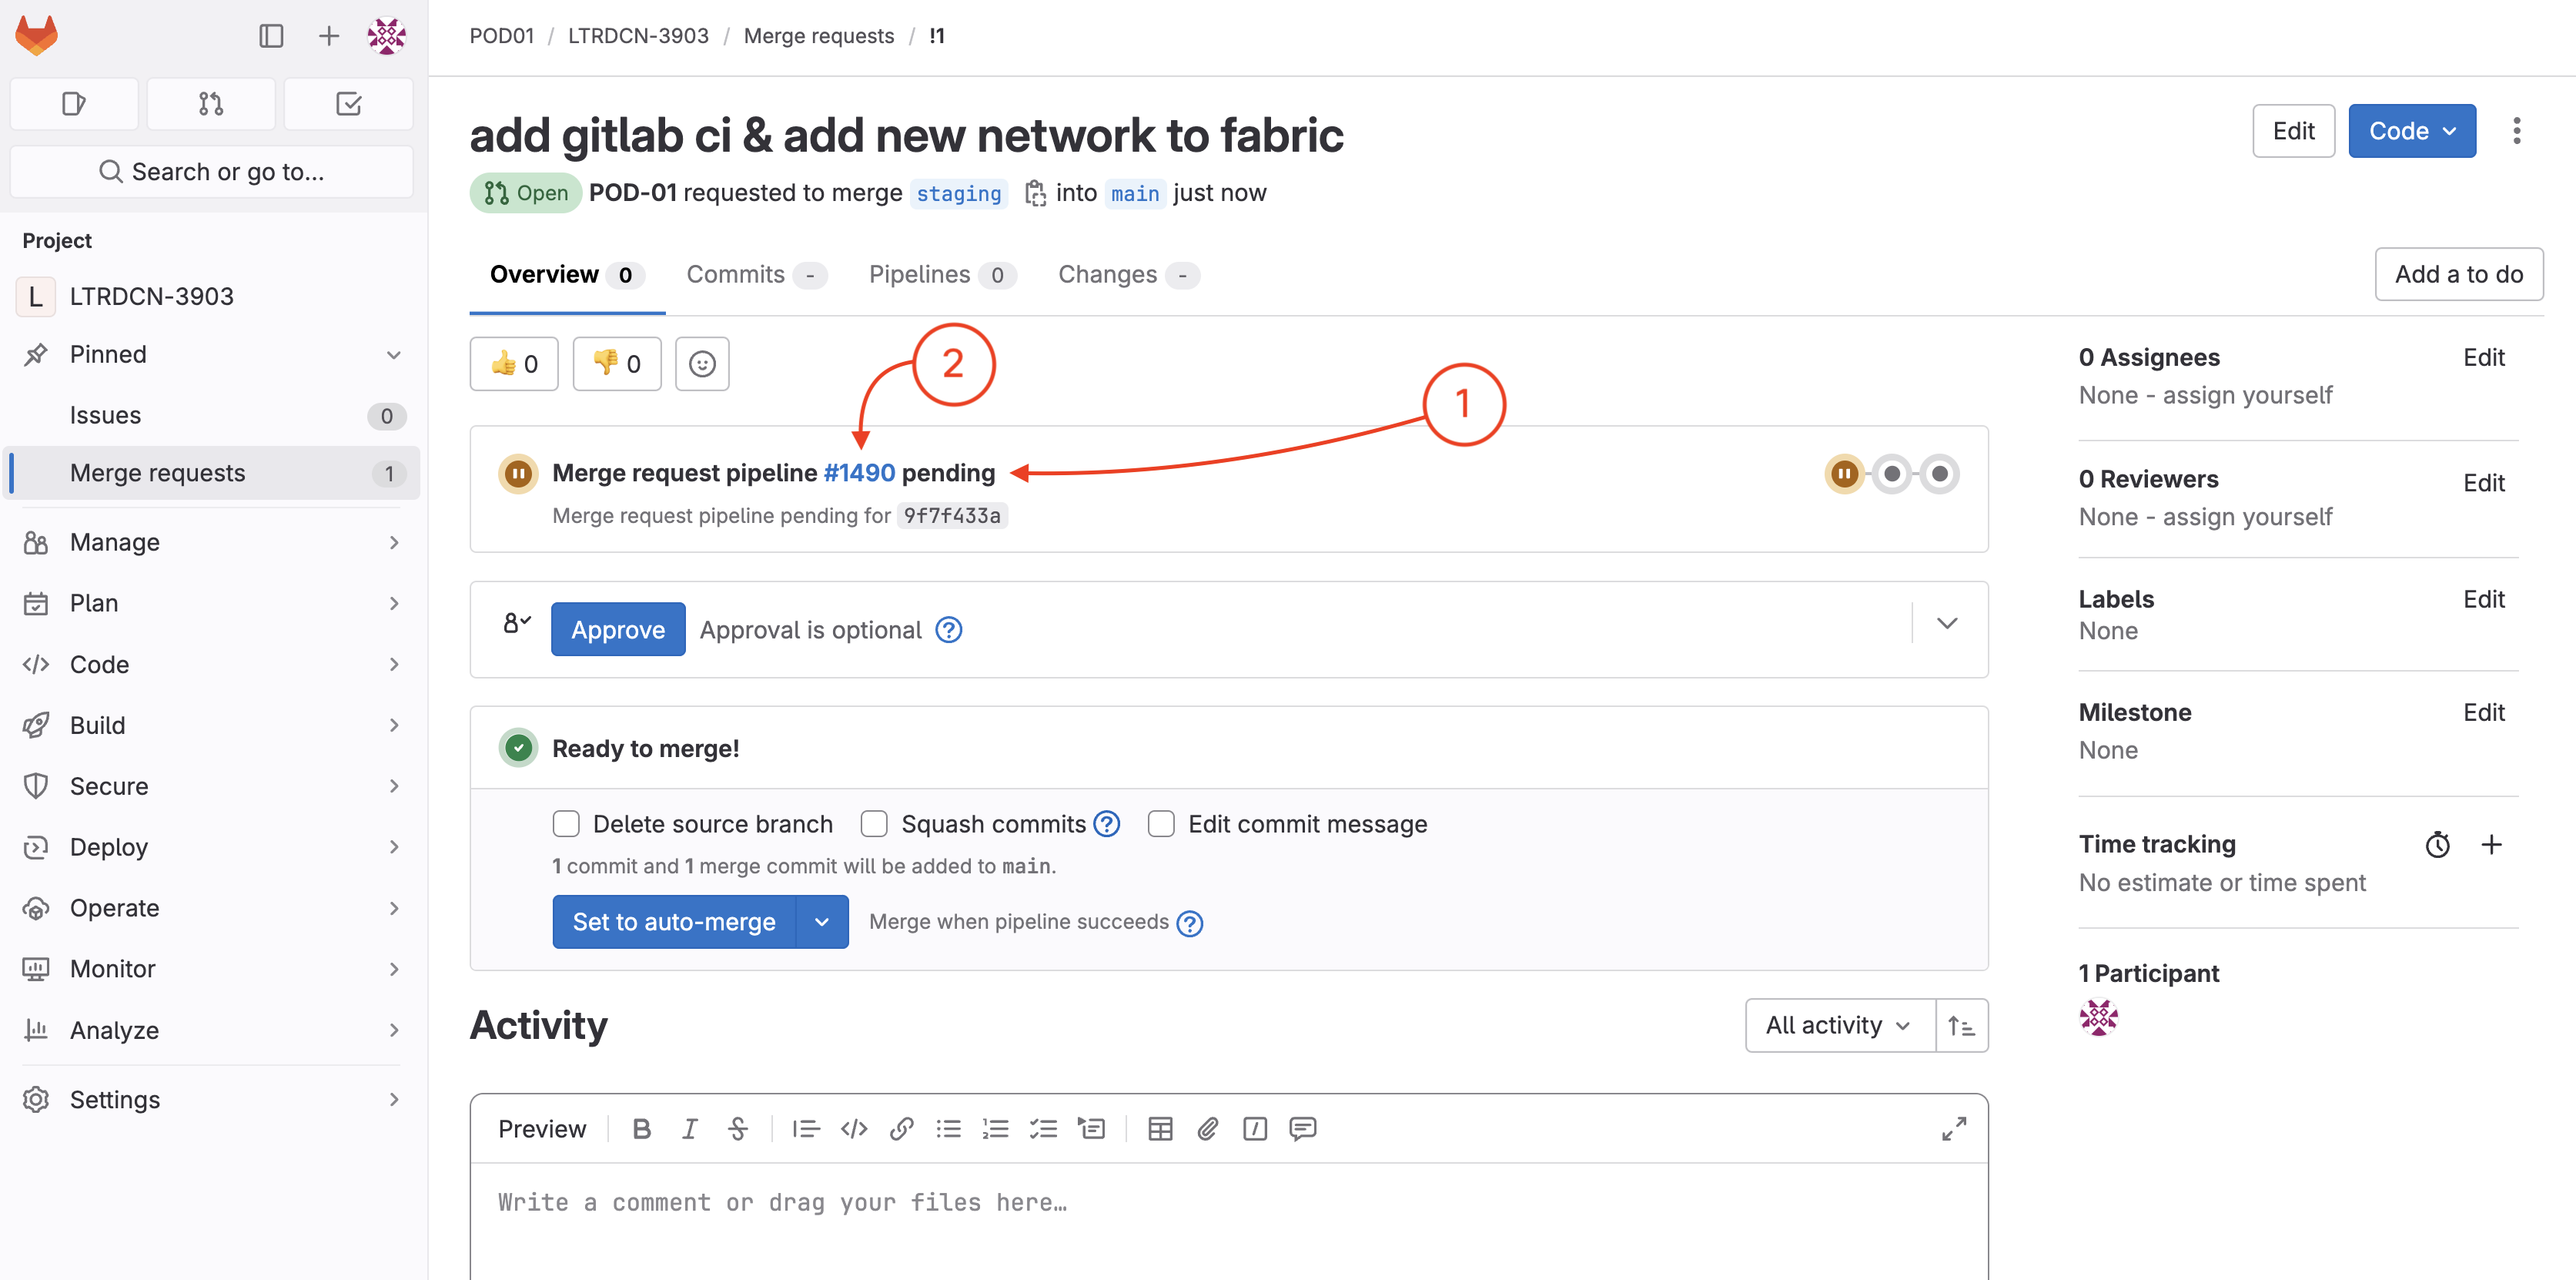
In running pipeline view:
.gitlab-ci.yml file you created for staging
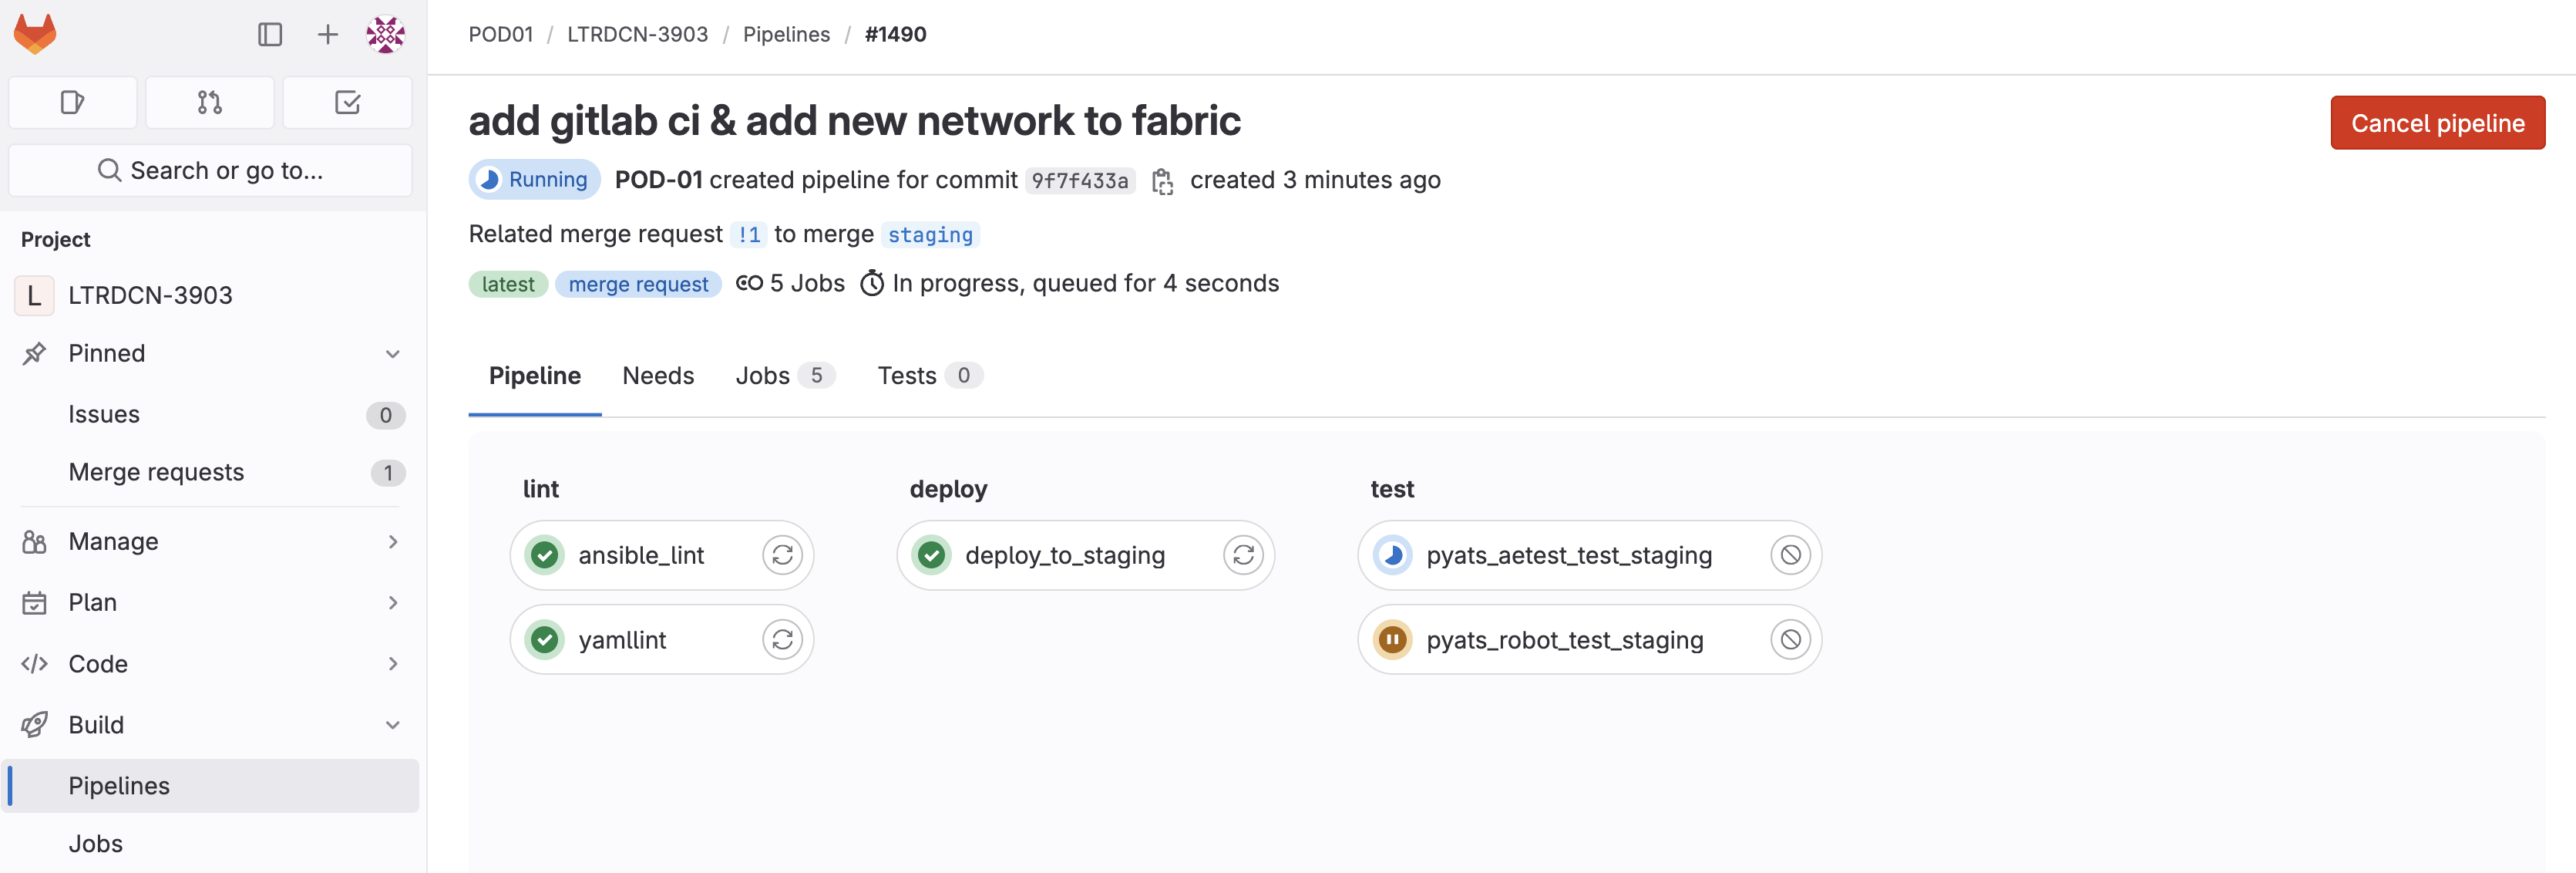
Wait until the steps in the Lint stage turn green and the Deploy stage moves to in-progress as shown in the screenshot below.
deploy_to_staging job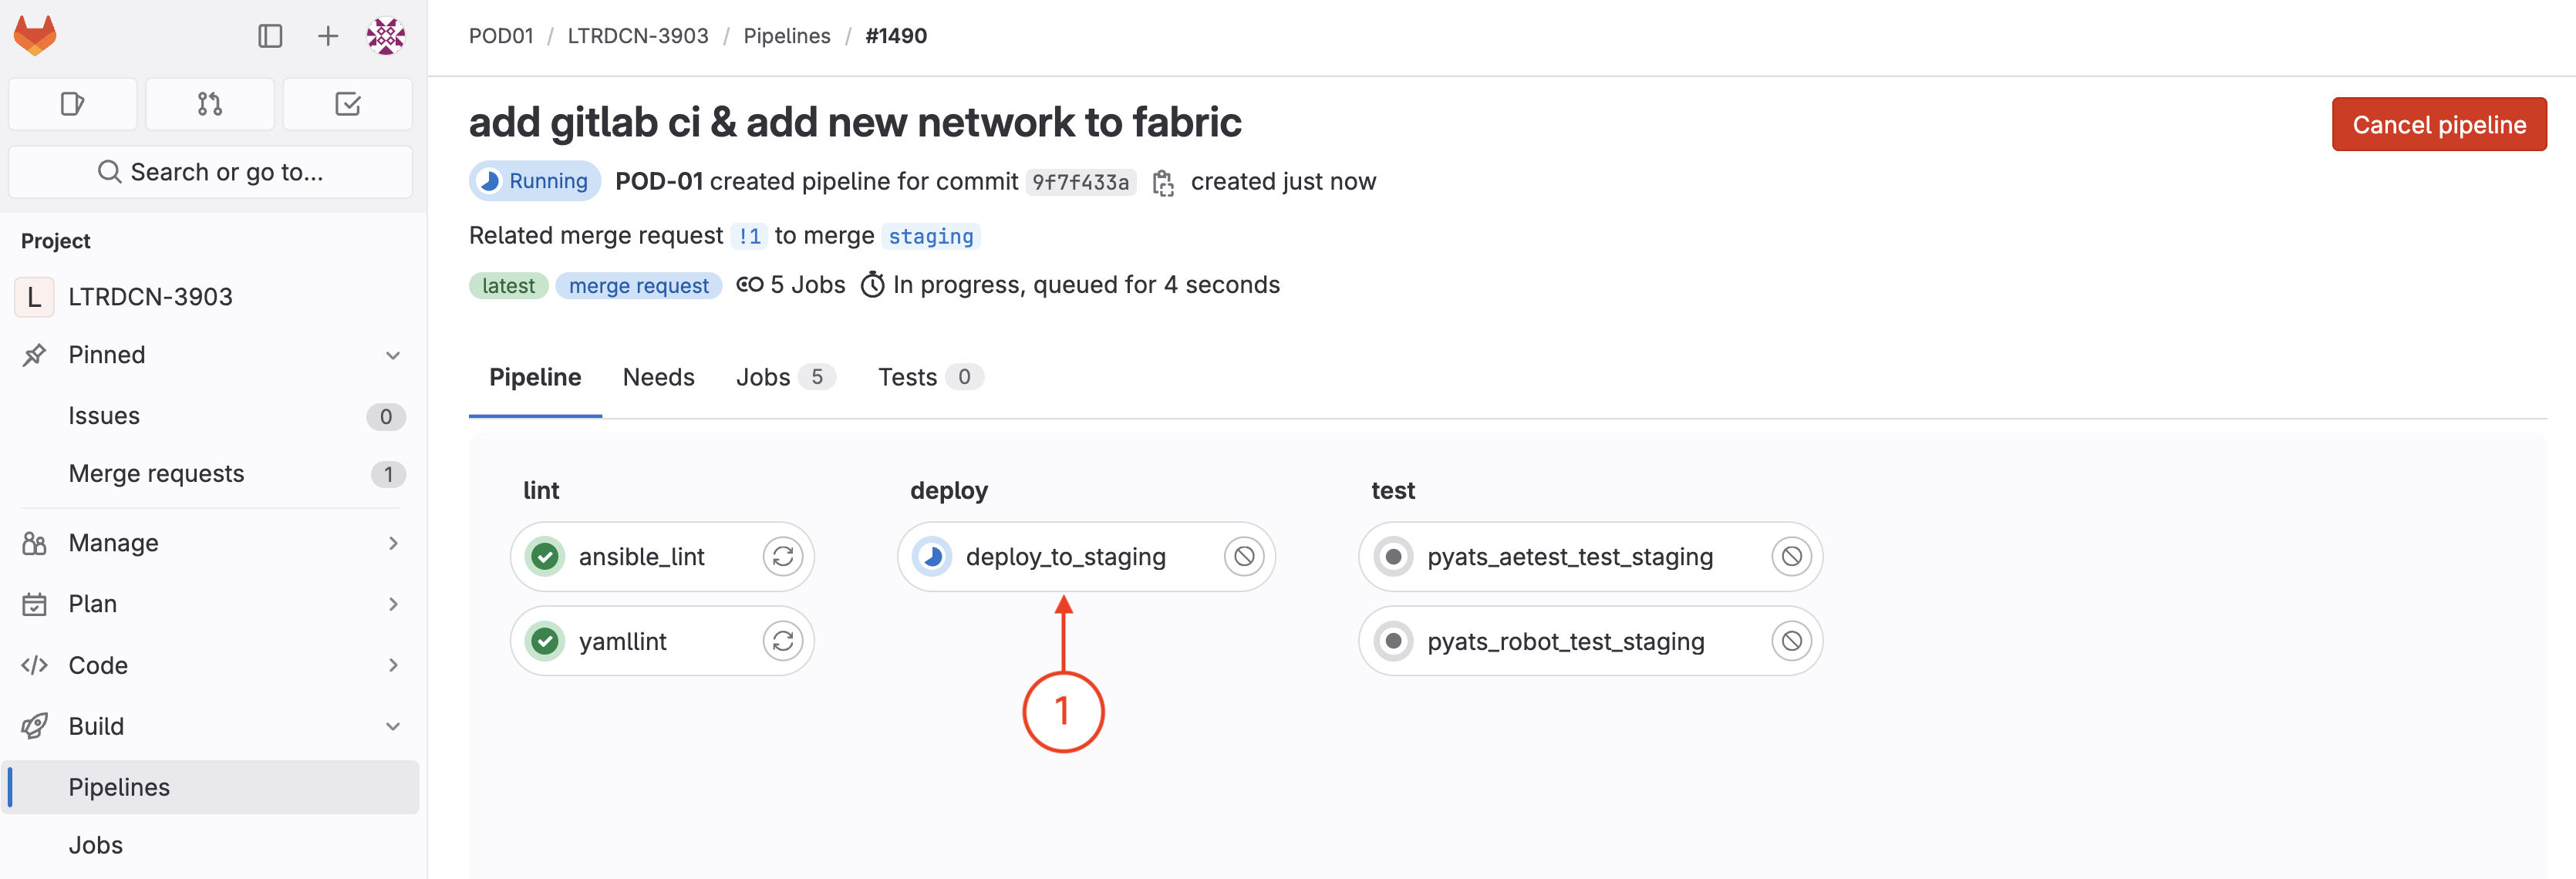
In the Deploy stage, the job or step being run is executing your Ansible playbook to configure a VXLAN EVPN fabric you developed earlier. While this may seem a bit redundant as you manually executed this earlier, this is normal. Ansible, through its idempotency, handles actually needing to reissue configuration commands. Additionally, when creating the staging branch, you indeed made an infrastructure as code change in your Ansible leaf role variables to configure an additional L2VNI, so this will be deployed (configured) to your staging fabric during this execution.
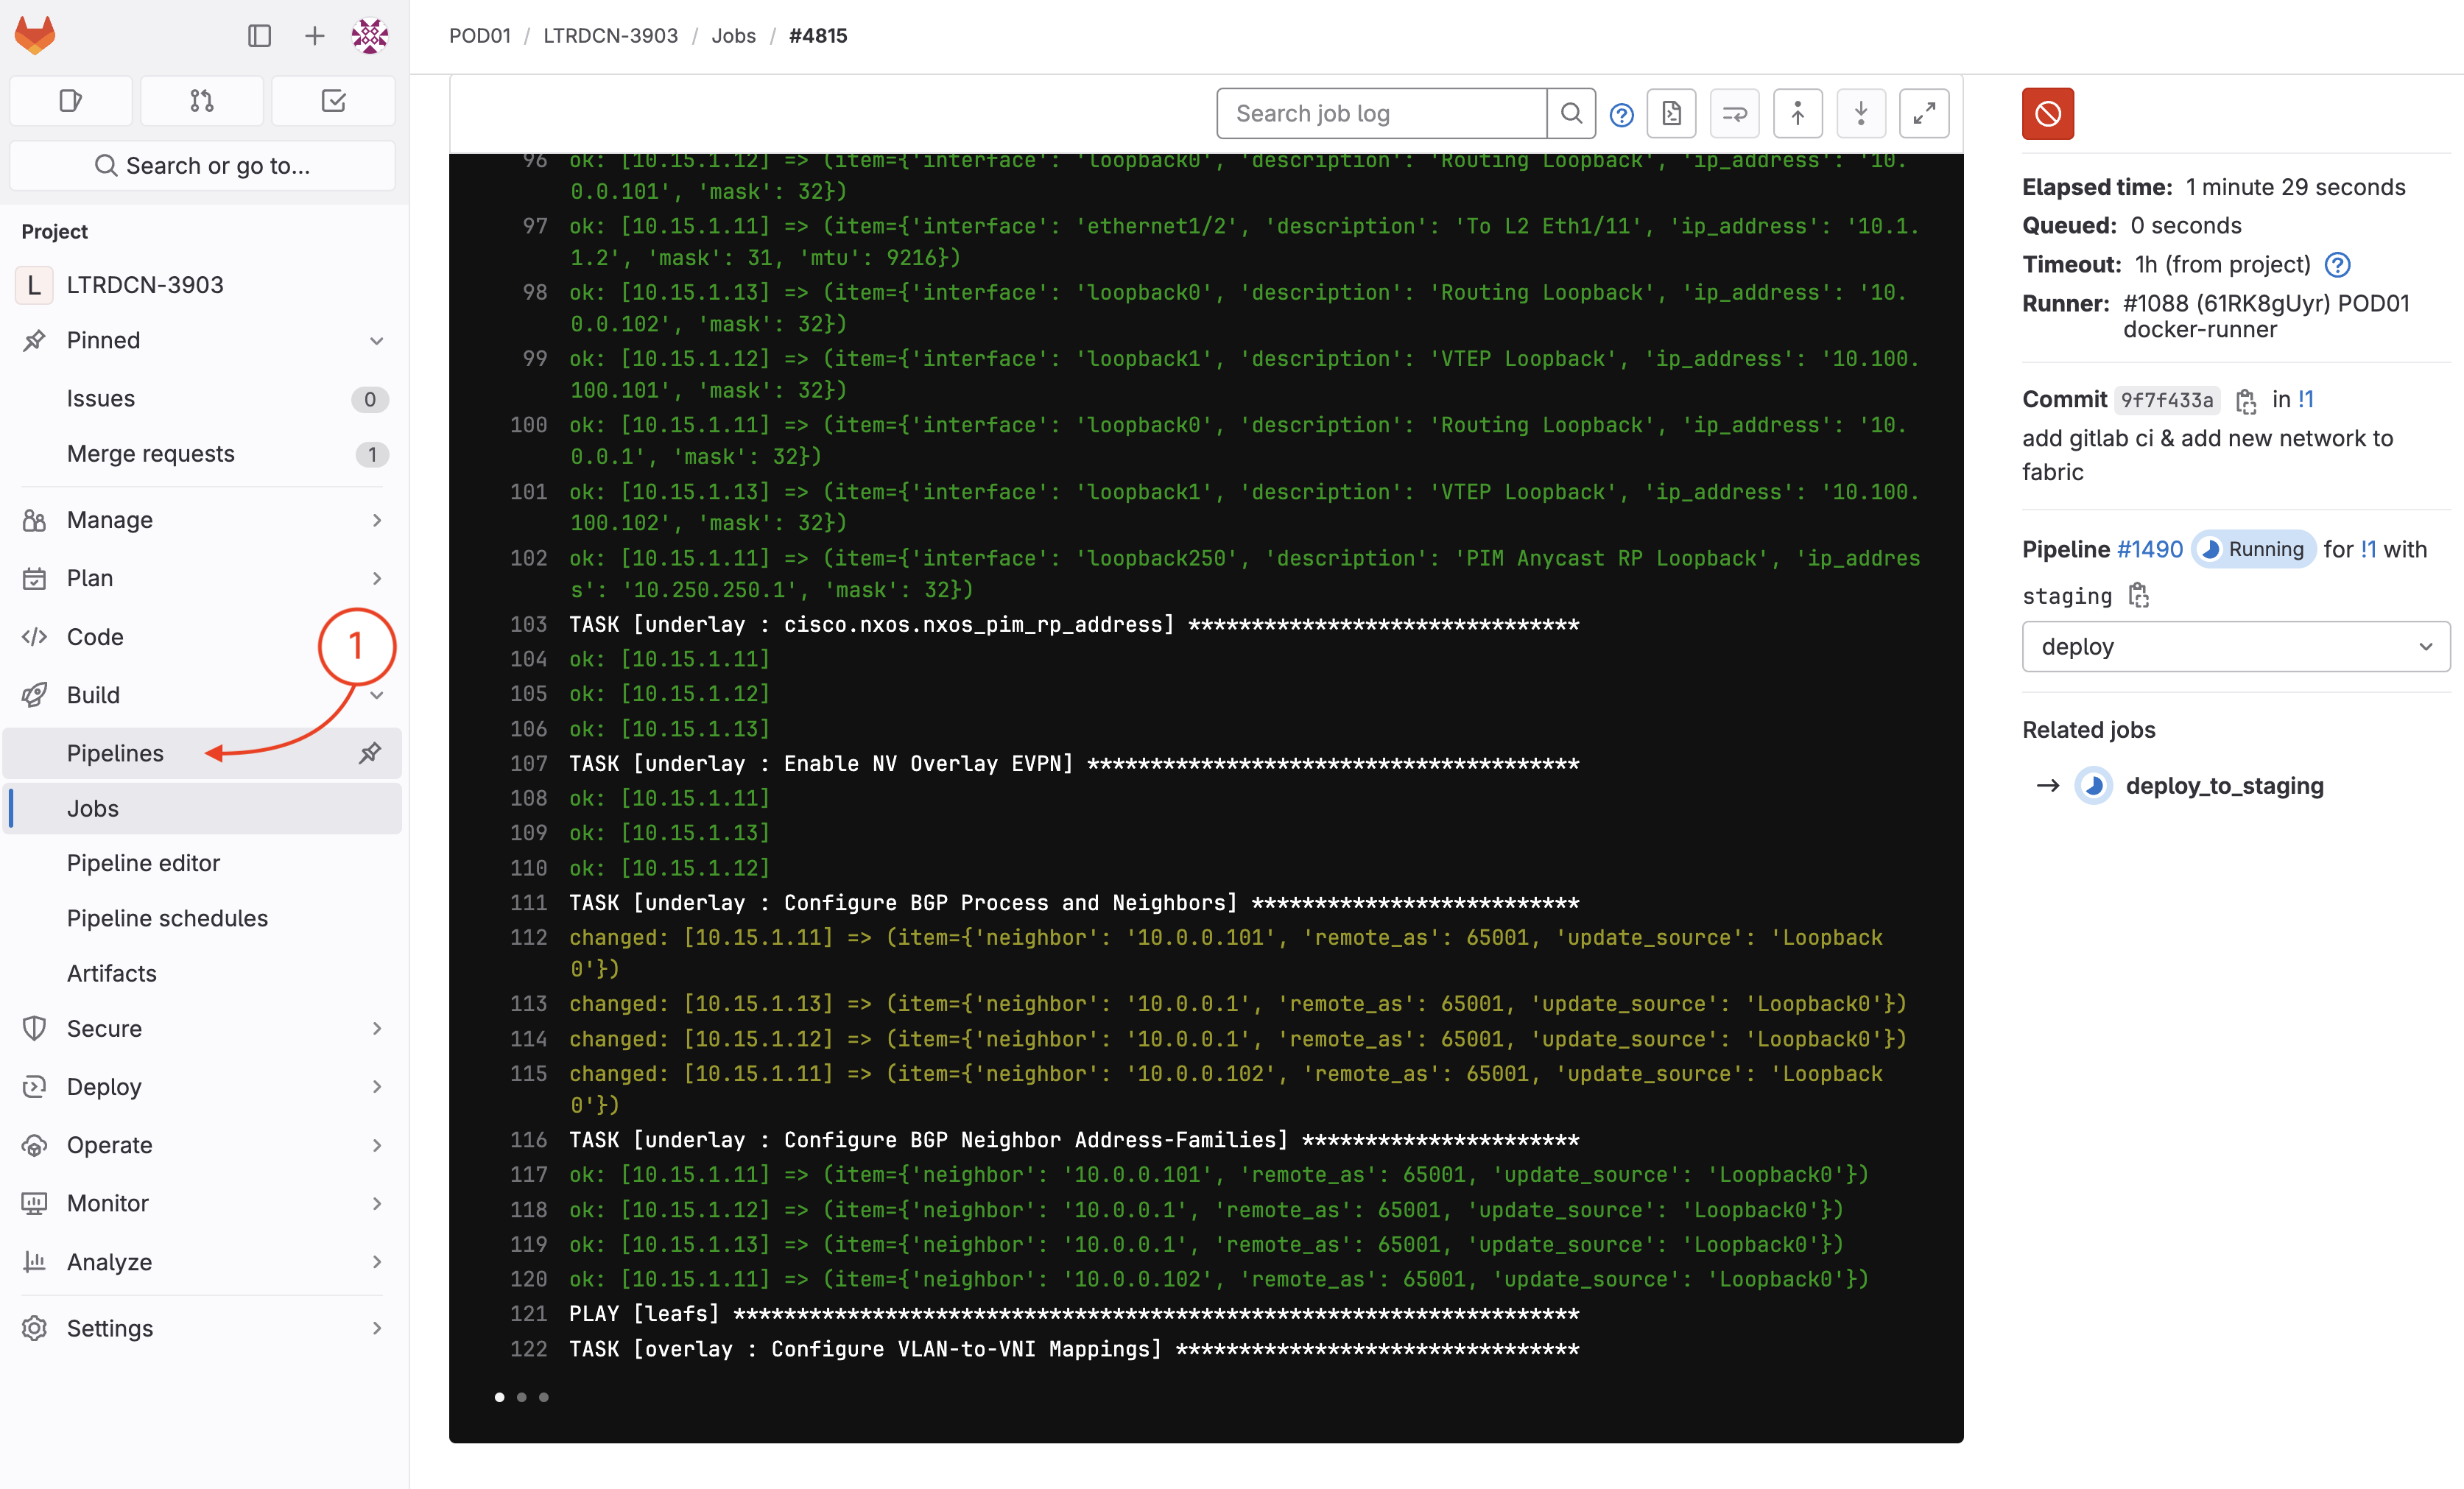
In the execution window, you can actually see the Ansible playbook executing as you did locally in your VSCode Terminal.
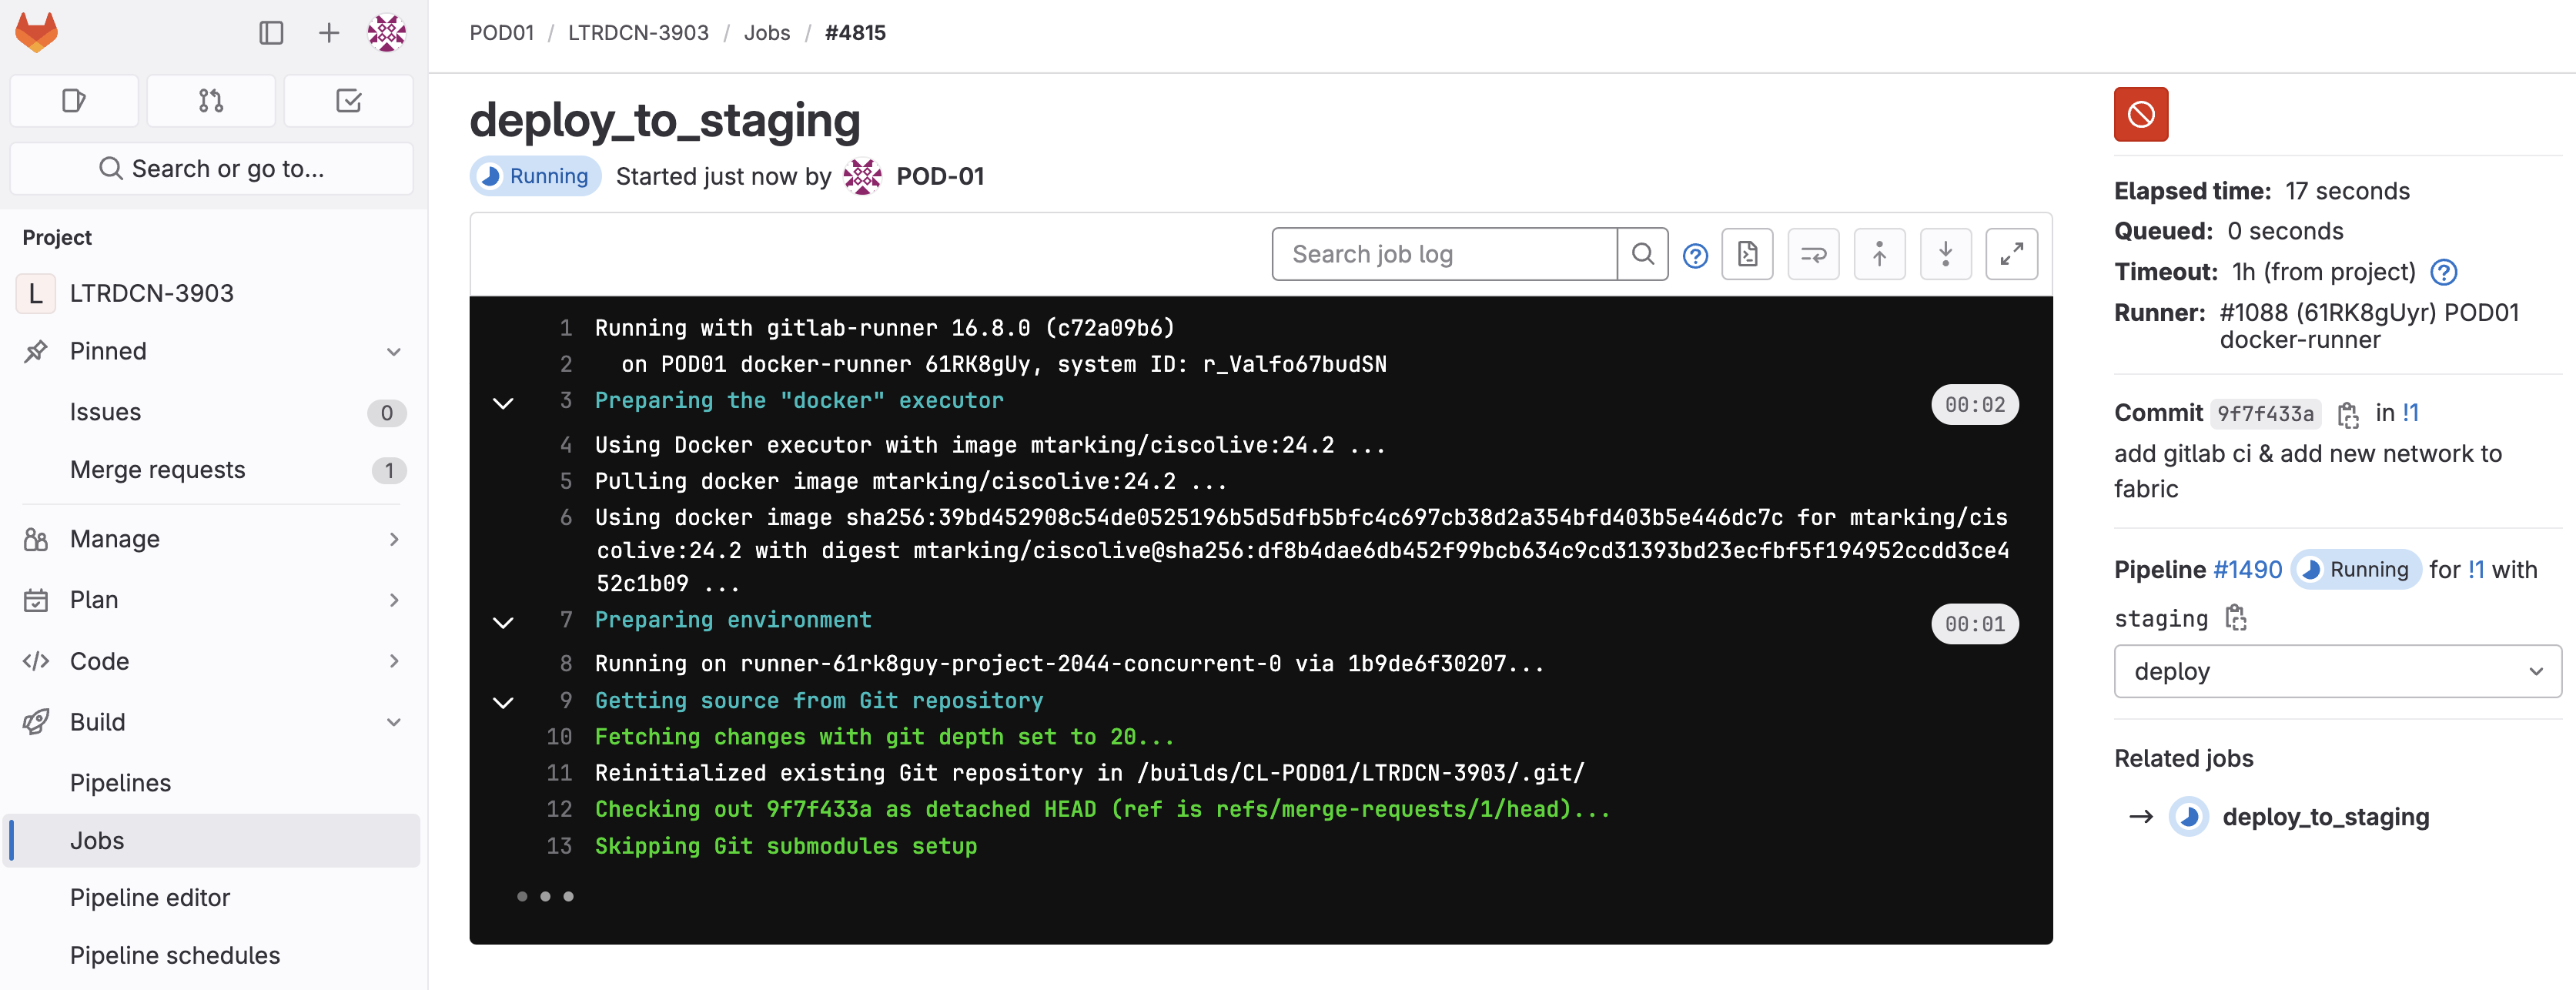
From the deployment job execution:
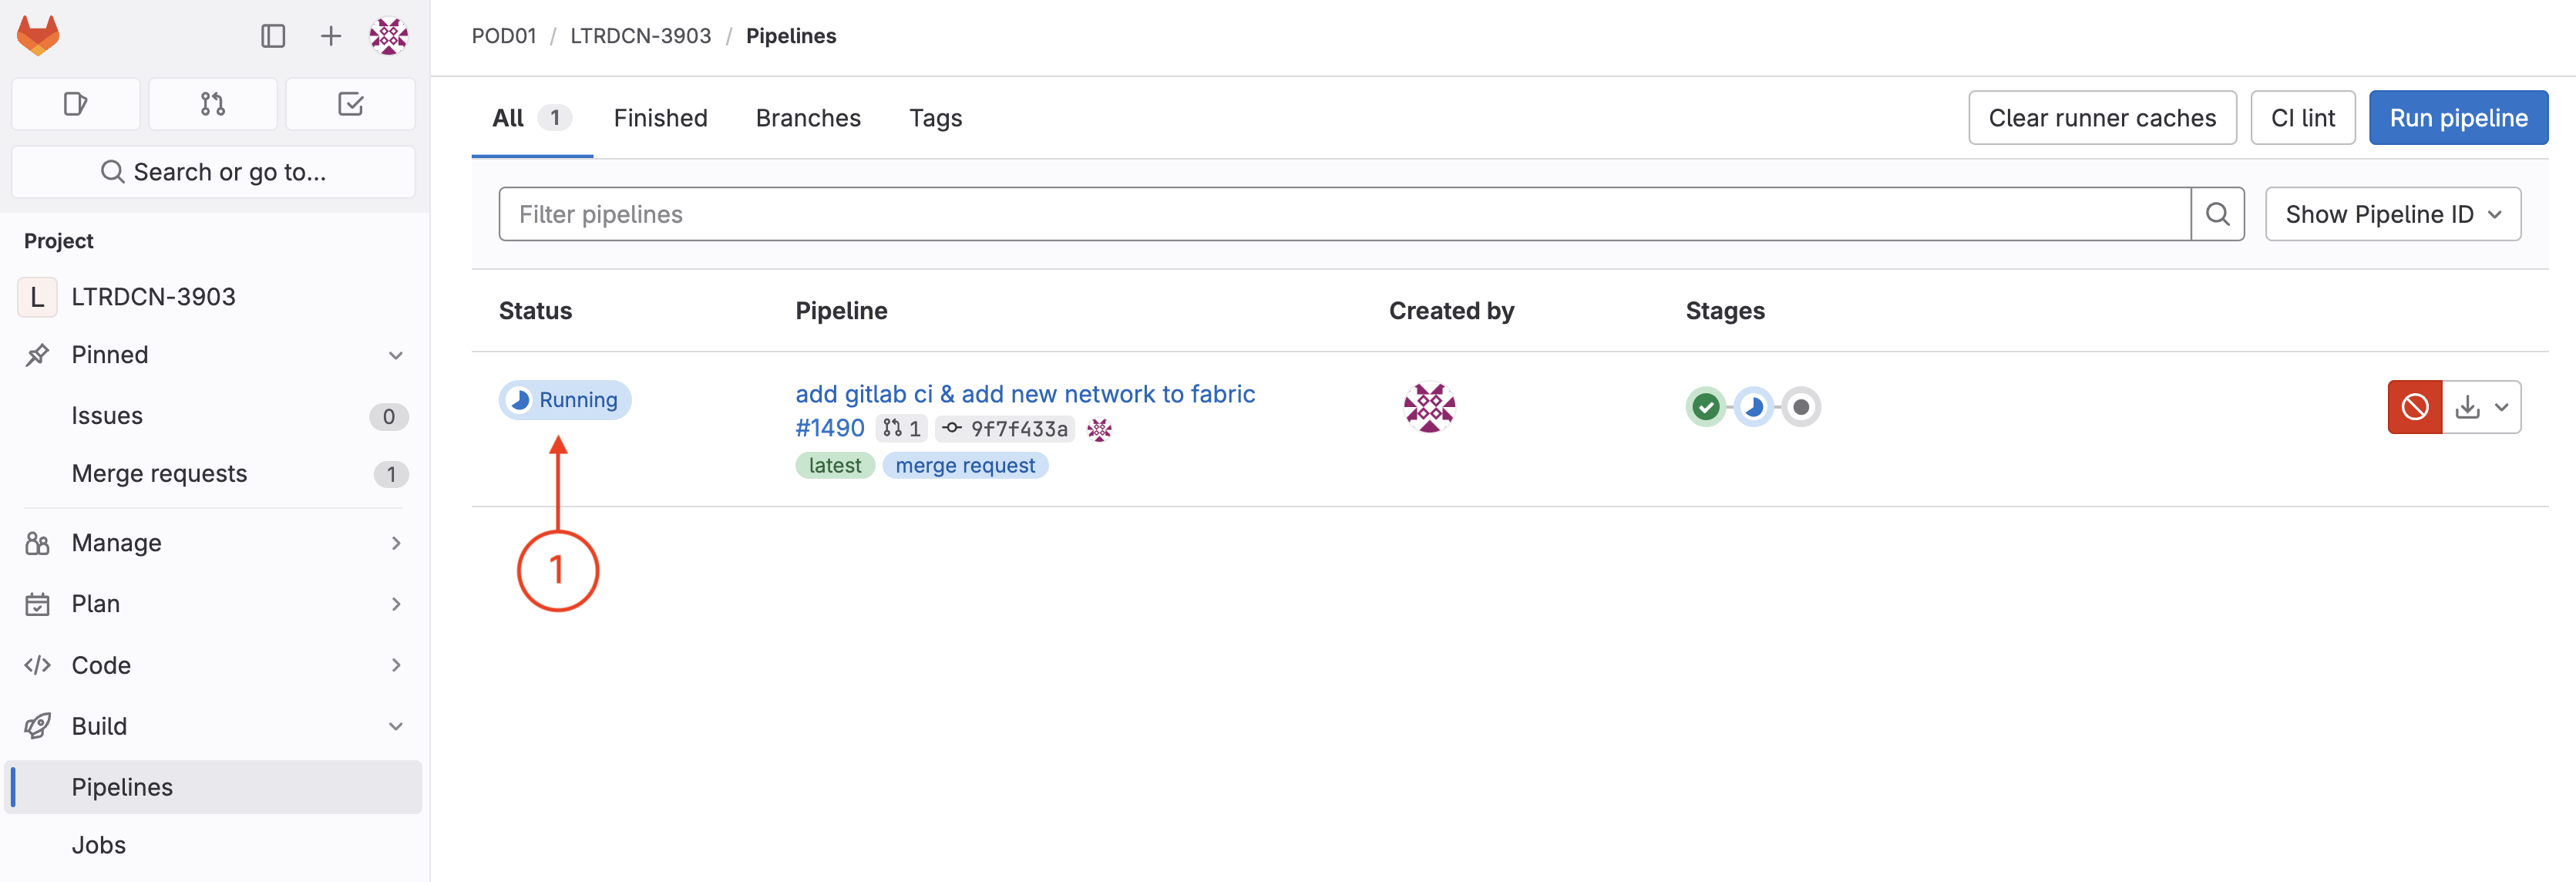
The view you arrive at should be where you would see all currently running and previously executed pipelines if there were more than your first pipeline.
Wait until your pipeline finishes deployment and the stage moves to testing. Feel free to review the testing steps in the Test stage the same way you reviewed the Deploy step or you can just wait until the tests are done executing since you've seen them before.
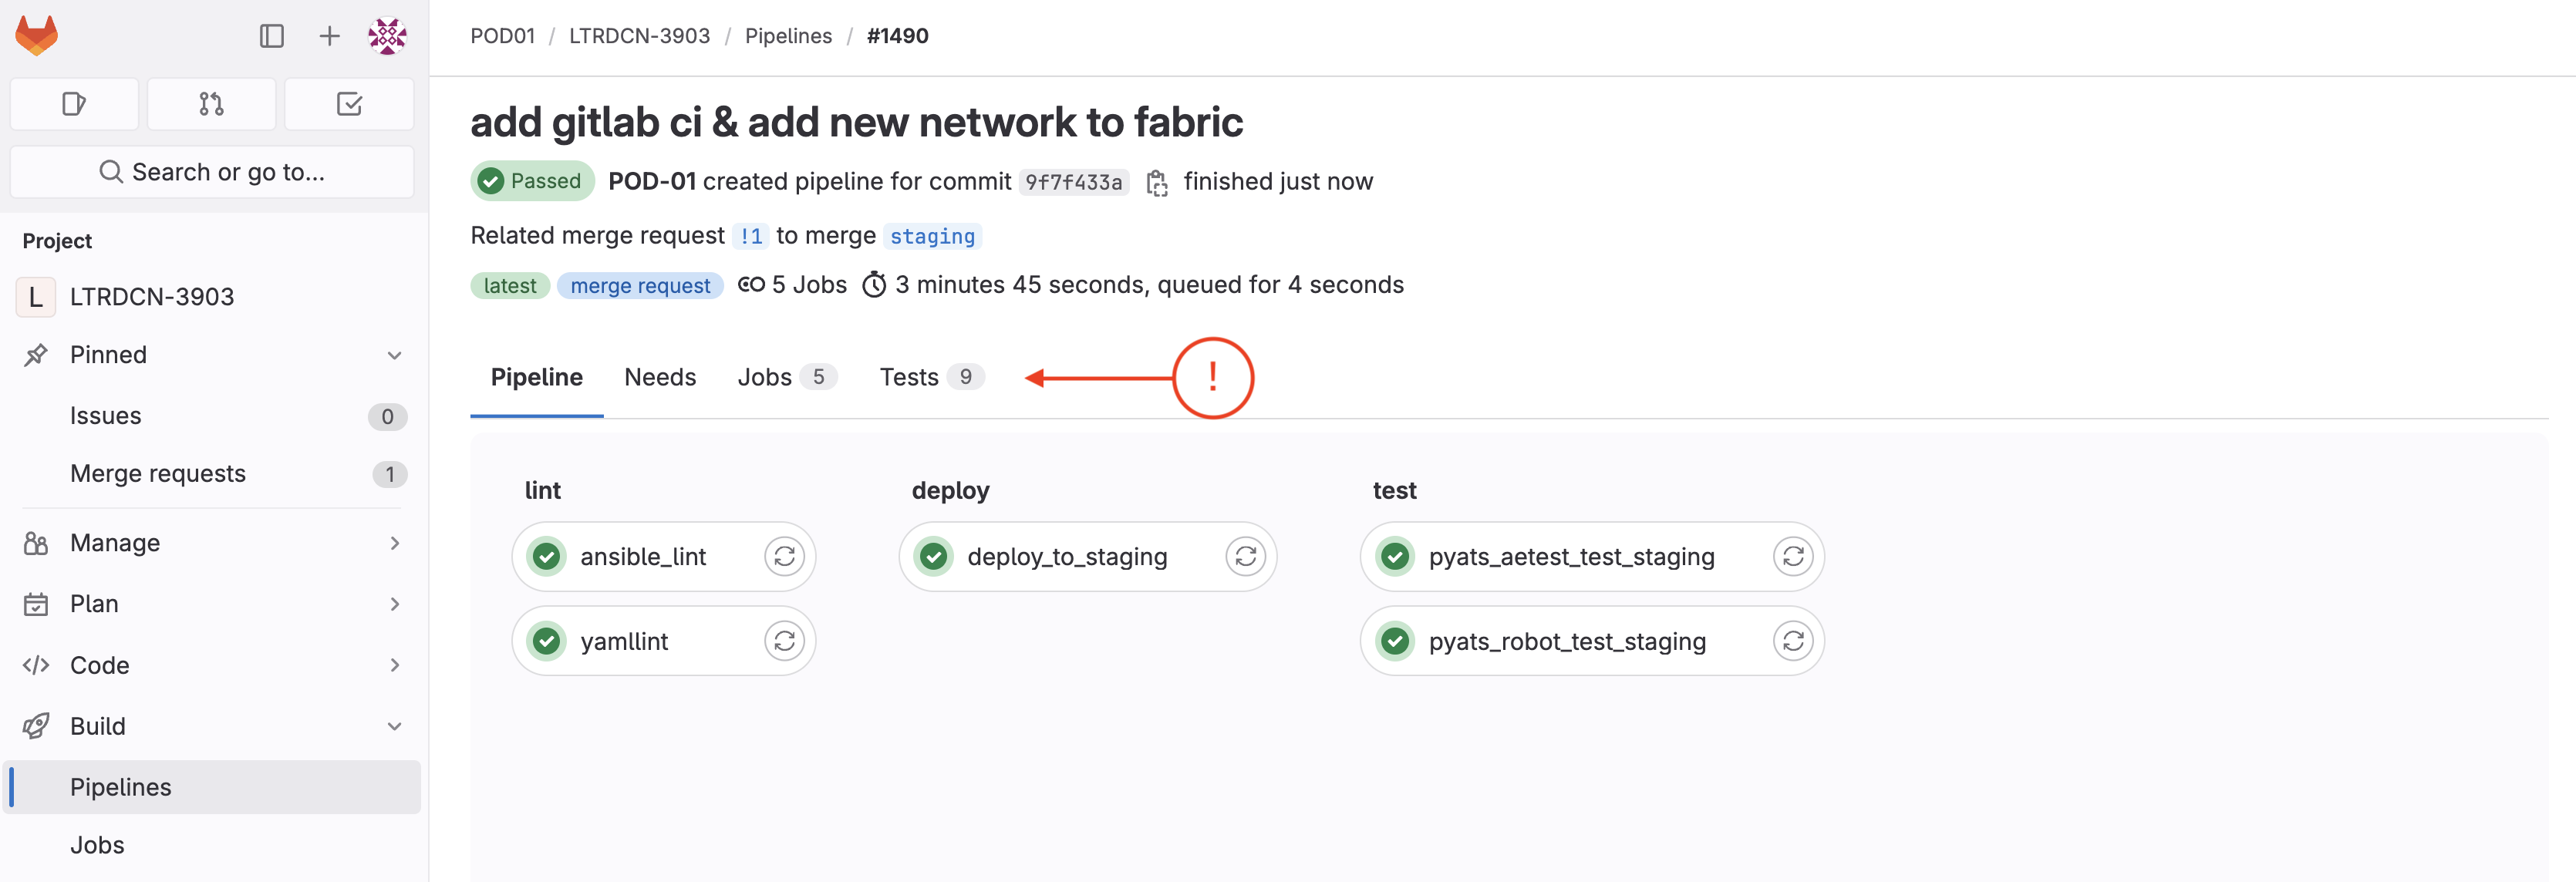
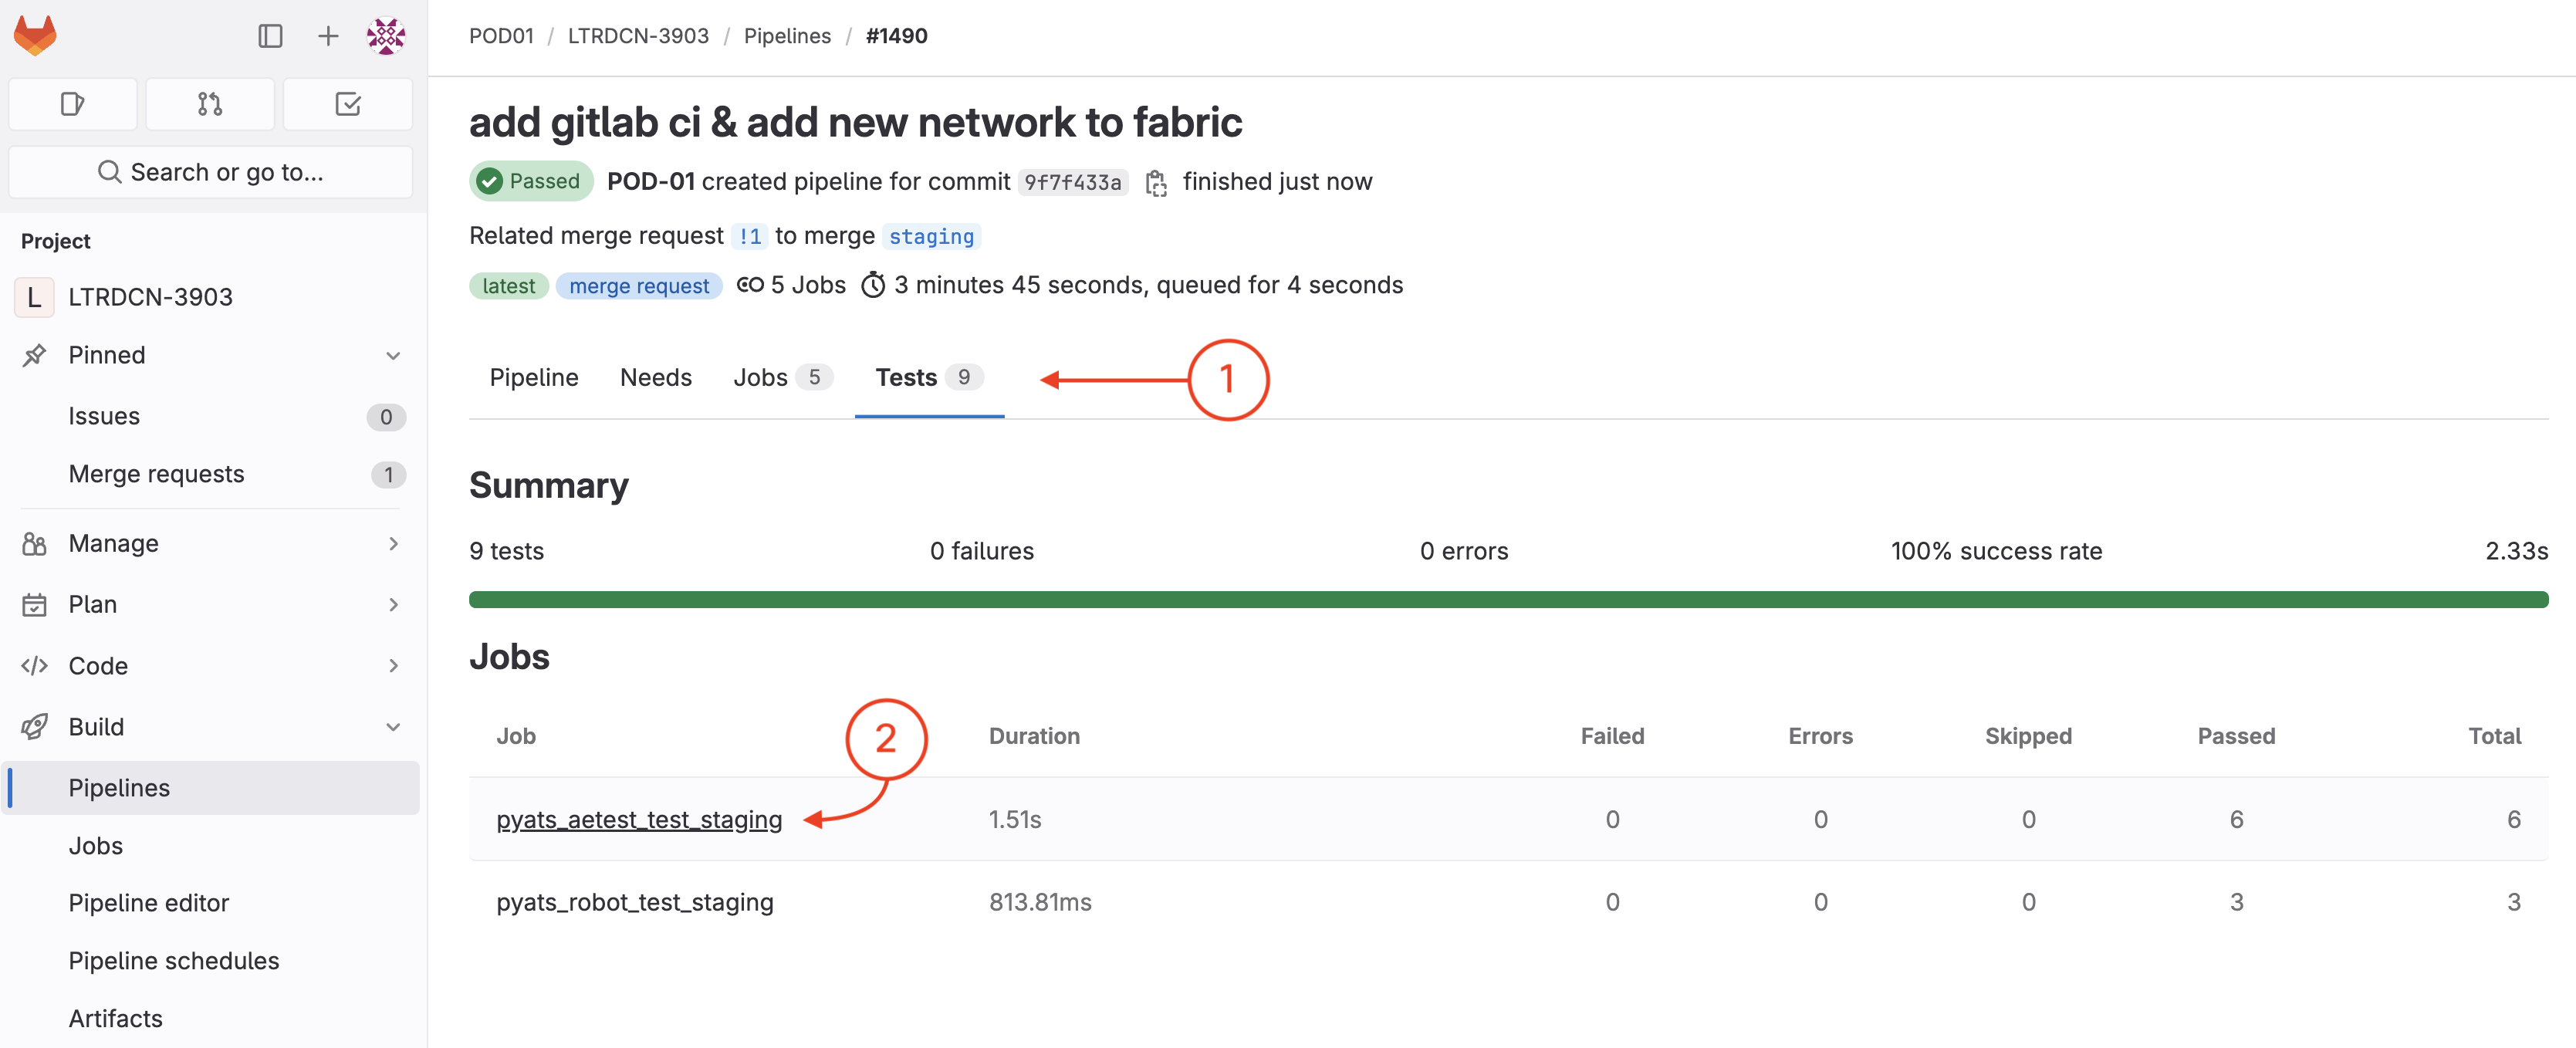
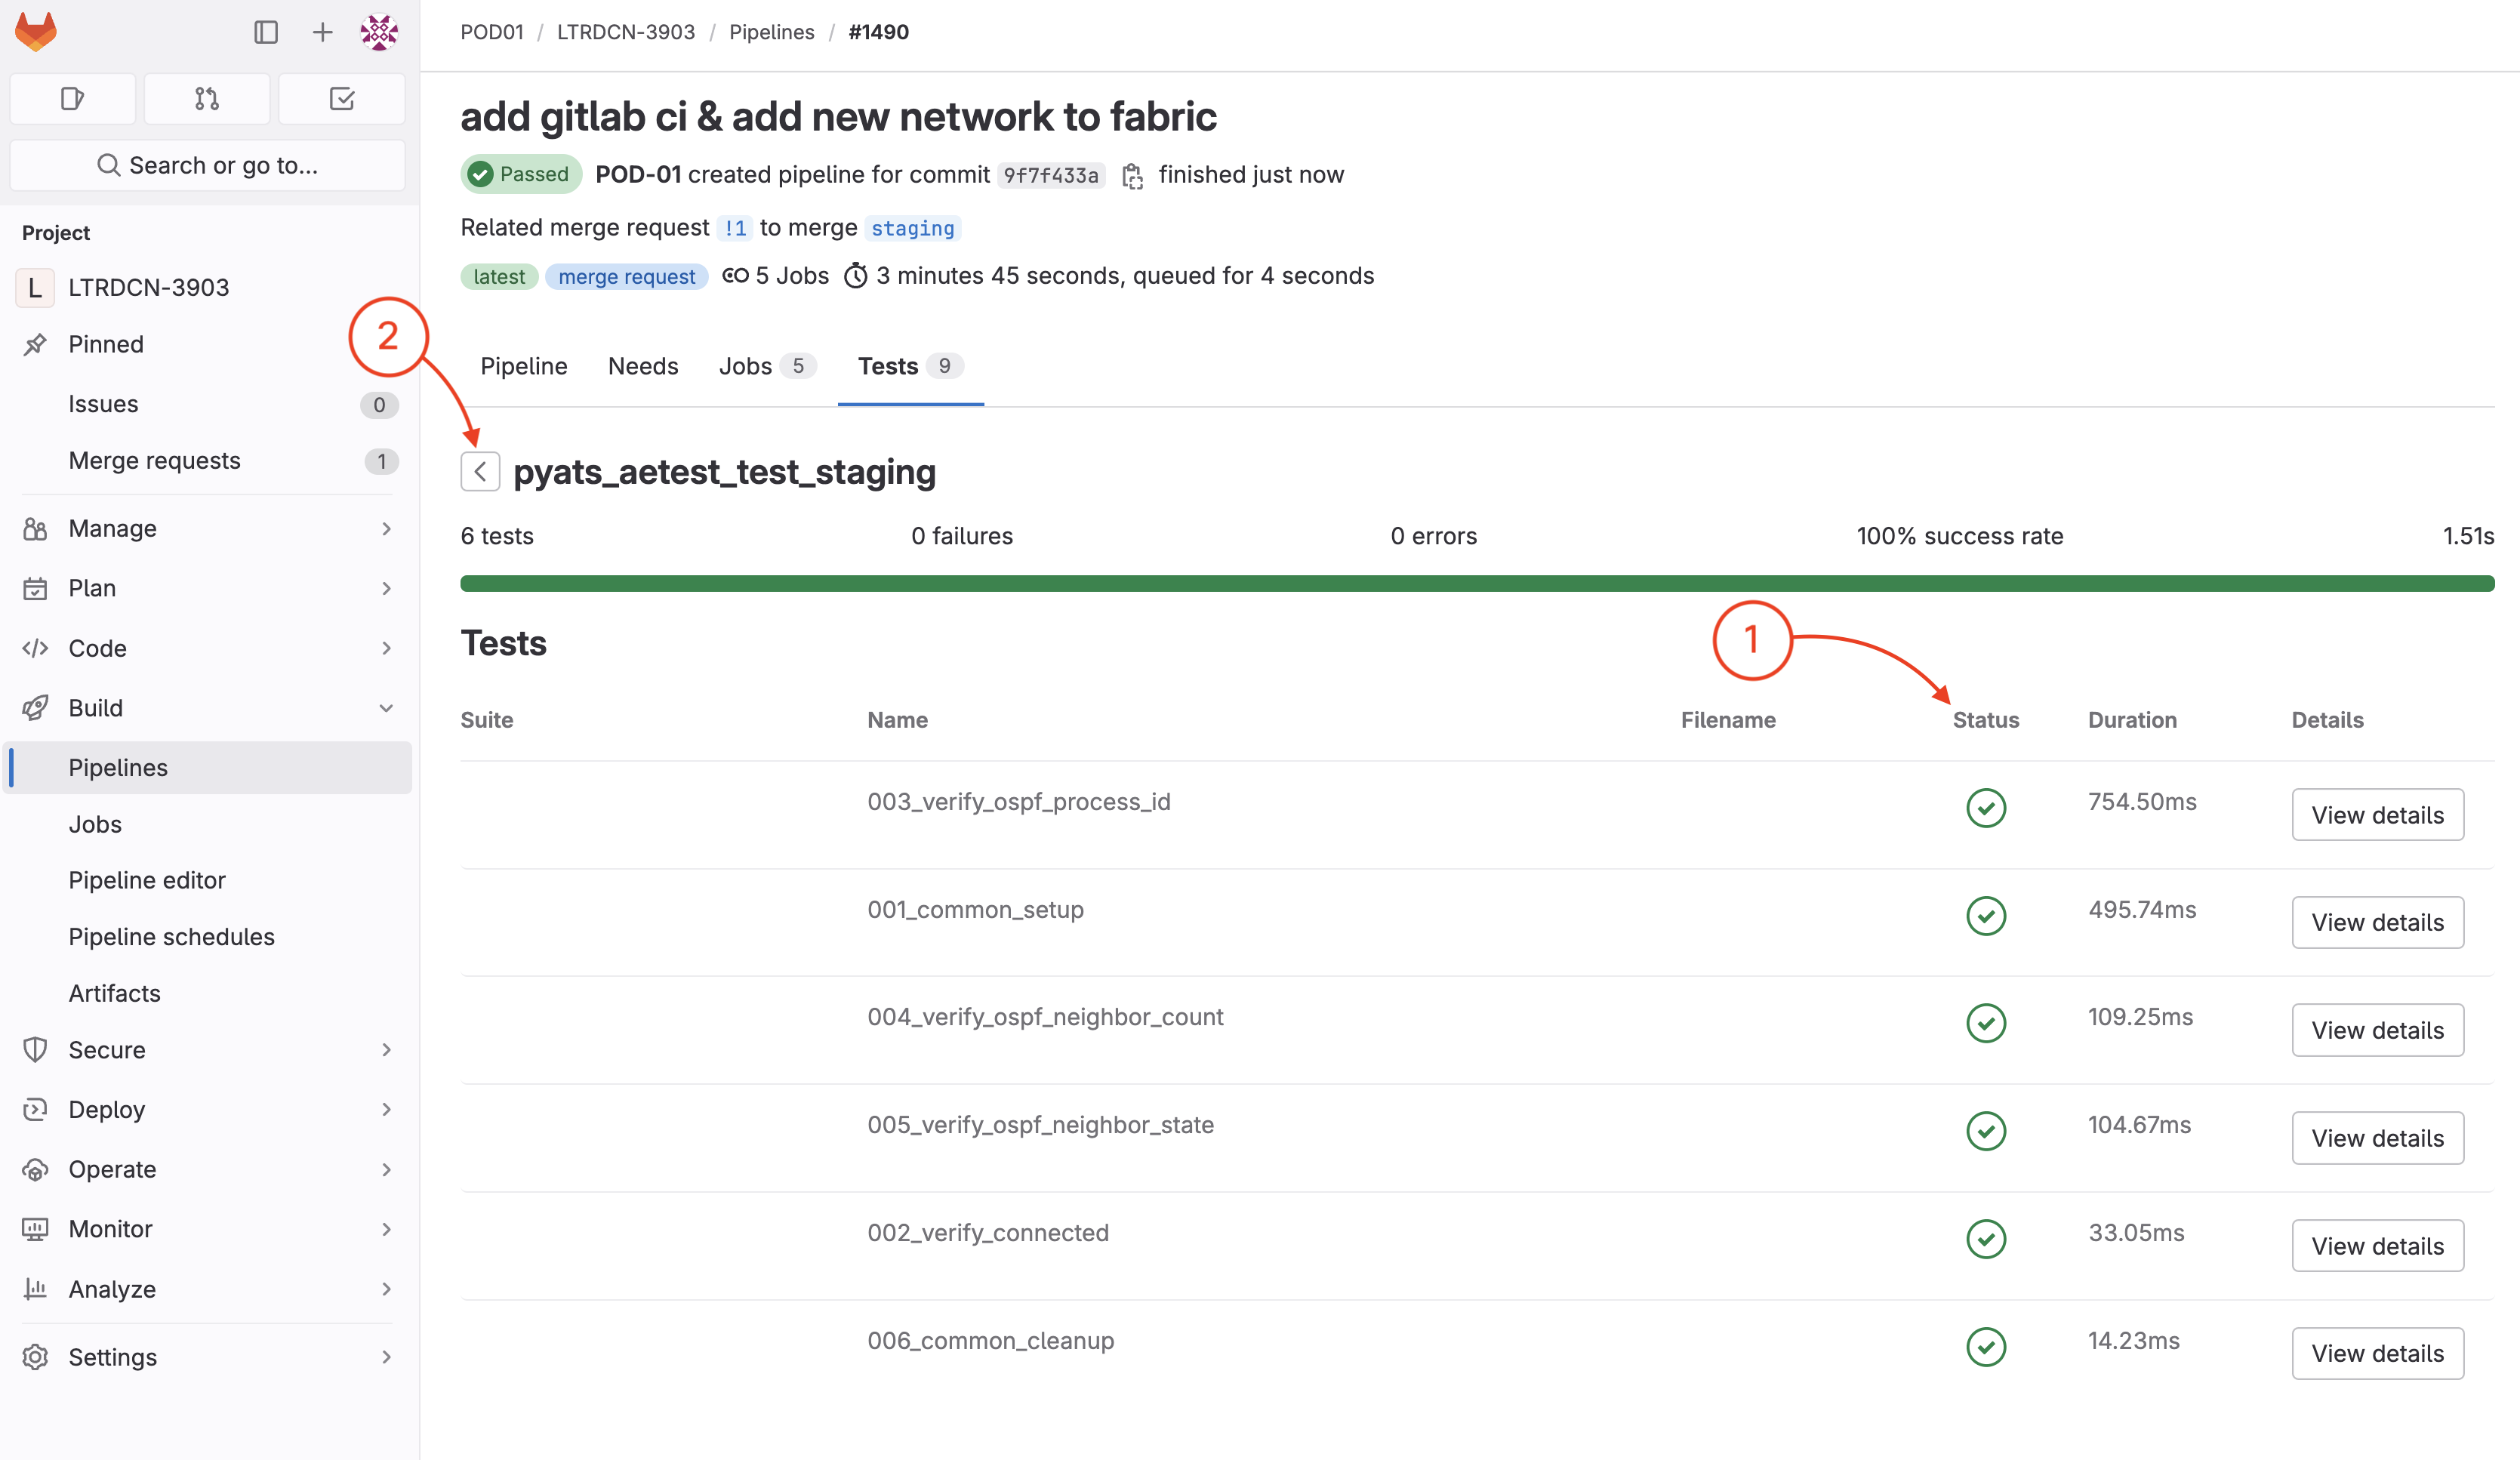
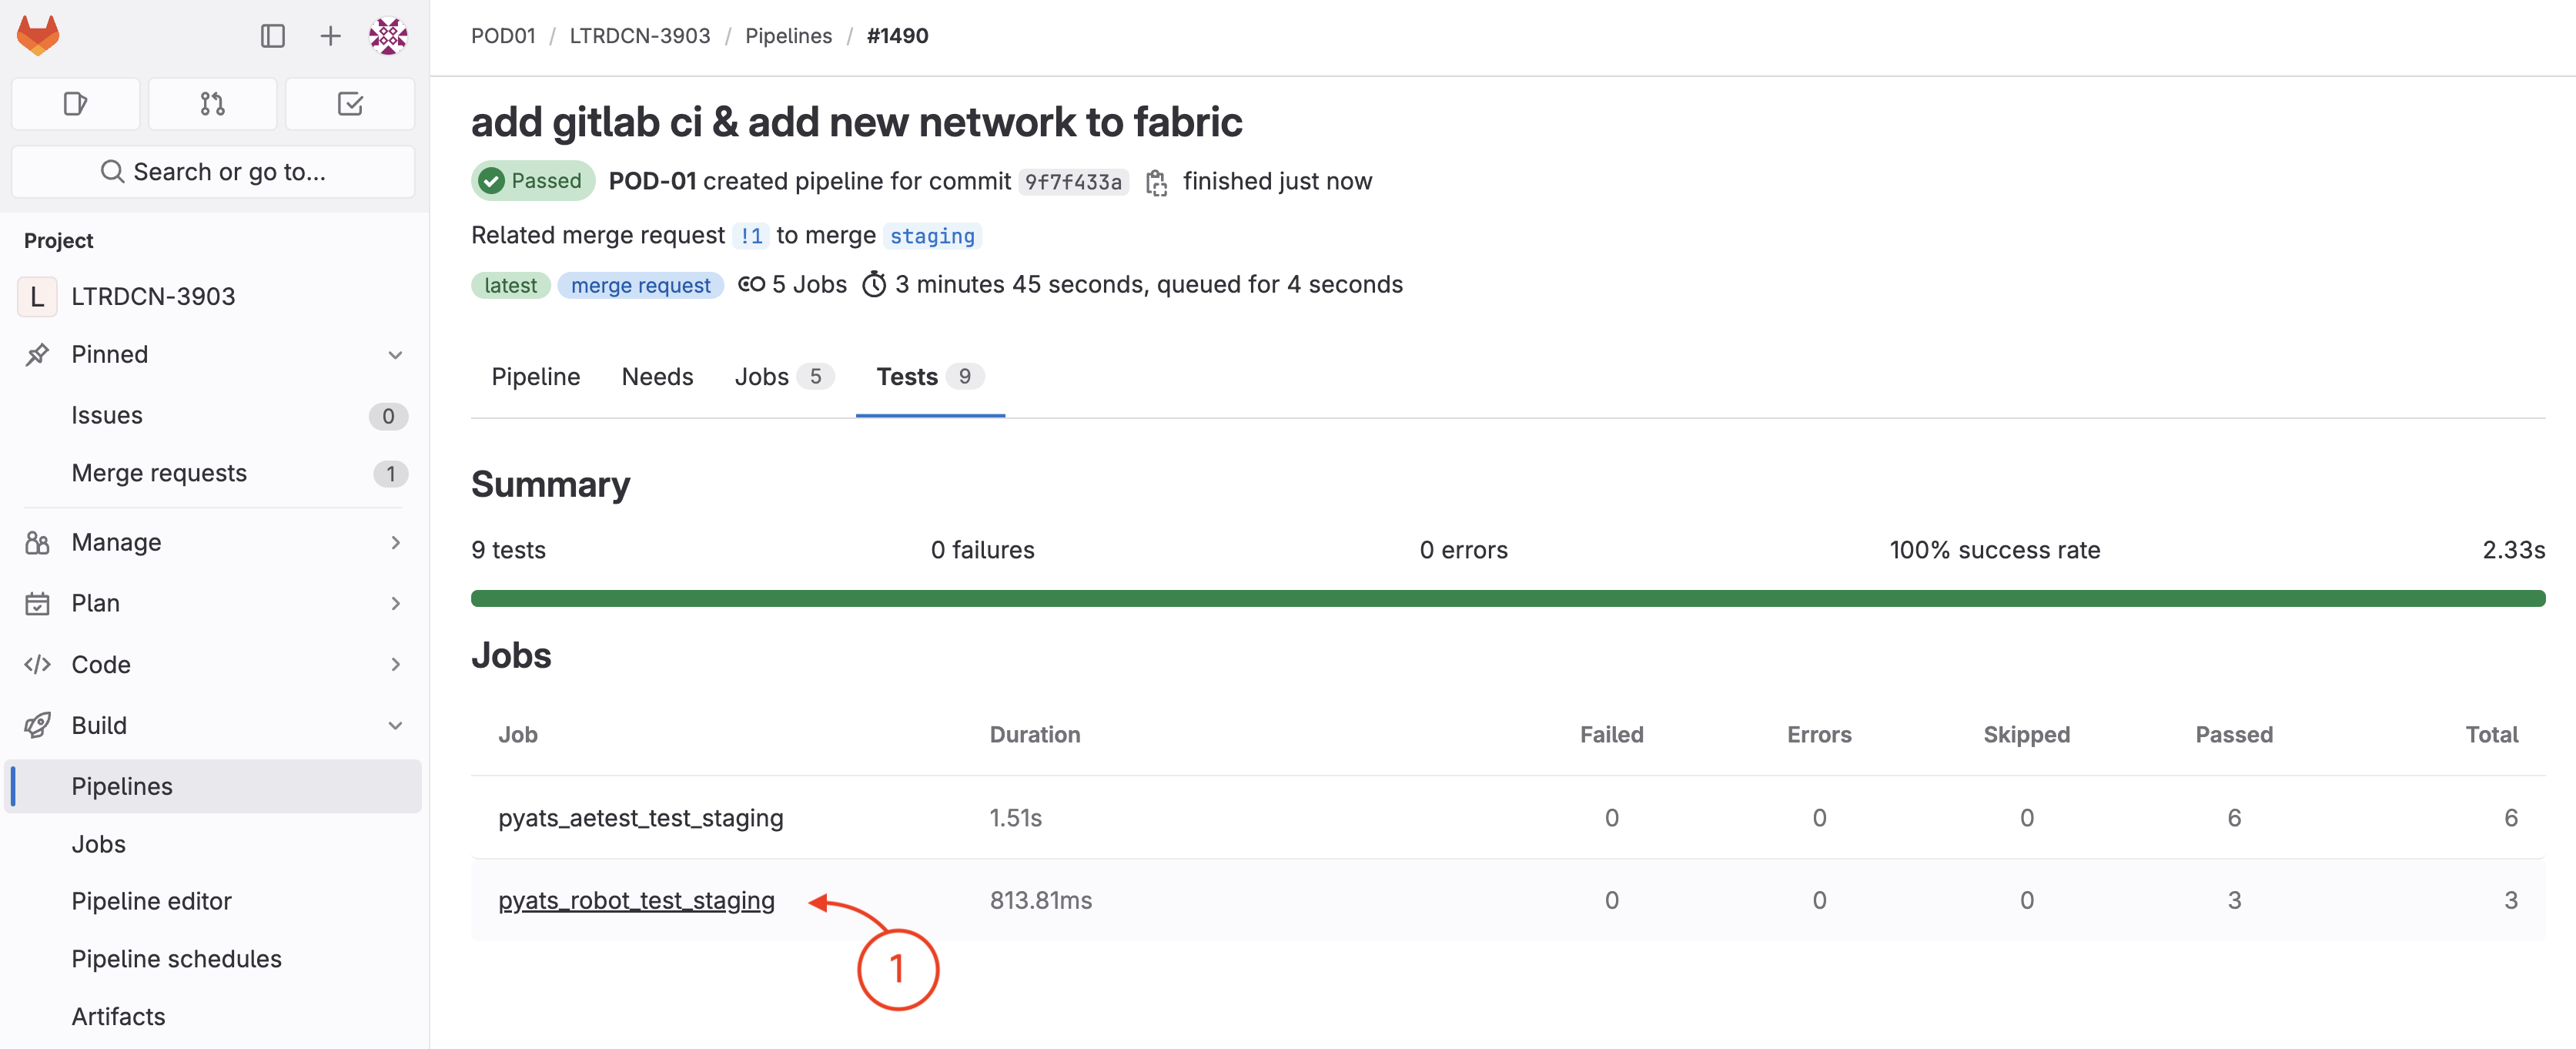
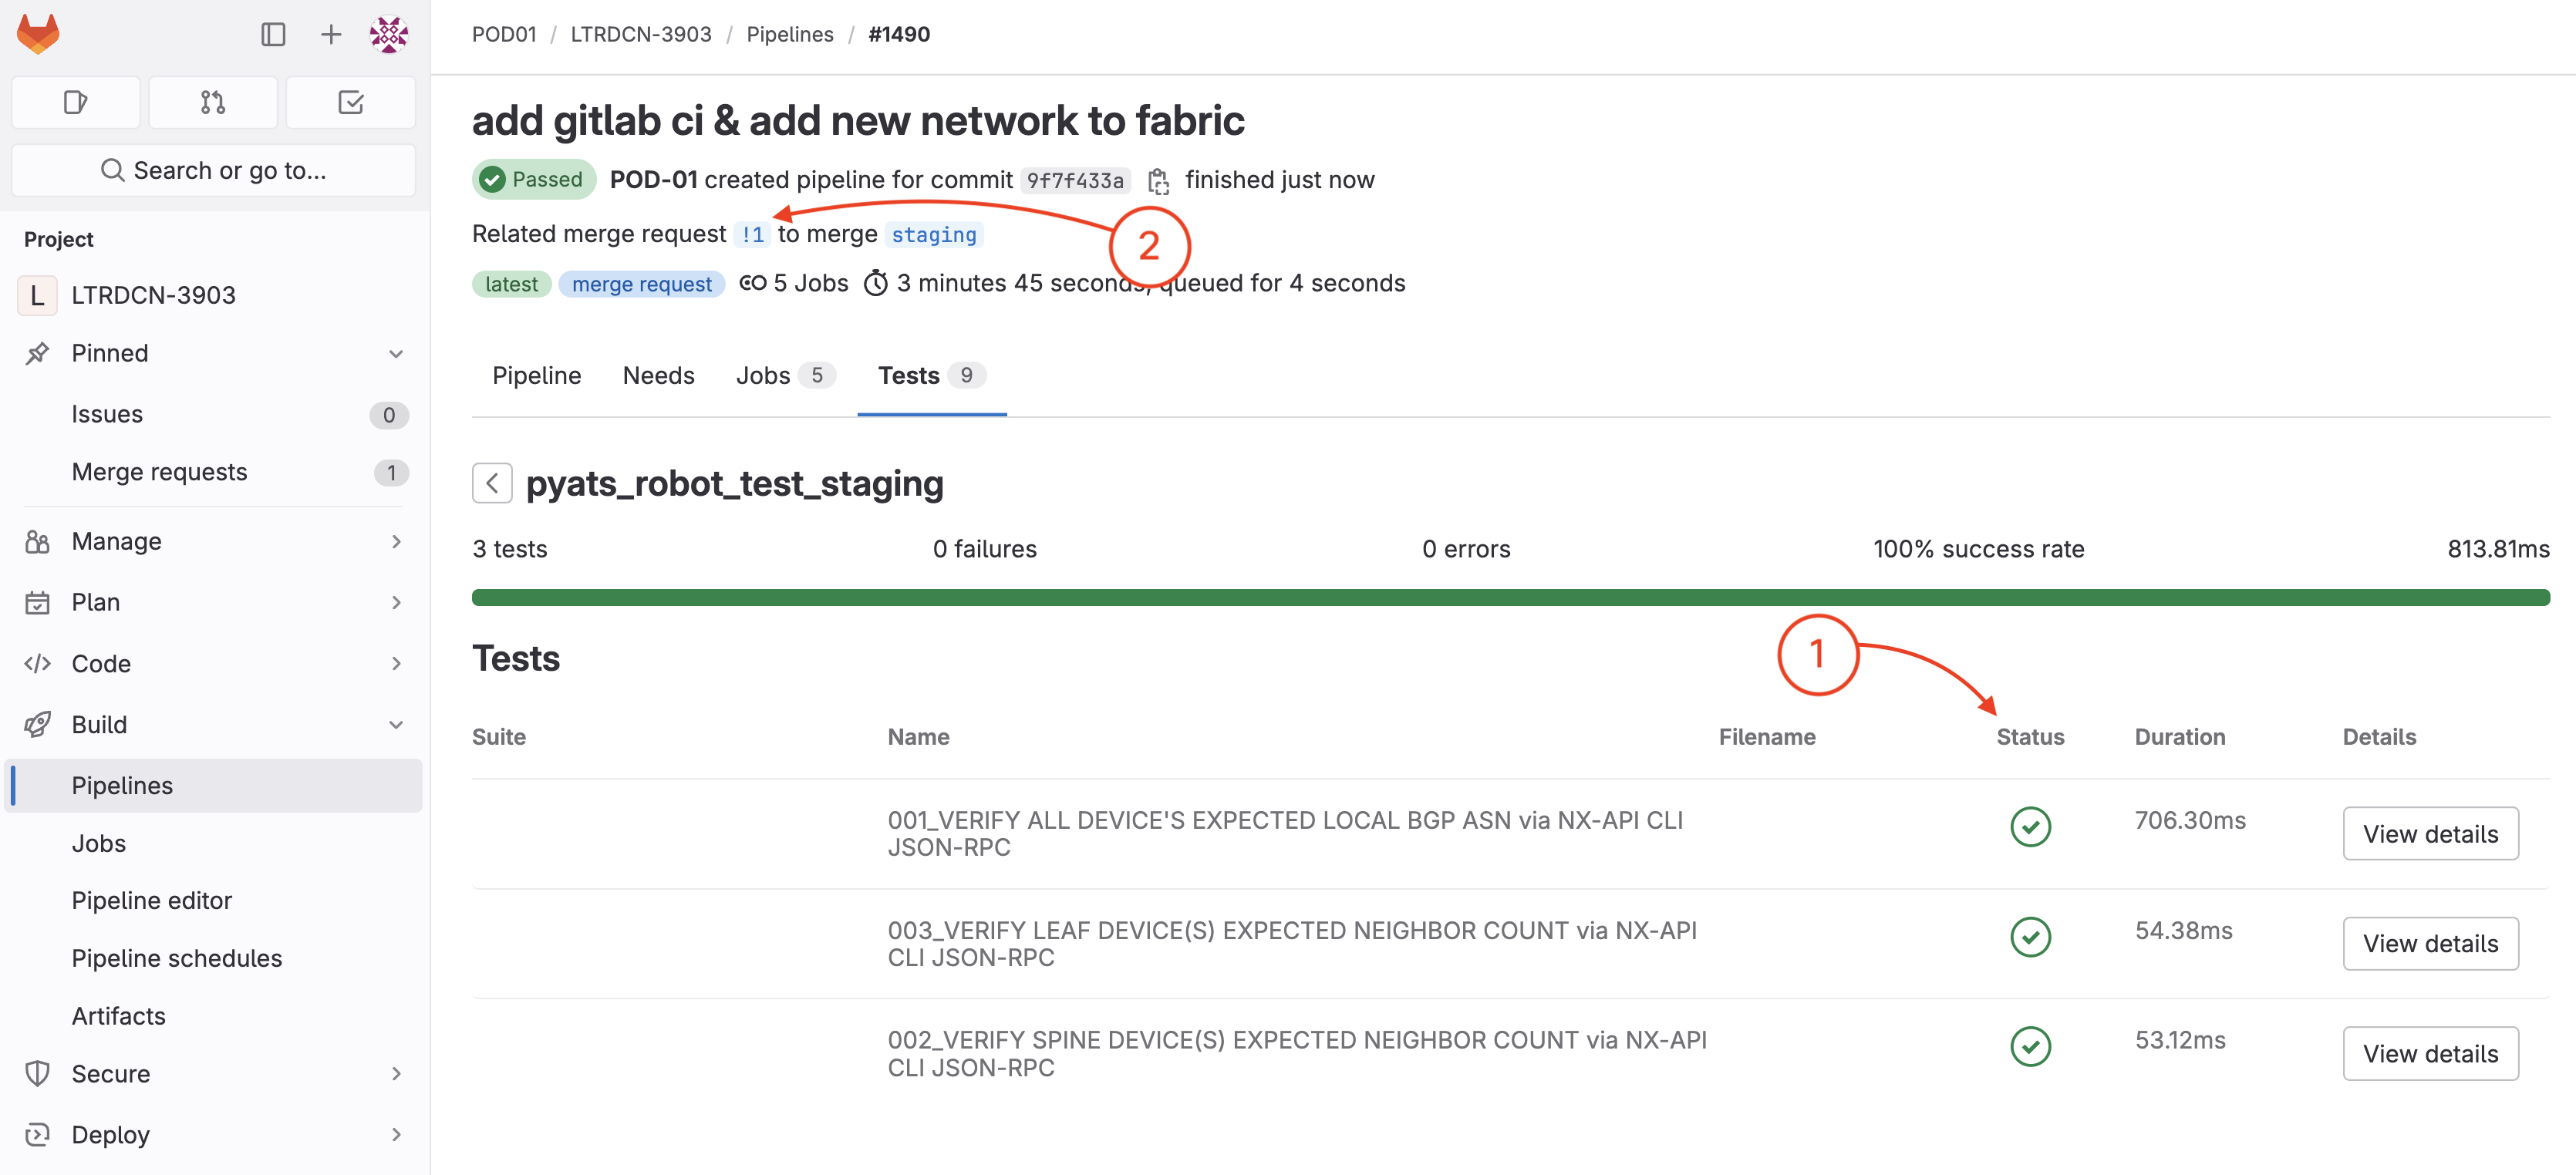
Wait until the Test stage is complete and confirm that the pipeline passed. Your screen should look similar to the screenshot below.
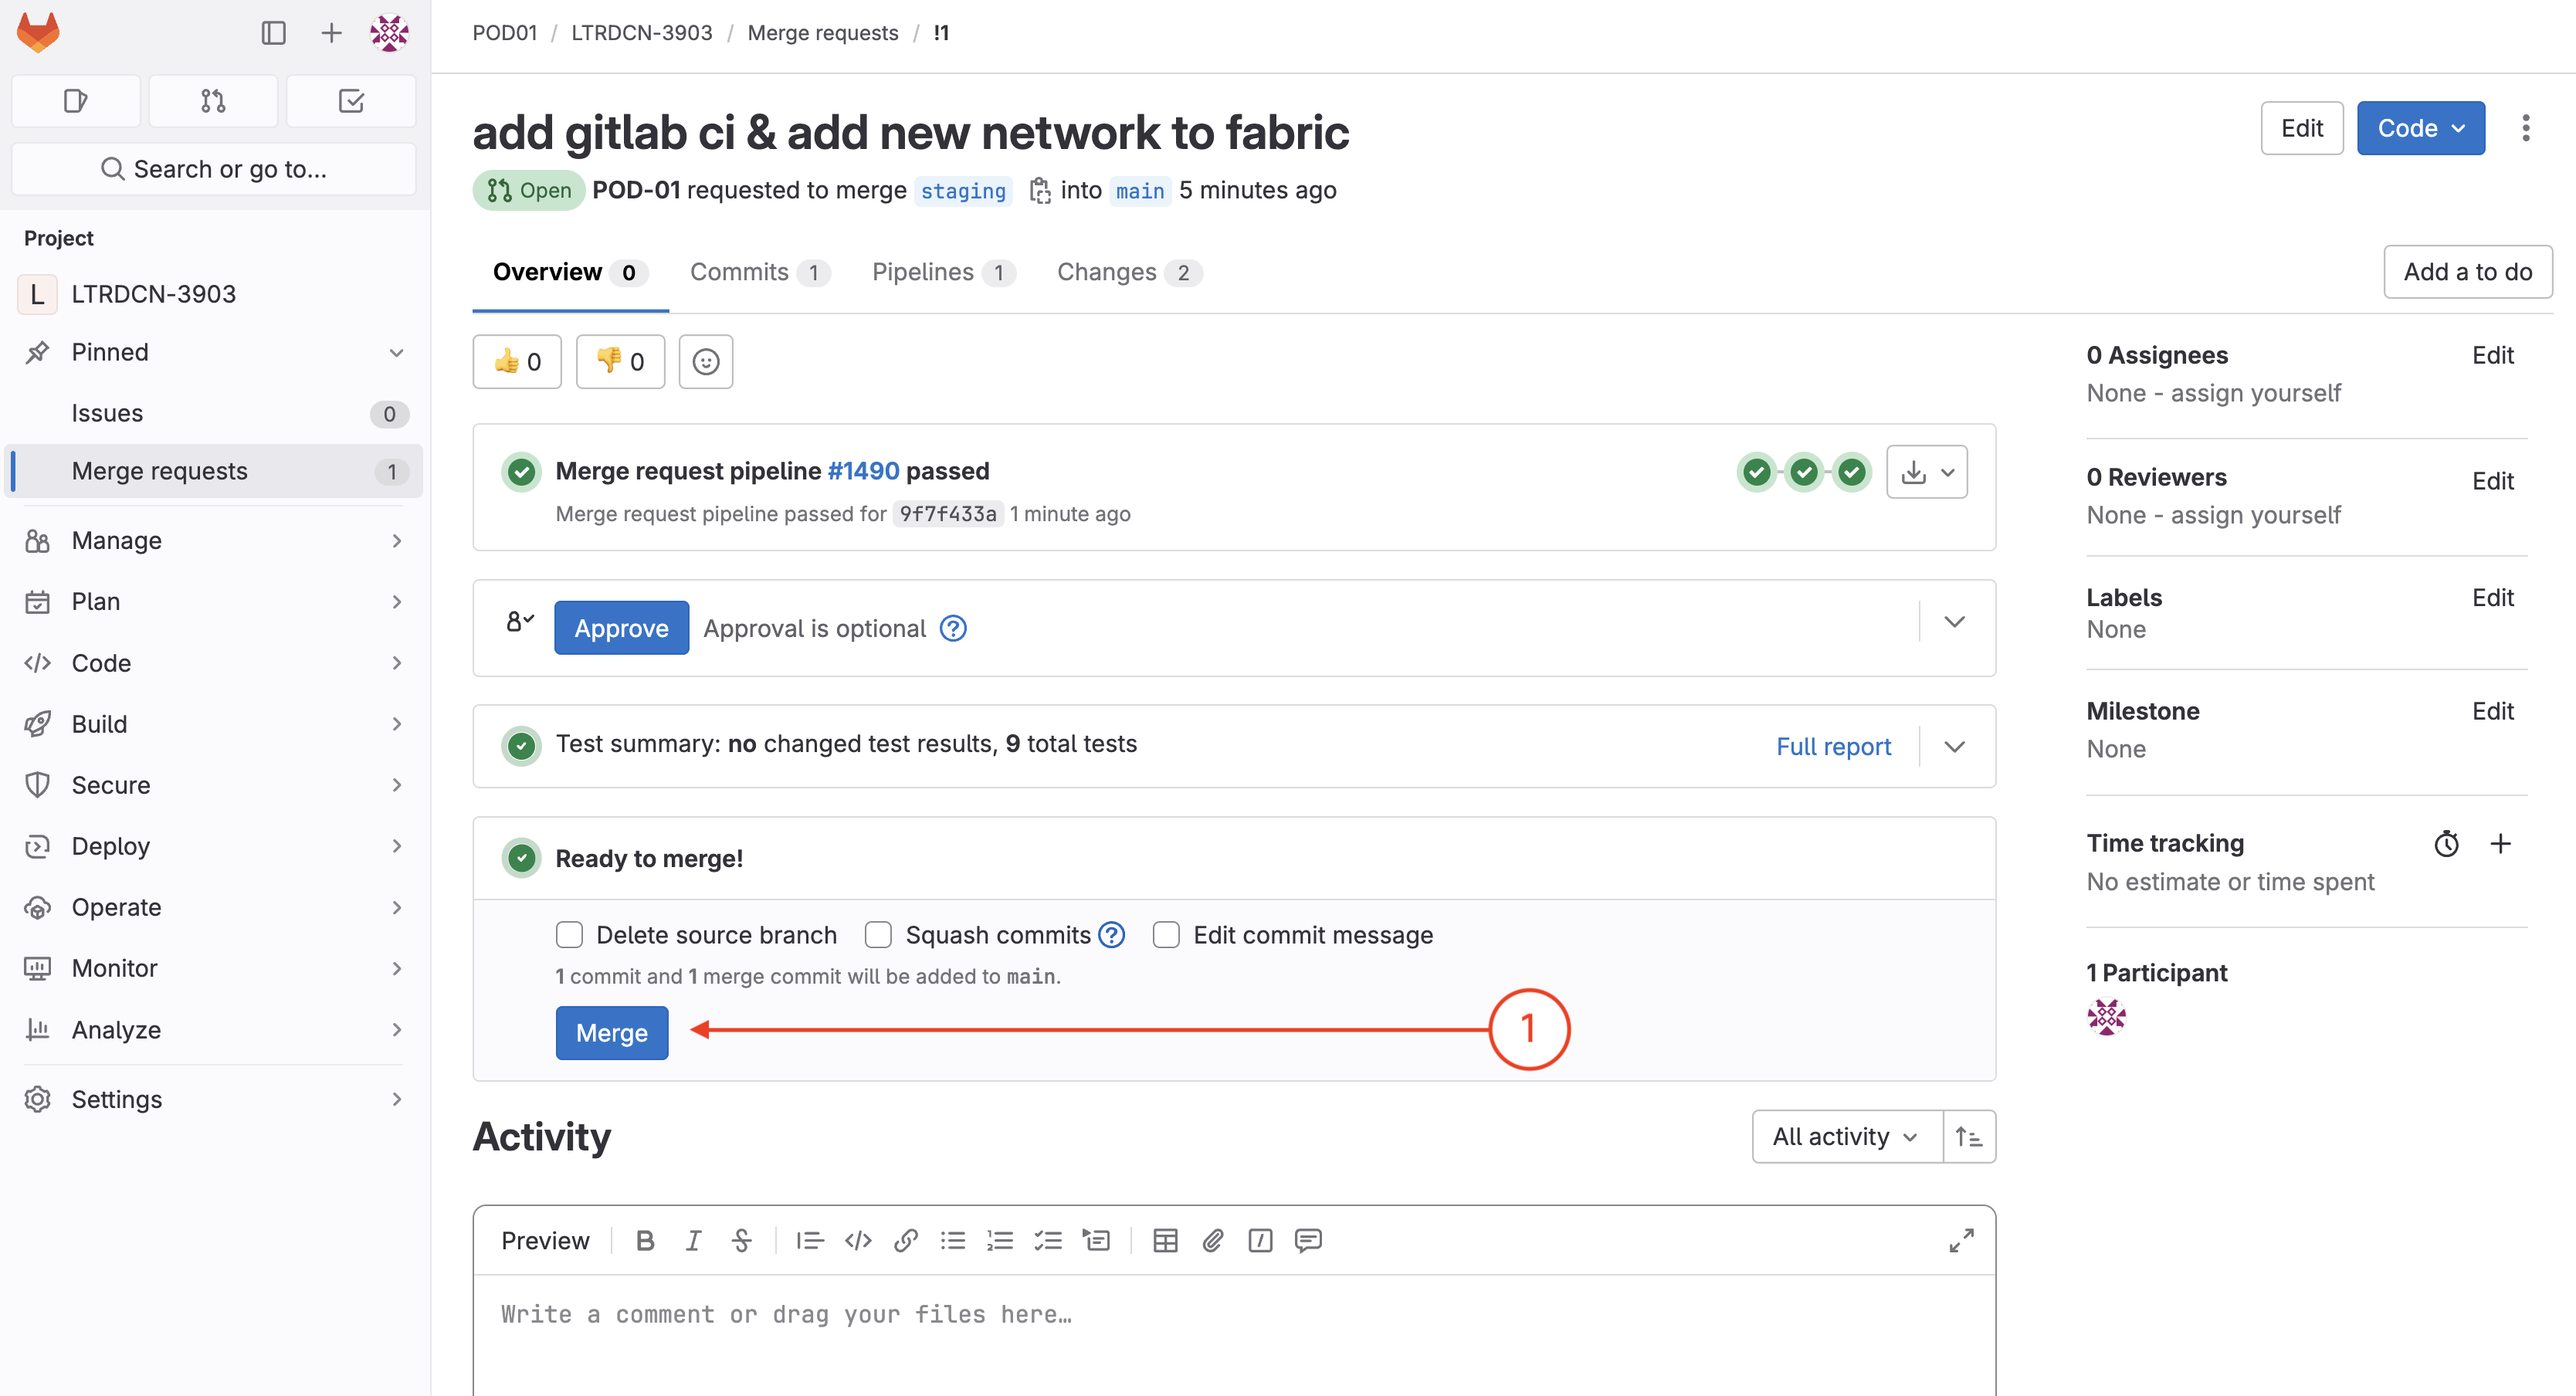
With your Staging Pipeline successfully passing, it must be safe to merge and deploy to your prod fabric. In the merge request:
Now that your staging branch has been merged into your main branch:

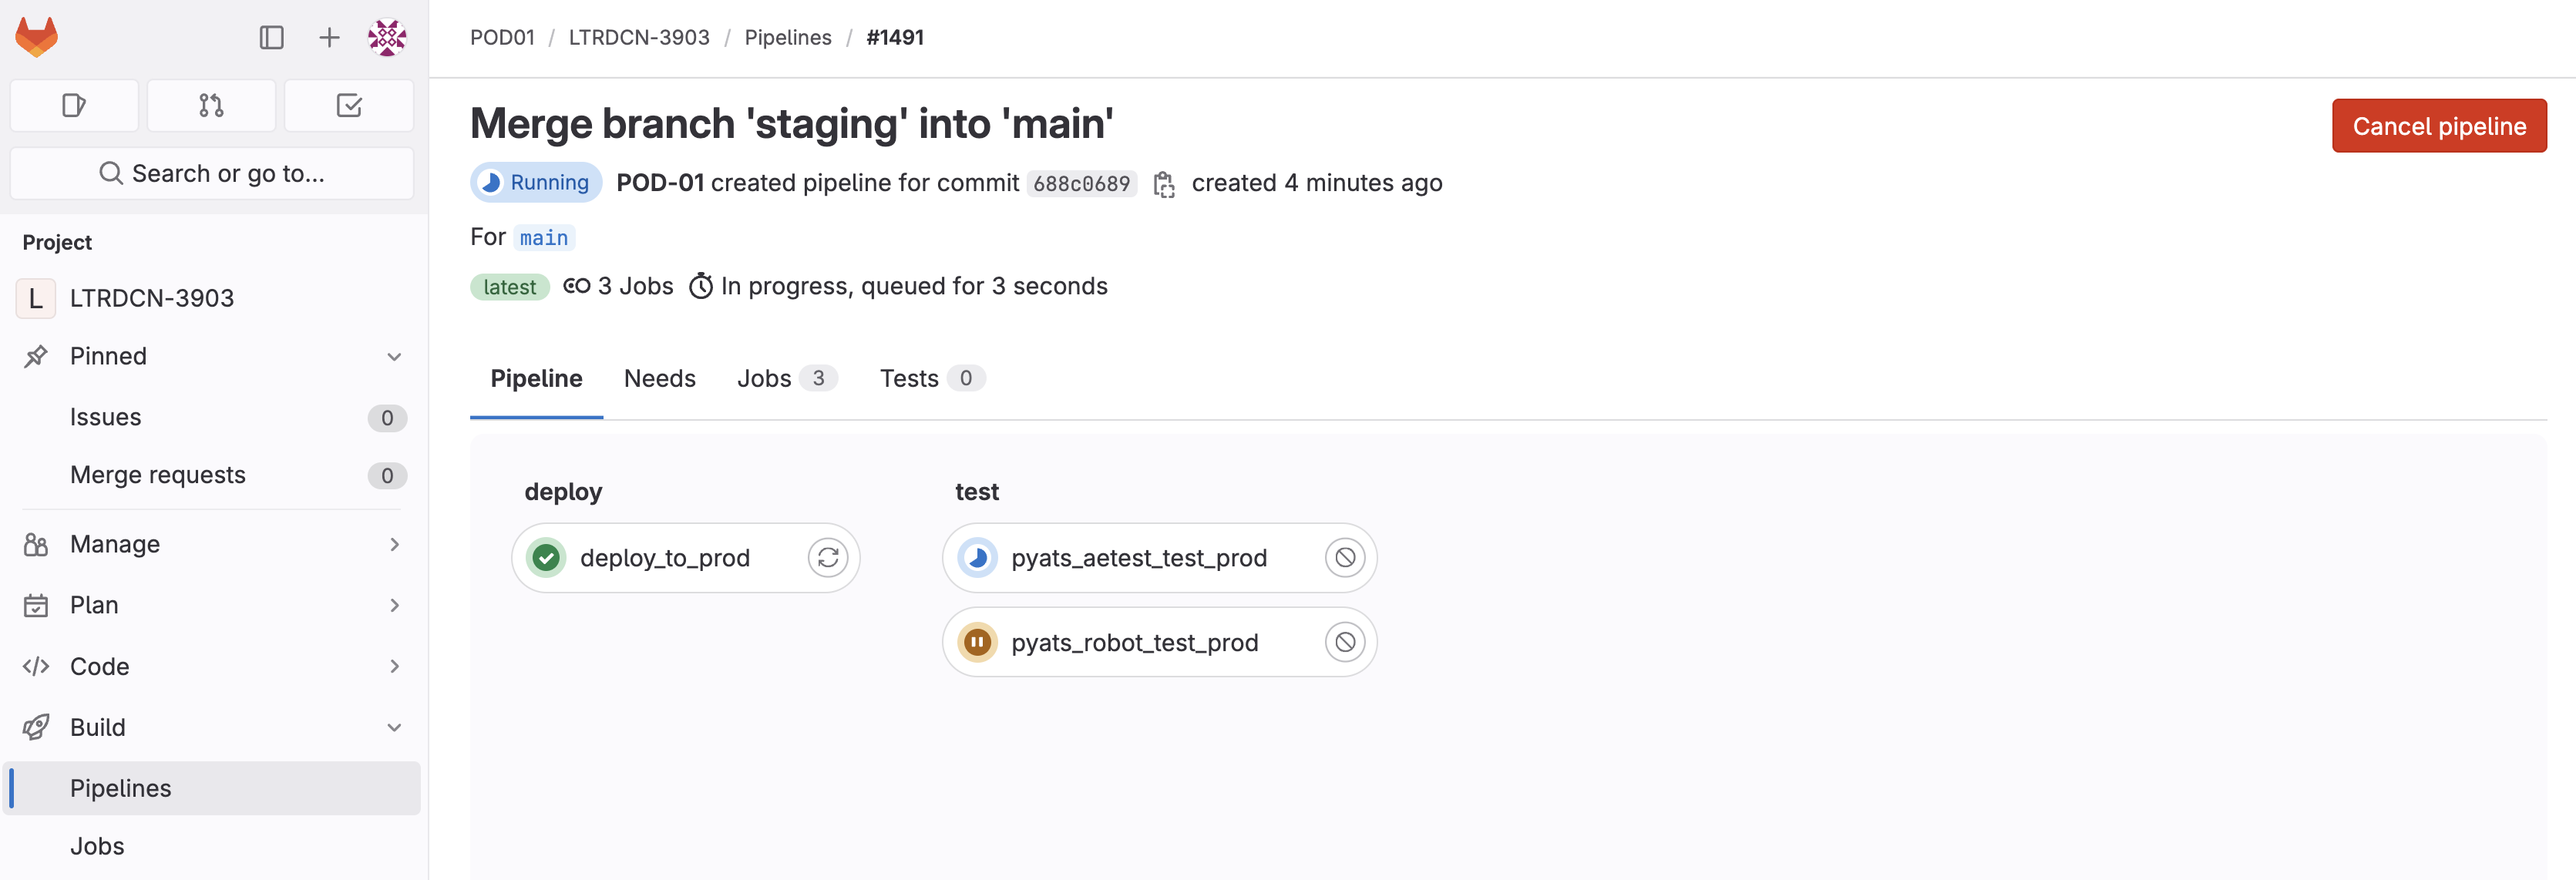
In running pipeline view:
.gitlab-ci.yml file you created for proddeploy_to_prod job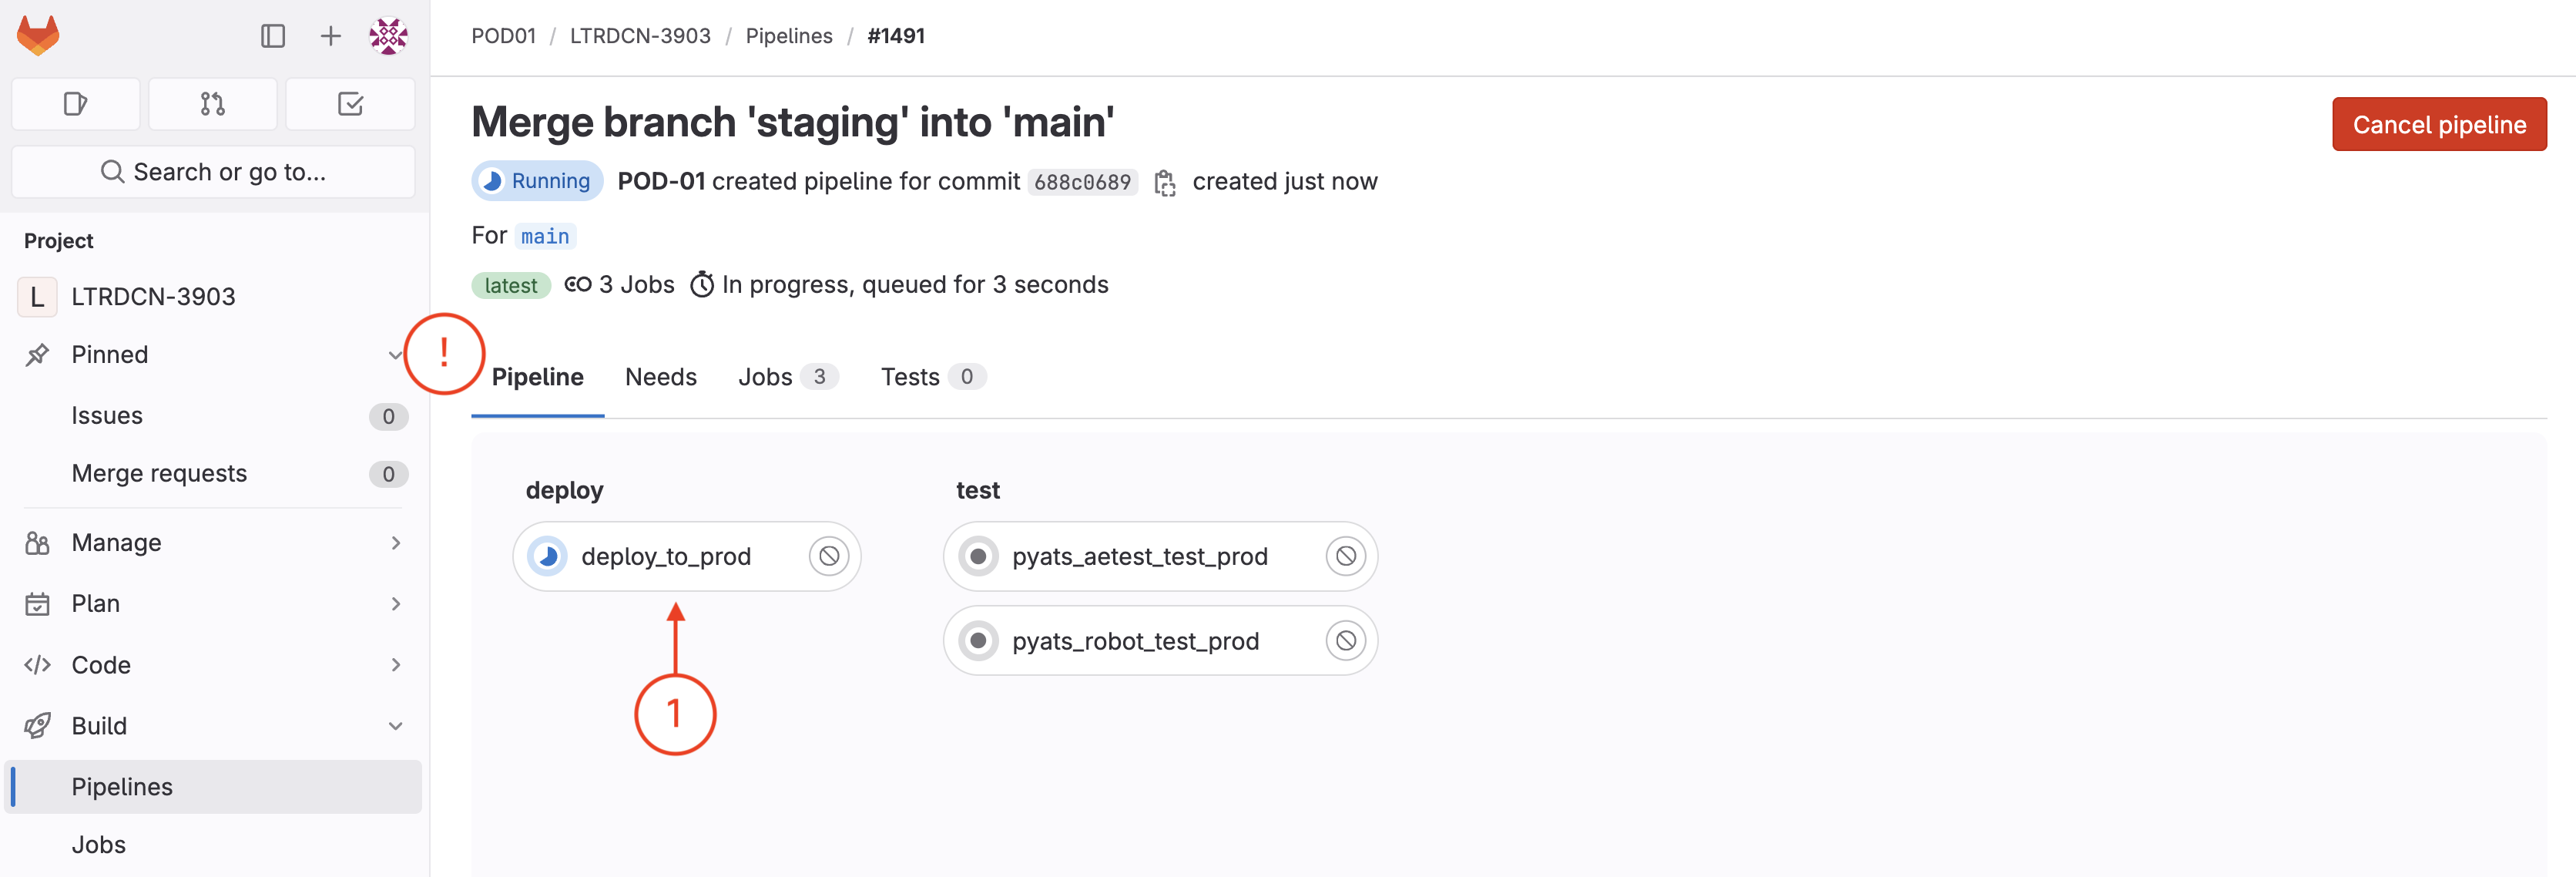
In the Deploy stage, the job or step being run is executing your Ansible playbook to configure the entire VXLAN EVPN fabric of your prod fabric since the staging pipeline was successful.
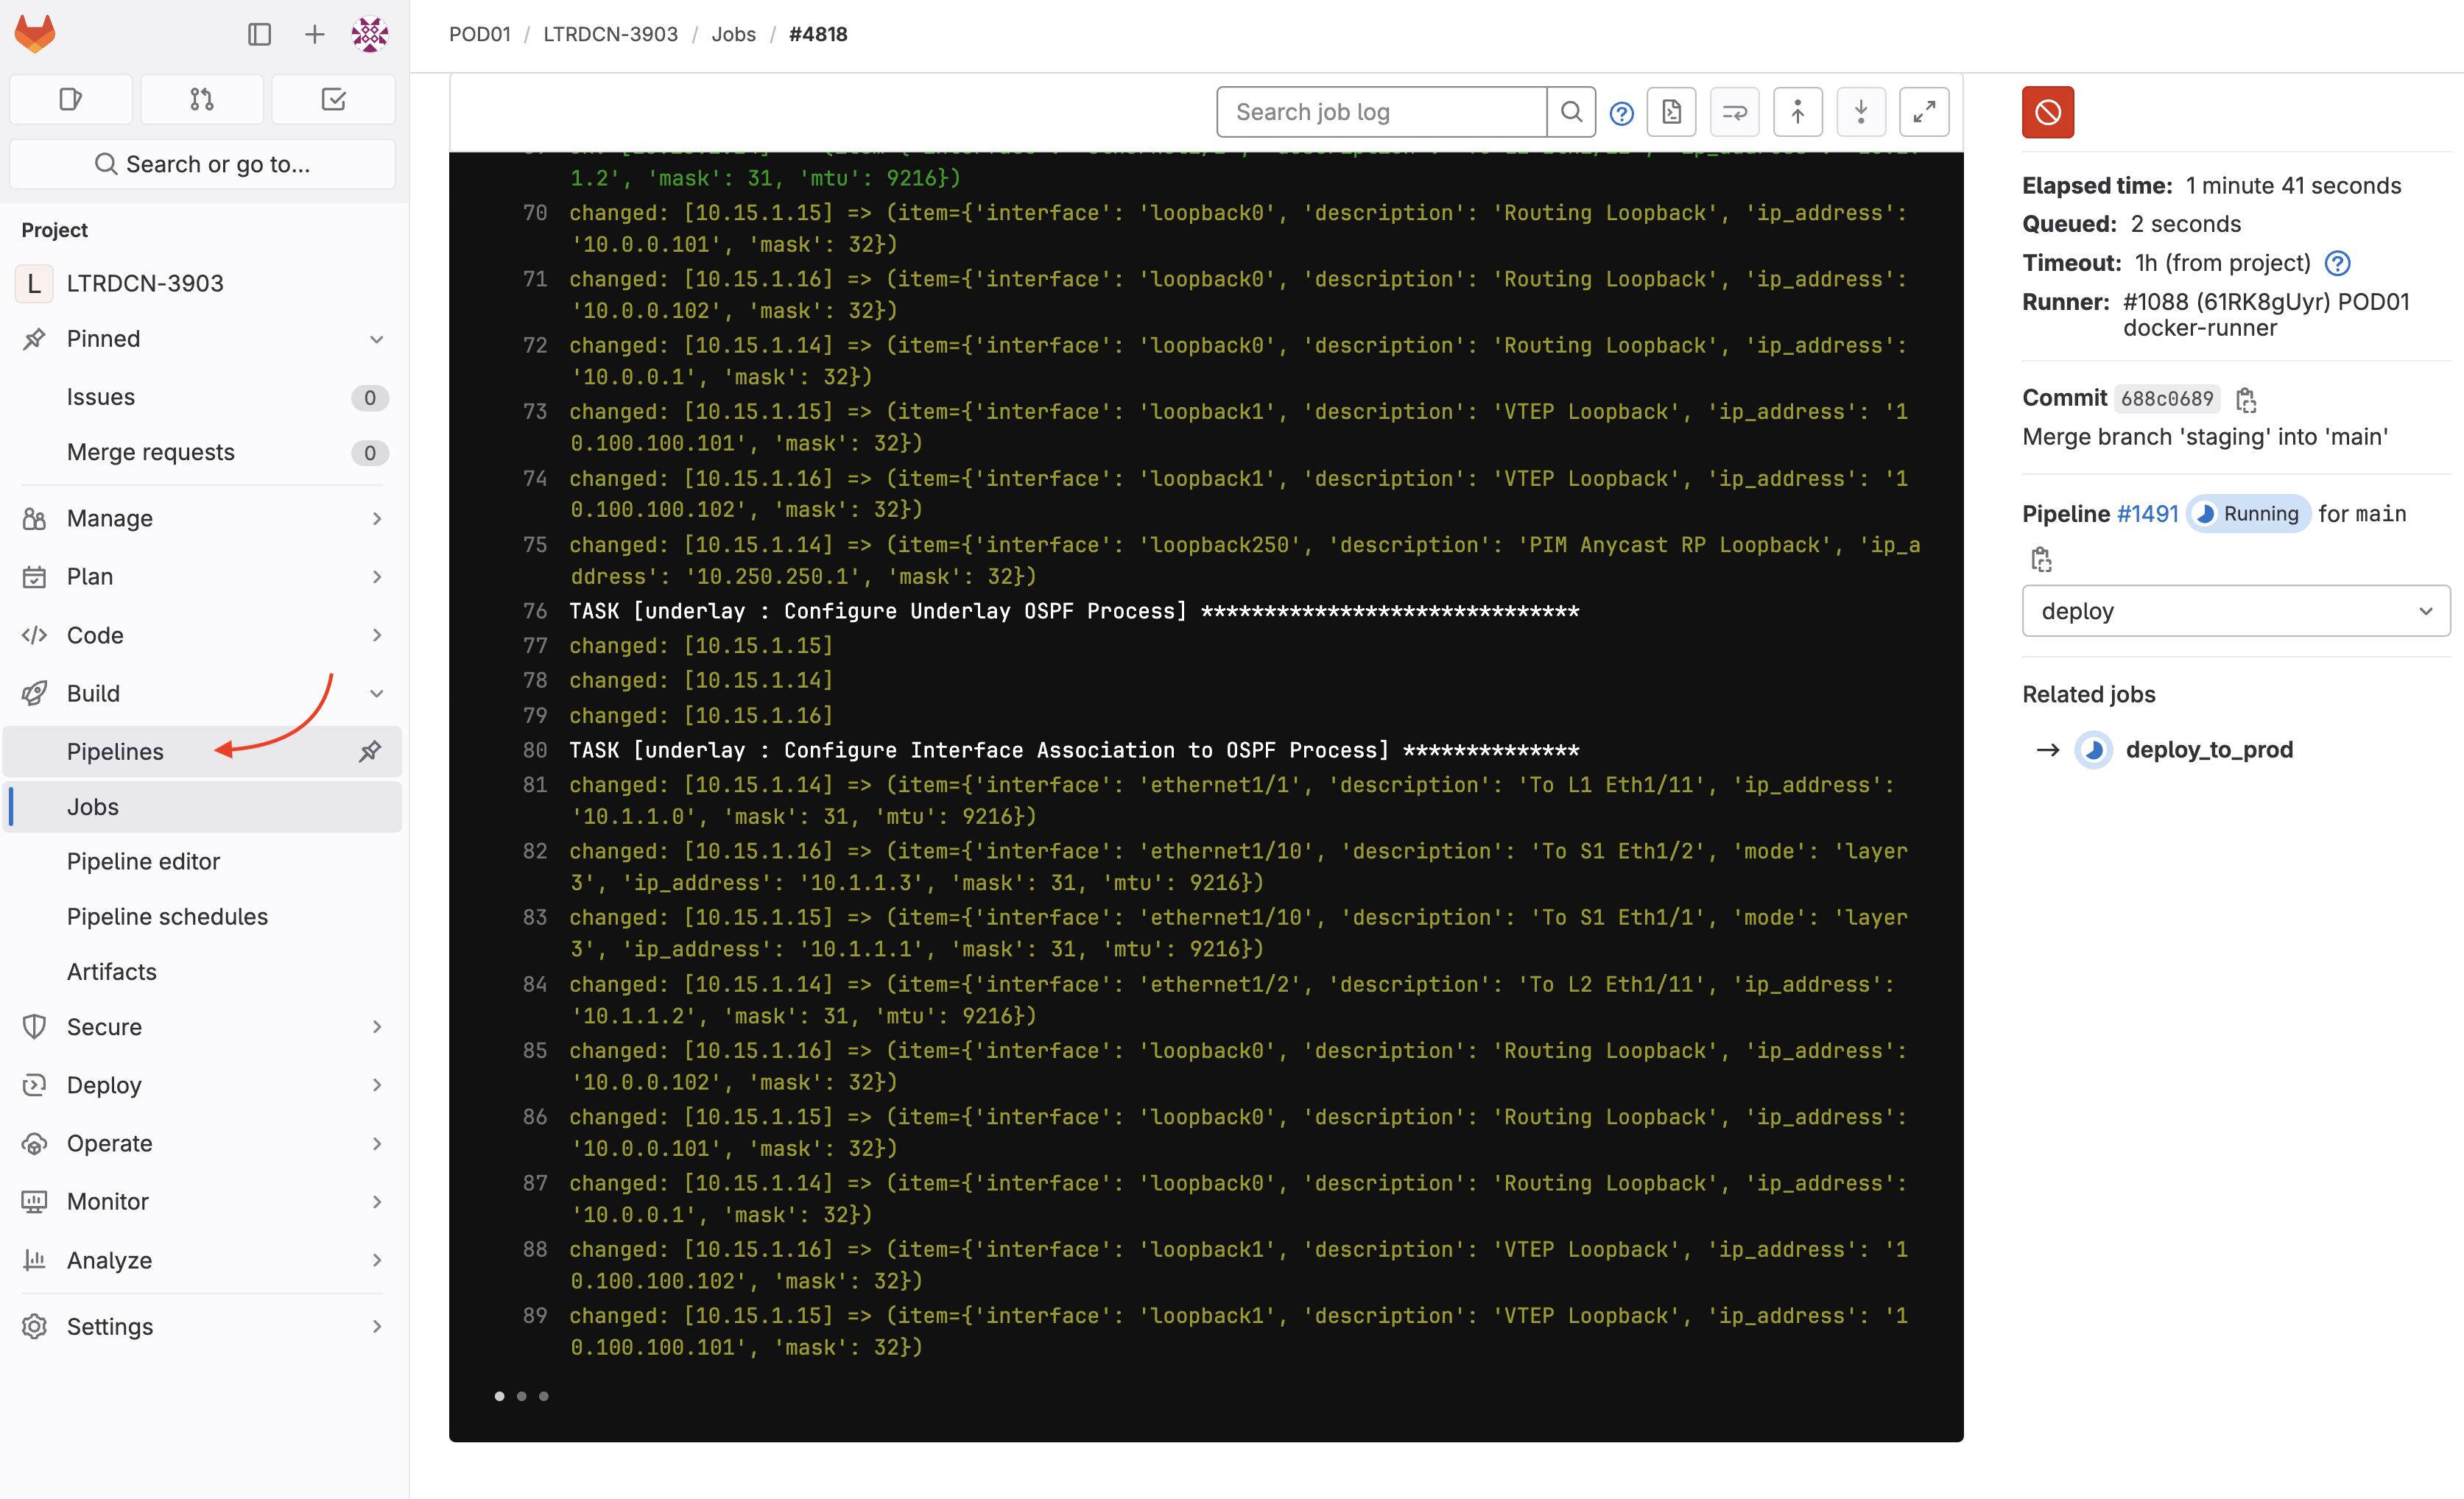
Again, in the execution window, you can see the Ansible playbook executing against the prod switches:
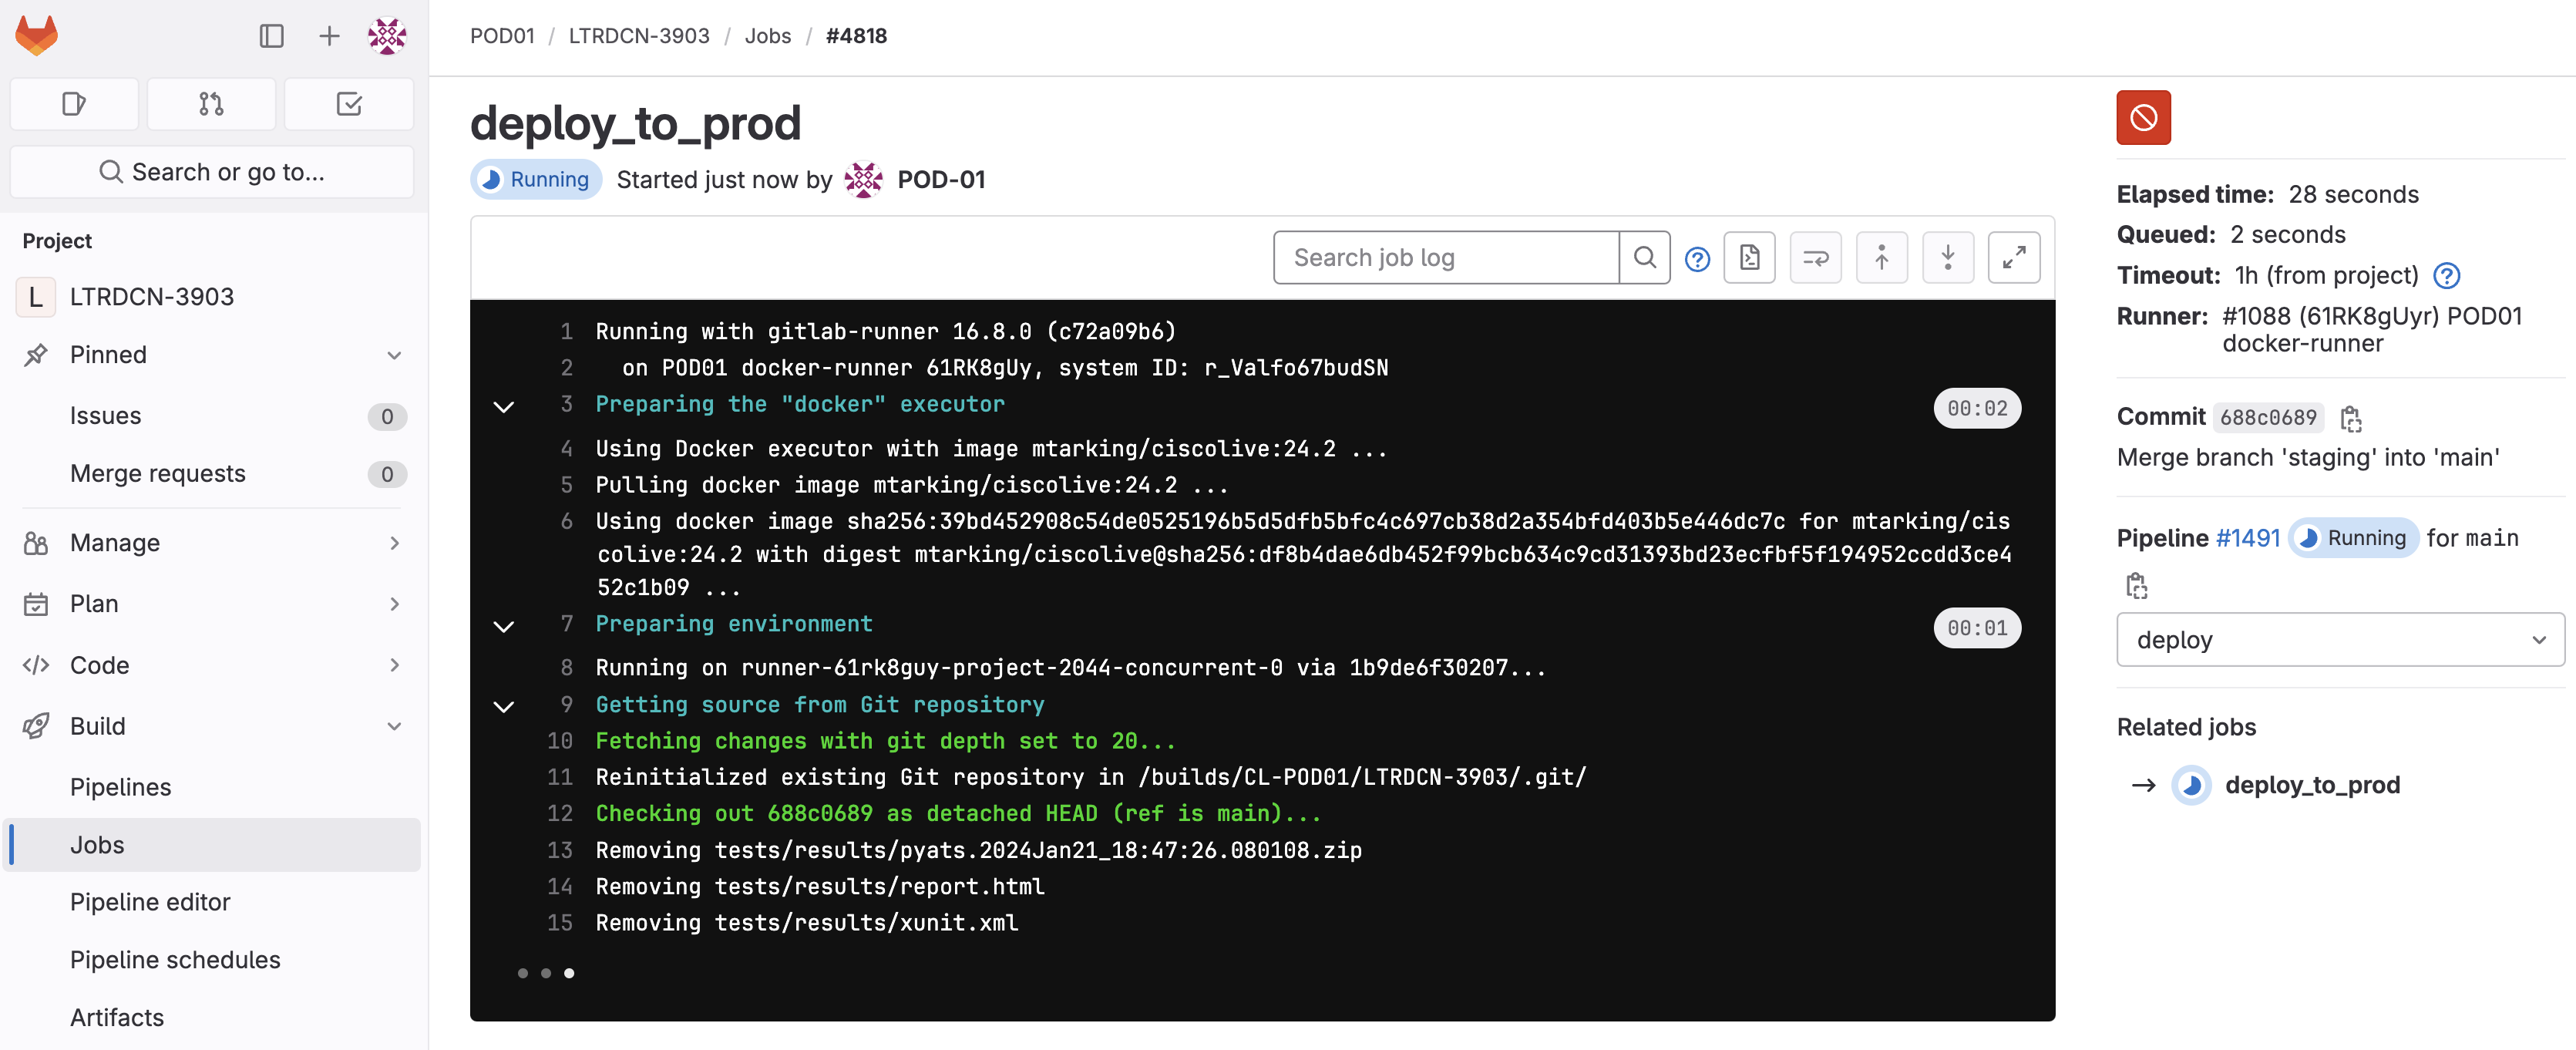
From the deployment job execution:
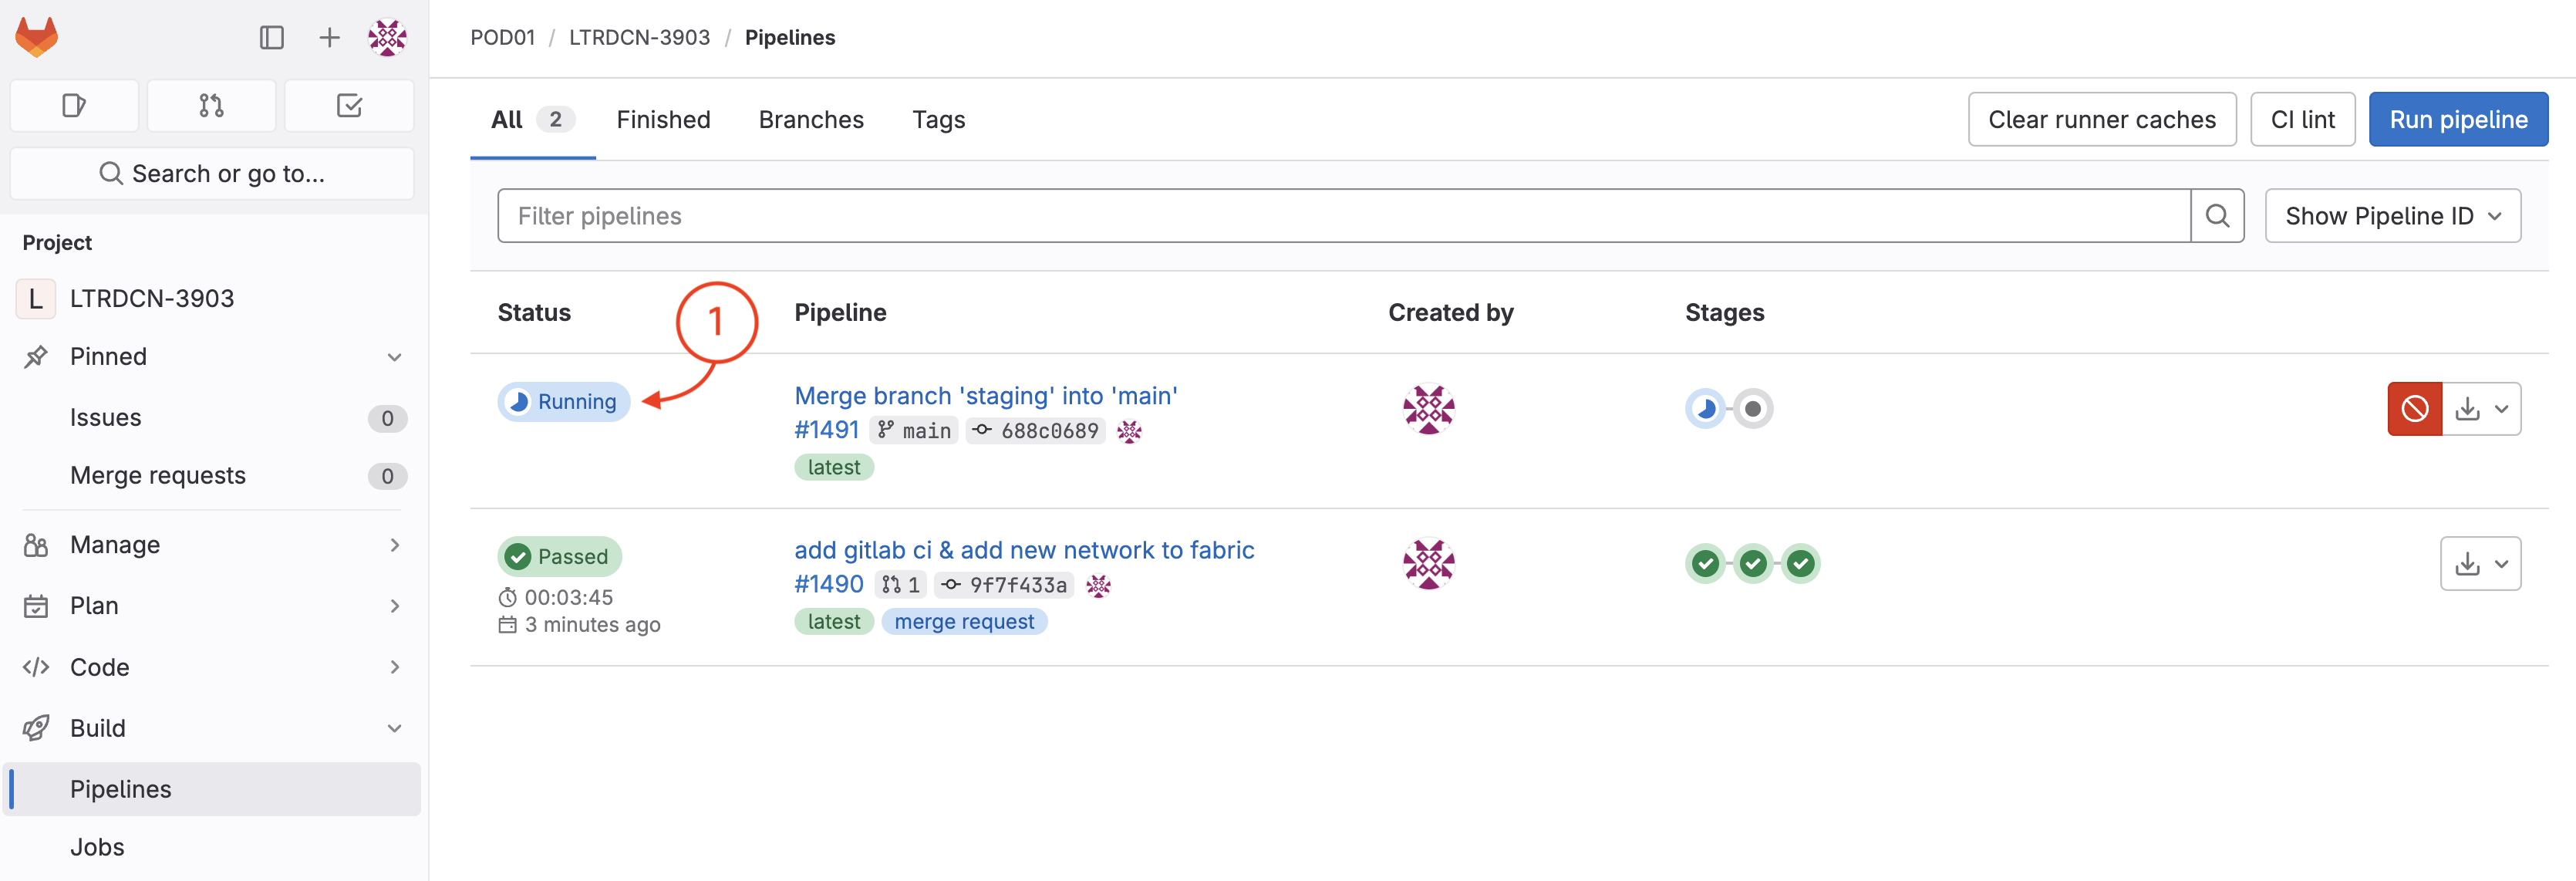
The view you arrive at now should show your currently running prod pipeline and your previously executed staging pipeline.
Wait until your pipeline finishes deployment and the stage moves to testing. Feel free to review the testing steps in the Test stage the same way you reviewed the Deploy step or you can just wait until the tests are done executing since you've seen them before.
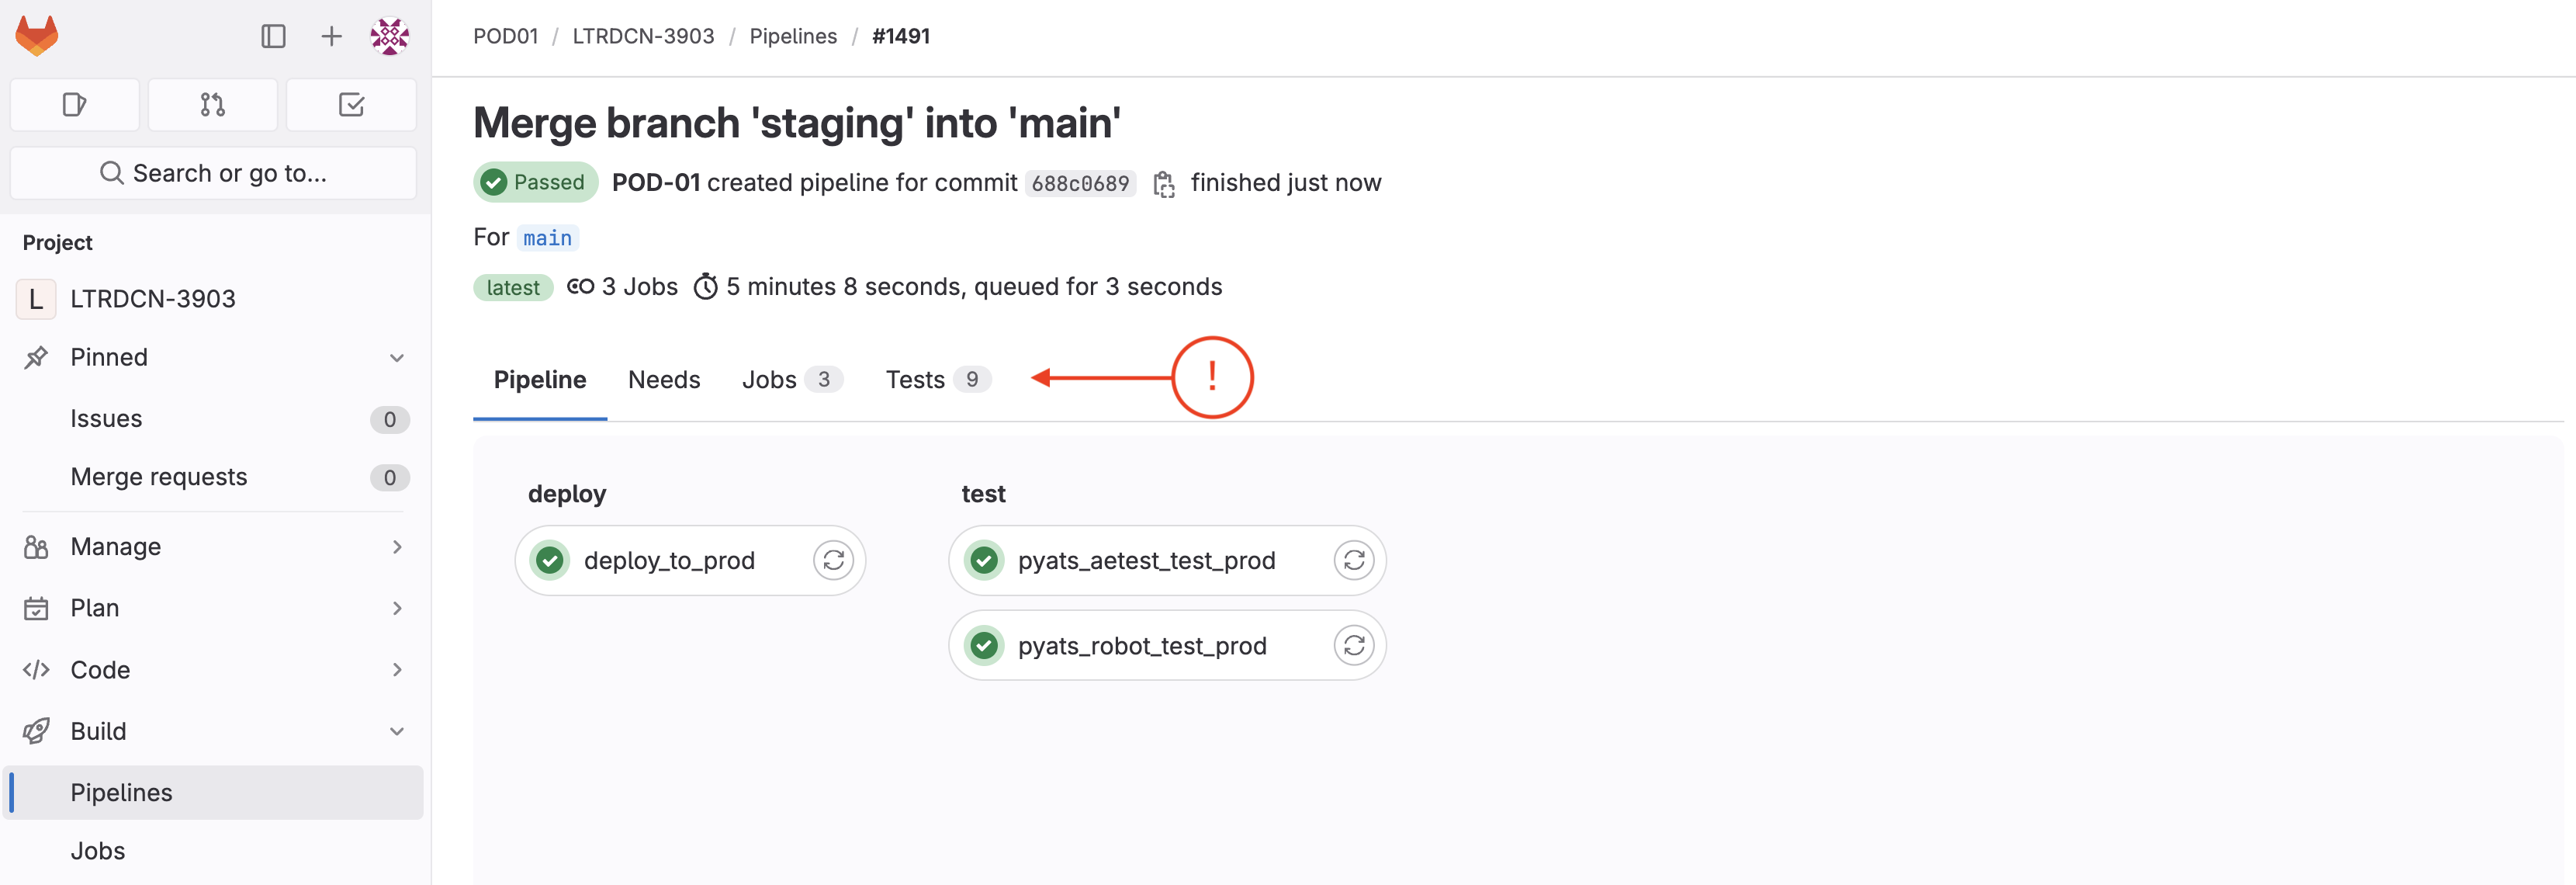
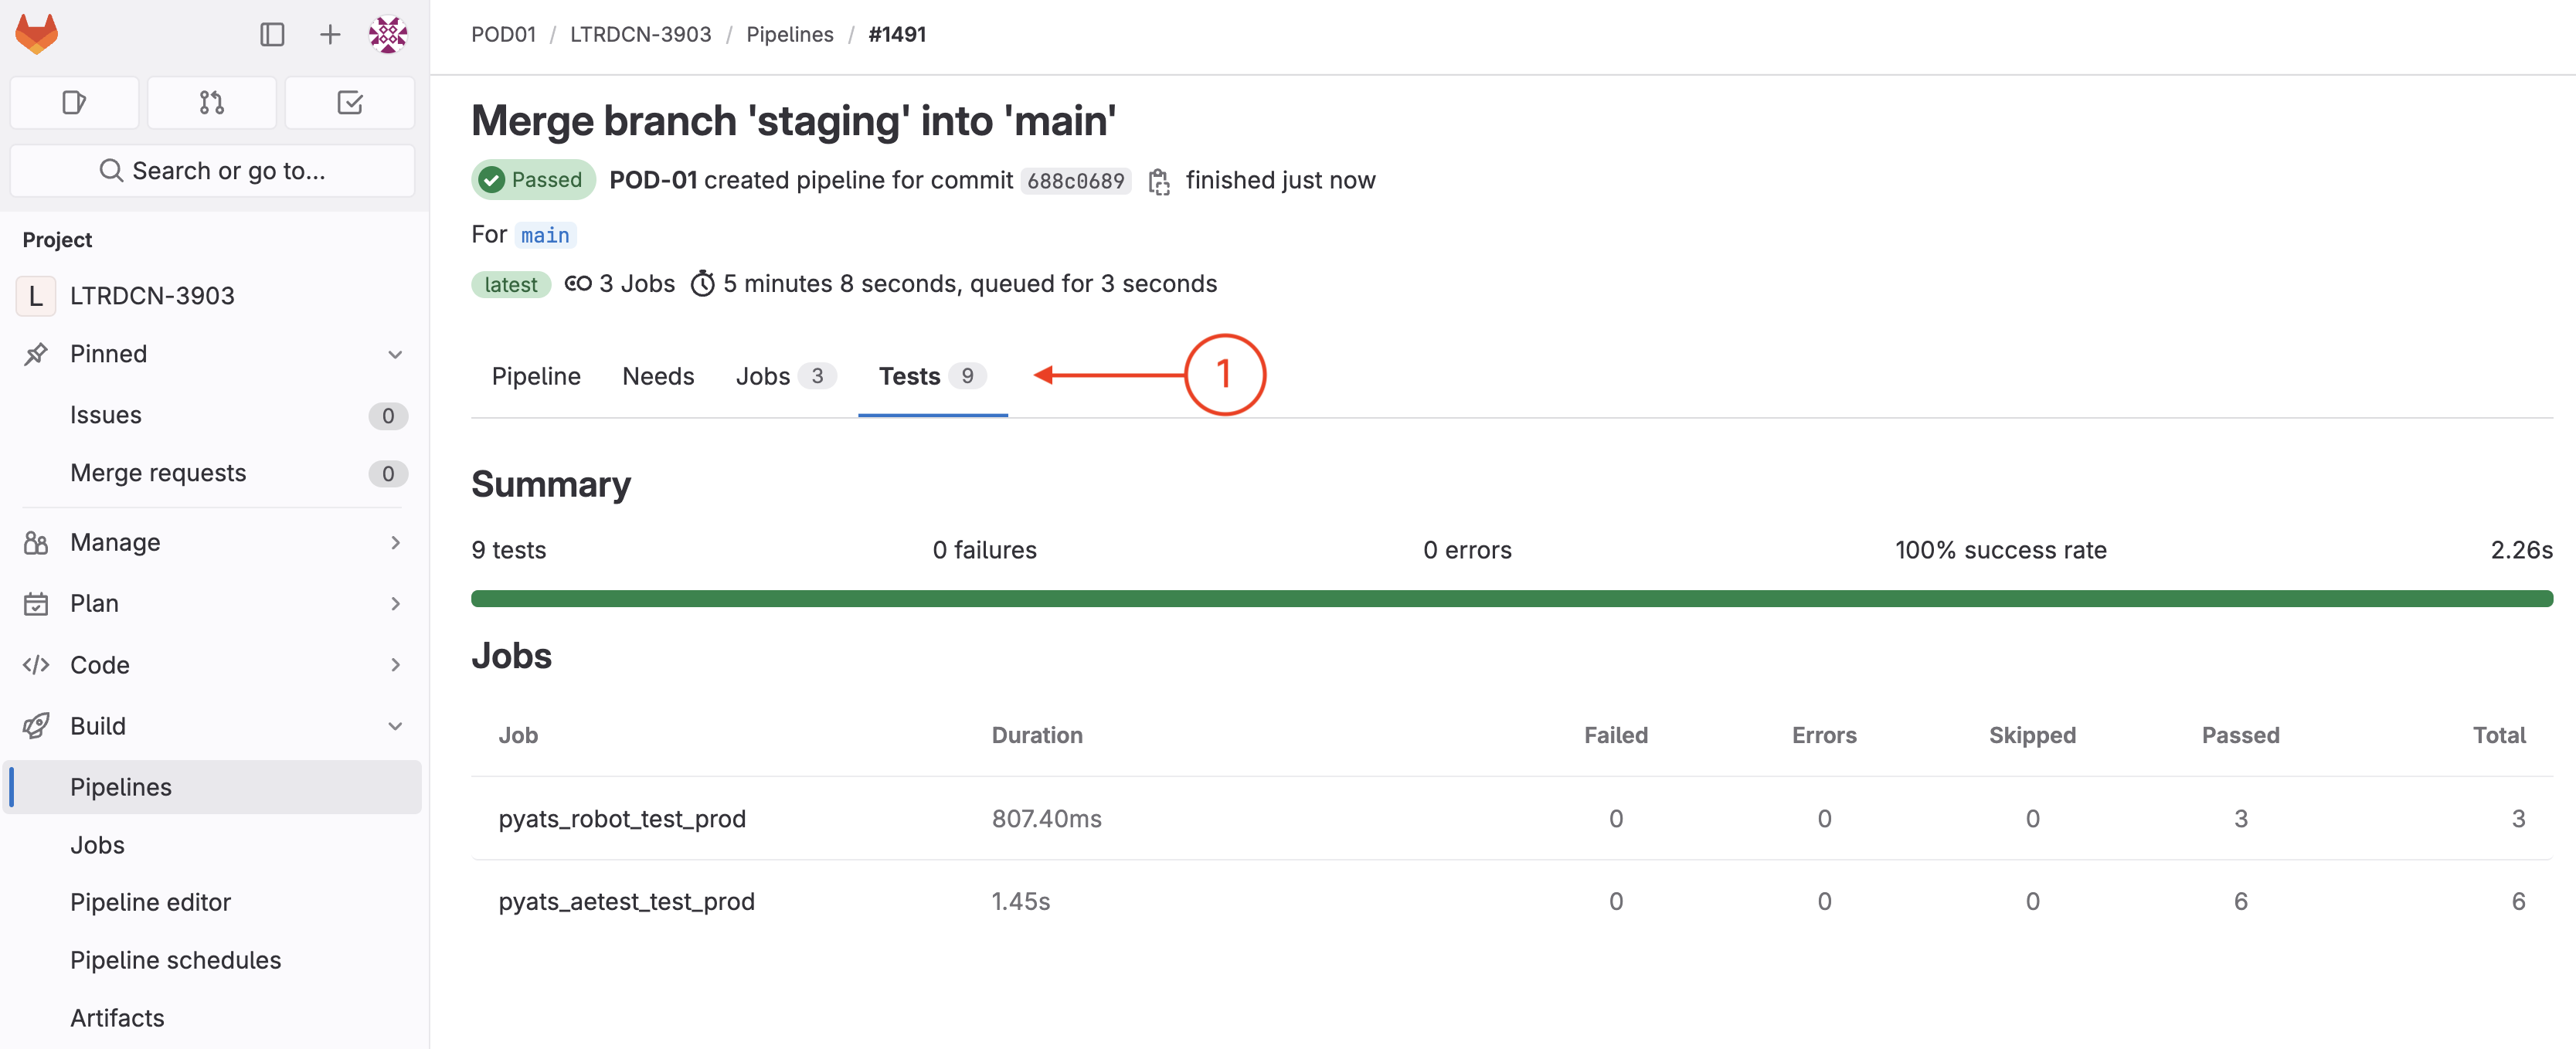
Wait until the Test stage is complete and confirm that the pipeline passed. Your screen should look similar to the screenshot below. Upon a successful pipeline execution, you have completed your NetDevOps journey from local development against a staging fabric to implementing a three-stage pipeline against a staging fabric then a two-stage pipeline against your prod fabric that leveraged the same infrastructure as code for configuration deployment and pyATS test scripts for testing. Congrats!
Continue to the next section to reset your staging environment and setup for exploring Terraform for managing NX-OS.