Return to your VSCode application window. It is now time to setup and initialize your Git repo.
Ensure you are at the top level directory for your project folder:
cd /home/pod06/workspace/nxapilab
Set your Git global settings:
git config --global user.name "Pod06"
git config --global user.email "pod06@ciscolive.com"
git config --global init.defaultBranch main
Initialize your local project directory as git repo:
git init
Add the remote pointer to your Git repo:
git remote add origin git@10.15.0.159:Pod06_2025_01/LTRDCN-3903.git
In Git repos, it is very common to have a hidden file called .gitignore. This is a reserved filename and it is used to
ignore specific file extensions and/or directories from being added to the Git repo. An example of a specific file you do not want added to your
Git repo is your .python-version hidden file that specifies your pyenv environment.
touch /home/pod06/workspace/nxapilab/.gitignore
cat <<EOF > /home/pod06/workspace/nxapilab/.gitignore
*.env
scripts/
tests/results/*.zip
secrets.sh

# VScode
.vscode/*

# Byte-compiled / optimized / DLL files
__pycache__/
*.py[cod]
*$py.class

# pyenv
.python-version
EOF
As you previously stepped through building out your infrastructure as code with Ansible, there were host specific variables created for your staging spine switch and leaf switches. Again, host specific in this case is switch specific. The Ansible roles you created are agnostic to the fabric they are run against. So, you need to simply create the host specific variable files for the prod fabric switches. Since the staging fabric is a development fabric and thus a mirror image of your prod fabric, you simply need to copy each host specific file for staging to its prod counterpart.
cp ansible-nxos/host_vars/staging-spine1.yml ansible-nxos/host_vars/prod-spine1.yml
cp ansible-nxos/host_vars/staging-spine2.yml ansible-nxos/host_vars/prod-spine2.yml
cp ansible-nxos/host_vars/staging-leaf1.yml ansible-nxos/host_vars/prod-leaf1.yml
cp ansible-nxos/host_vars/staging-leaf2.yml ansible-nxos/host_vars/prod-leaf2.yml
cp ansible-nxos/host_vars/staging-leaf3.yml ansible-nxos/host_vars/prod-leaf3.yml
sed -i '0,/^\([[:space:]]*hostname: *\).*/s//\hostname: prod-spine1/;' ansible-nxos/host_vars/prod-spine1.yml
sed -i '0,/^\([[:space:]]*hostname: *\).*/s//\hostname: prod-spine2/;' ansible-nxos/host_vars/prod-spine2.yml
sed -i '0,/^\([[:space:]]*hostname: *\).*/s//\hostname: prod-leaf1/;' ansible-nxos/host_vars/prod-leaf1.yml
sed -i '0,/^\([[:space:]]*hostname: *\).*/s//\hostname: prod-leaf2/;' ansible-nxos/host_vars/prod-leaf2.yml
sed -i '0,/^\([[:space:]]*hostname: *\).*/s//\hostname: prod-leaf3/;' ansible-nxos/host_vars/prod-leaf3.yml
sed -i 's/ip_address: 10.15.6.11/ip_address: 10.15.6.111/g' ansible-nxos/host_vars/prod-spine1.yml
sed -i 's/ip_address: 10.15.6.12/ip_address: 10.15.6.112/g' ansible-nxos/host_vars/prod-spine2.yml
sed -i 's/ip_address: 10.15.6.21/ip_address: 10.15.6.121/g' ansible-nxos/host_vars/prod-leaf1.yml
sed -i 's/ip_address: 10.15.6.22/ip_address: 10.15.6.122/g' ansible-nxos/host_vars/prod-leaf2.yml
sed -i 's/ip_address: 10.15.6.23/ip_address: 10.15.6.123/g' ansible-nxos/host_vars/prod-leaf3.yml
As discussed in the previous step, the Ansible host file needs to be created for prod as you did for staging.
touch /home/pod06/workspace/nxapilab/ansible-nxos/prod.yml
cat <<EOF > /home/pod06/workspace/nxapilab/ansible-nxos/prod.yml
# hosts file for Ansible playbook
---
nxos:
  children:
    spines:
      hosts:
        prod-spine1:
          ansible_host: 10.15.6.111
        prod-spine2:
          ansible_host: 10.15.6.112
    leafs:
      hosts:
        prod-leaf1:
          ansible_host: 10.15.6.121
        prod-leaf2:
          ansible_host: 10.15.6.122
        prod-leaf3:
          ansible_host: 10.15.6.123
EOF
And finally, the pyATS testbed YAML file needs to be created for your prod fabric so that the tests can run against your prod fabric.
touch /home/pod06/workspace/nxapilab/tests/prod-testbed.yaml
cat <<EOF > /home/pod06/workspace/nxapilab/tests/prod-testbed.yaml
---
testbed:
  name: NX-API Prod Lab
  alias: Prod
  credentials:
    default:
      username: admin
      password: cisco.123
devices:
  prod-spine1:
    alias: n9kv-s1
    type: switch
    os: nxos
    platform: n9k
    connections:
      defaults:
        via: rest
      ssh:
        protocol: ssh
        ip: 10.15.6.111
      rest:
        class: rest.connector.Rest
        protocol: https
        ip: 10.15.6.111
  prod-spine2:
    alias: n9kv-s2
    type: switch
    os: nxos
    platform: n9k
    connections:
      defaults:
        via: rest
      ssh:
        protocol: ssh
        ip: 10.15.6.112
      rest:
        class: rest.connector.Rest
        protocol: https
        ip: 10.15.6.112
  prod-leaf1:
    alias: n9kv-l1
    type: switch
    os: nxos
    platform: n9k
    connections:
      defaults:
        via: rest
      ssh:
        protocol: ssh
        ip: 10.15.6.121
      rest:
        class: rest.connector.Rest
        protocol: https
        ip: 10.15.6.121
  prod-leaf2:
    alias: n9kv-l2
    type: switch
    os: nxos
    platform: n9k
    connections:
      defaults:
        via: rest
      ssh:
        protocol: ssh
        ip: 10.15.6.122
      rest:
        class: rest.connector.Rest
        protocol: https
        ip: 10.15.6.122
  prod-leaf3:
    alias: n9kv-l3
    type: switch
    os: nxos
    platform: n9k
    connections:
      defaults:
        via: rest
      ssh:
        protocol: ssh
        ip: 10.15.6.123
      rest:
        class: rest.connector.Rest
        protocol: https
        ip: 10.15.6.123
EOF
After initializing your Git repo and creating the files specific to your prod fabric, it is time to add these files with Git in preparation for committing them to the repo.
You perform the action of adding files with git add. You will add your ansible-nxos and tests directories. Again, the Ansible playbooks and
pyATS tests are not specific to either fabric and are designed to work on either fabric. Lastly, you'll add your .gitignore file. You may notice the removal of the hidden
Travis YAML files. Ansible Galaxy creates these by default for Travis CI which is another option as a CI/CD platform. Since we're using GitLab for this lab, we're simply going to remove them.
rm -rf ansible-nxos/roles/common/.travis.yml
rm -rf ansible-nxos/roles/underlay/.travis.yml
rm -rf ansible-nxos/roles/overlay/.travis.yml
git add ansible-nxos/
git add tests/
git add .gitignore
After adding what you are wanting to commit to your git repo, check the status with git status.
git status
On branch main No commits yet Changes to be committed: (use "git rm --cached..." to unstage) new file: .gitignore new file: ansible-nxos/ansible.cfg new file: ansible-nxos/group_vars/leafs.yml new file: ansible-nxos/group_vars/nxos/common.yml new file: ansible-nxos/group_vars/nxos/connection.yml new file: ansible-nxos/group_vars/spines.yml new file: ansible-nxos/host_vars/prod-leaf1.yml new file: ansible-nxos/host_vars/prod-leaf2.yml new file: ansible-nxos/host_vars/prod-leaf3.yml new file: ansible-nxos/host_vars/prod-spine1.yml new file: ansible-nxos/host_vars/prod-spine2.yml new file: ansible-nxos/host_vars/staging-leaf1.yml new file: ansible-nxos/host_vars/staging-leaf2.yml new file: ansible-nxos/host_vars/staging-leaf3.yml new file: ansible-nxos/host_vars/staging-spine1.yml new file: ansible-nxos/host_vars/staging-spine2.yml new file: ansible-nxos/prod.yml new file: ansible-nxos/roles/common/tasks/main.yml new file: ansible-nxos/roles/overlay/tasks/main.yml new file: ansible-nxos/roles/underlay/tasks/main.yml new file: ansible-nxos/staging.yml new file: ansible-nxos/templates/config/nxos_bgp.j2 new file: ansible-nxos/templates/config/nxos_bgp_af.j2 new file: ansible-nxos/templates/config/nxos_bgp_vrf_af.j2 new file: ansible-nxos/templates/config/nxos_interfaces.j2 new file: ansible-nxos/templates/config/nxos_interfaces_to_remove.j2 new file: ansible-nxos/templates/config/nxos_l2_interfaces.j2 new file: ansible-nxos/templates/config/nxos_l3_interfaces.j2 new file: ansible-nxos/templates/config/nxos_loopback_interfaces_ipv4.j2 new file: ansible-nxos/templates/config/nxos_ntp_global.j2 new file: ansible-nxos/templates/config/nxos_ospf.j2 new file: ansible-nxos/templates/config/nxos_ospf_interfaces.j2 new file: ansible-nxos/templates/config/nxos_vlans.j2 new file: ansible-nxos/templates/config/nxos_vrf_interfaces.j2 new file: ansible-nxos/templates/config/nxos_vrfs.j2 new file: ansible-nxos/templates/parse/feature.textfsm new file: ansible-nxos/vxlan.yml new file: tests/prod-testbed.yaml new file: tests/pyats.robot new file: tests/pyats_aetest.py new file: tests/pyats_easypy.py new file: tests/results/.keep new file: tests/staging-testbed.yaml
With your directories and files added, you can now commit them to your Git repo with git commit.
The -m option is for a comment/message for the commit.
git commit -m "Initial commit"
  [main (root-commit) 0f6cd55] Initial commit
    43 files changed, 1815 insertions(+)
    create mode 100644 .gitignore
    create mode 100644 ansible-nxos/ansible.cfg
    create mode 100644 ansible-nxos/group_vars/leafs.yml
    create mode 100644 ansible-nxos/group_vars/nxos/common.yml
    create mode 100644 ansible-nxos/group_vars/nxos/connection.yml
    create mode 100644 ansible-nxos/group_vars/spines.yml
    create mode 100644 ansible-nxos/host_vars/prod-leaf1.yml
    create mode 100644 ansible-nxos/host_vars/prod-leaf2.yml
    create mode 100644 ansible-nxos/host_vars/prod-leaf3.yml
    create mode 100644 ansible-nxos/host_vars/prod-spine1.yml
    create mode 100644 ansible-nxos/host_vars/prod-spine2.yml
    create mode 100644 ansible-nxos/host_vars/staging-leaf1.yml
    create mode 100644 ansible-nxos/host_vars/staging-leaf2.yml
    create mode 100644 ansible-nxos/host_vars/staging-leaf3.yml
    create mode 100644 ansible-nxos/host_vars/staging-spine1.yml
    create mode 100644 ansible-nxos/host_vars/staging-spine2.yml
    create mode 100644 ansible-nxos/prod.yml
    create mode 100644 ansible-nxos/roles/common/tasks/main.yml
    create mode 100644 ansible-nxos/roles/overlay/tasks/main.yml
    create mode 100644 ansible-nxos/roles/underlay/tasks/main.yml
    create mode 100644 ansible-nxos/staging.yml
    create mode 100644 ansible-nxos/templates/config/nxos_bgp.j2
    create mode 100644 ansible-nxos/templates/config/nxos_bgp_af.j2
    create mode 100644 ansible-nxos/templates/config/nxos_bgp_vrf_af.j2
    create mode 100644 ansible-nxos/templates/config/nxos_interfaces.j2
    create mode 100644 ansible-nxos/templates/config/nxos_interfaces_to_remove.j2
    create mode 100644 ansible-nxos/templates/config/nxos_l2_interfaces.j2
    create mode 100644 ansible-nxos/templates/config/nxos_l3_interfaces.j2
    create mode 100644 ansible-nxos/templates/config/nxos_loopback_interfaces_ipv4.j2
    create mode 100644 ansible-nxos/templates/config/nxos_ntp_global.j2
    create mode 100644 ansible-nxos/templates/config/nxos_ospf.j2
    create mode 100644 ansible-nxos/templates/config/nxos_ospf_interfaces.j2
    create mode 100644 ansible-nxos/templates/config/nxos_vlans.j2
    create mode 100644 ansible-nxos/templates/config/nxos_vrf_interfaces.j2
    create mode 100644 ansible-nxos/templates/config/nxos_vrfs.j2
    create mode 100644 ansible-nxos/templates/parse/feature.textfsm
    create mode 100644 ansible-nxos/vxlan.yml
    create mode 100644 tests/prod-testbed.yaml
    create mode 100644 tests/pyats.robot
    create mode 100644 tests/pyats_aetest.py
    create mode 100644 tests/pyats_easypy.py
    create mode 100644 tests/results/.keep
    create mode 100644 tests/staging-testbed.yaml
Finally, with your project directory initialized as a Git repo, your files added and committed, you can push everything to your Git repo on the GitLab instance.
git push -u origin main
  Enumerating objects: 61, done.
  Counting objects: 100% (61/61), done.
  Delta compression using up to 8 threads
  Compressing objects: 100% (52/52), done.
  Writing objects: 100% (61/61), 13.67 KiB | 999.00 KiB/s, done.
  Total 61 (delta 14), reused 0 (delta 0), pack-reused 0
  To 10.15.0.159:Pod01_2025_01/LTRDCN-3903.git
  * [new branch]      main -> main
  Branch 'main' set up to track remote branch 'main' from 'origin'.
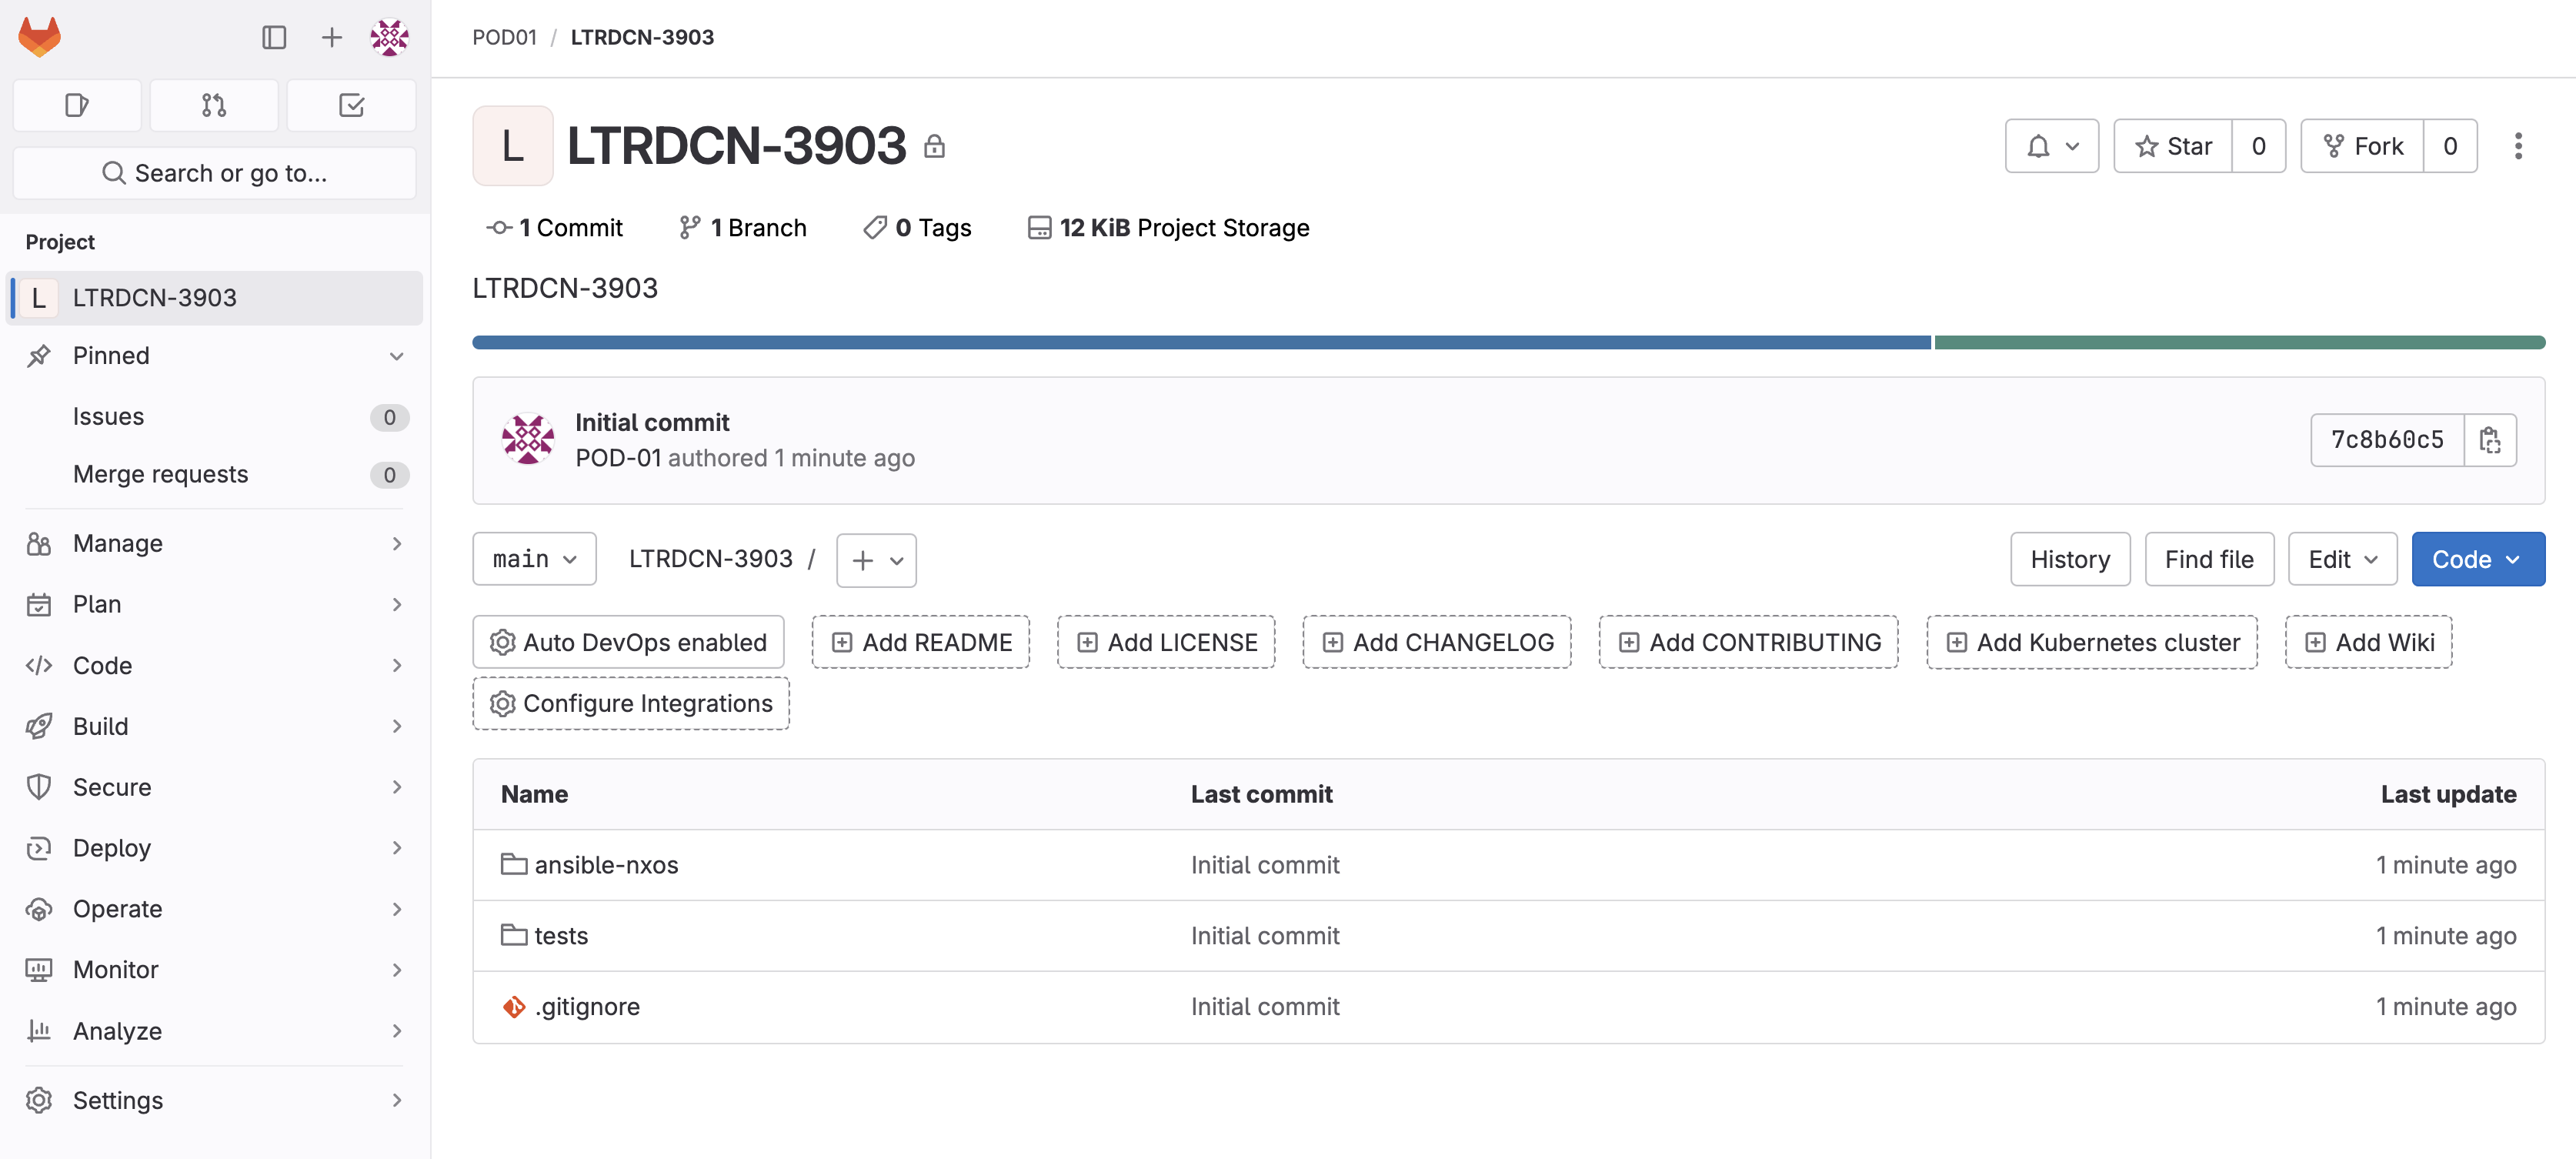
Return to GitLab. You may have to refresh the browser window. Your GitLab repo should now look similar to the screenshot below with the directories and files you just pushed now stored in source control:
Continue to the next section to setup your GitLab CI file for the CI/CD pipeline.